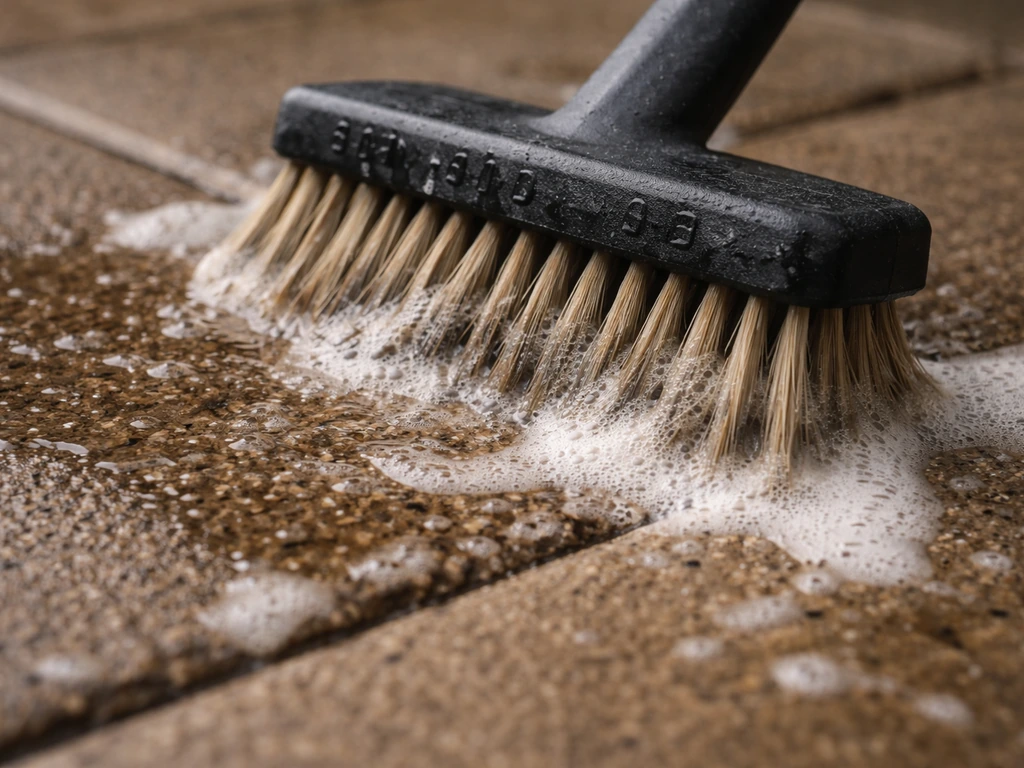
For most patios, a stiff-bristle long-handled deck scrub brush is the one to buy first. Something in the 30–50cm head width range, with polypropylene bristles rated medium-stiff, will handle everyday grime, moss, algae, and light staining on concrete, brick, and most paving without scratching or wrecking the grout. If your patio is sandstone, slate, or porcelain, step down to a medium or soft bristle version of the same style. That one tool, paired with the right cleaner for your surface, will solve 80% of patio cleaning problems before you even think about a pressure washer. If you want the simplest path to results, the best patio block cleaner will target the specific grime and stains on your paving right cleaner for your surface.
Best Brush for Cleaning Patio: Concrete, Stone, Brick

Rhea Lang
5 May 2026
Which patio brush to buy first
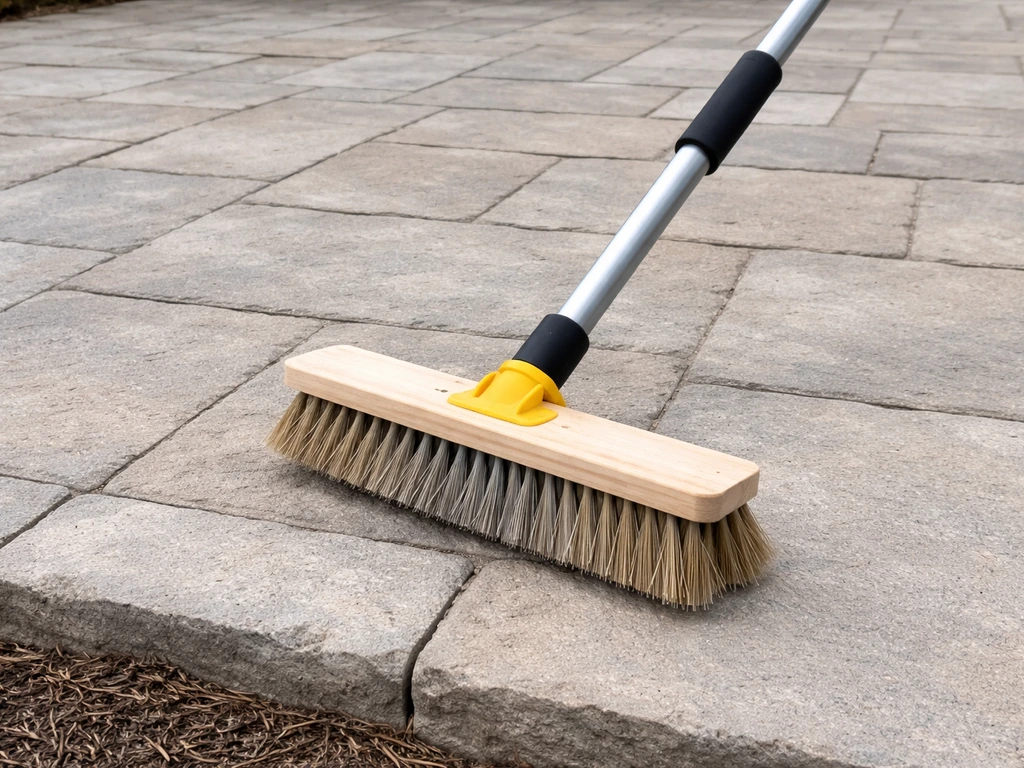
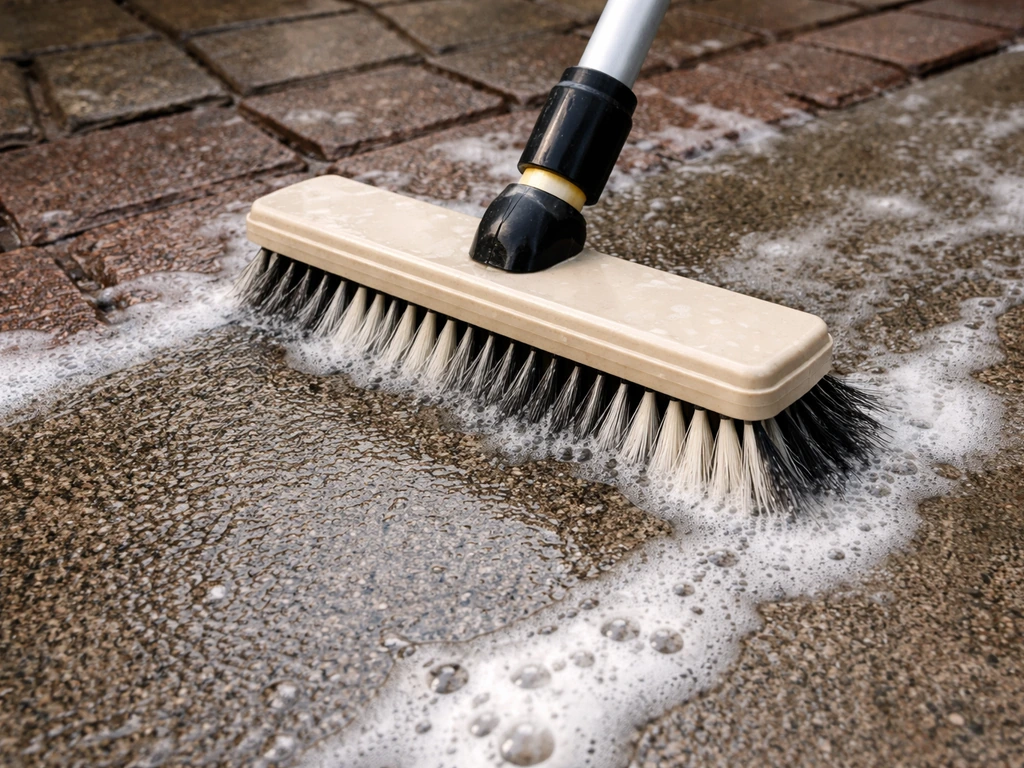
The single most useful brush you can own is a wide-head deck scrub brush with a long fixed or telescopic handle (ideally reaching 1.2–1.5m when extended). You want to cover ground quickly, scrub without bending your back, and apply real downward pressure. Narrow-headed brushes slow you down on open paving. Short-handled ones destroy your knees and lower back within ten minutes.
A few styles are worth knowing about. The Burgon & Ball Miracle Patio Surface Cleaning Brush is designed specifically for patios and is particularly good at sweeping surface moss and lichen off as you push. O-Cedar's Deck Scrub 360 covers all angles with a rotating head, which is genuinely useful around furniture legs and raised edges. For large areas where you want to run water through the brush head while scrubbing (so you are not constantly dunking a bucket), a flow-through brush like the Ettore FLO-Brush Scrub system speeds things up considerably. MR.SIGA's long-handle floor scrub brush is a solid budget pick with stiff bristles that works on tile, concrete, and patio paving without any fuss.
If you can only buy one brush today, get a stiff-bristle deck scrub with a long handle. Then read the section below before you start scrubbing, because the right bristle stiffness depends entirely on what your patio is made of.
Match the brush to your patio surface
This is where most people go wrong. They buy the stiffest brush they can find, go at a delicate stone surface, and end up with scratch marks or eroded grout joints they cannot fix. Here is a quick breakdown by surface type.
| Surface | Recommended Bristle Stiffness | Notes |
|---|---|---|
| Concrete | Stiff | Handles heavy scrubbing well. Stiff polypropylene bristles are ideal. |
| Brick | Stiff to medium-stiff | Stiff bristles fine on the brick face. Use a narrower brush near mortar joints to avoid dislodging them. |
| Natural stone (granite, slate) | Medium | Tougher than sandstone but scratch risk is still real. Avoid wire or very coarse bristles. |
| Sandstone | Soft to medium | Easily scratched and etched. A soft natural-fibre or gentle polypropylene brush only. |
| Limestone/travertine | Soft | Porous and acid-sensitive. Soft bristles, pH-neutral cleaner only. |
| Porcelain | Medium | Hard surface but grout lines are vulnerable. Medium bristle, targeted scrubbing on joints. |
For brick and concrete, you have plenty of latitude. A stiff-bristle brush will not hurt the surface itself, though you still want to be careful near grout or mortar joints because aggressive scrubbing in the joint lines will loosen the filling over time. For sandstone and limestone, I have genuinely learned this the hard way: a stiff brush on a wet sandstone surface leaves fine scratch lines that catch dirt and look worse than the original grime. Always go softer than you think you need to, then increase pressure rather than bristle hardness. Porcelain is hard on the tile face but the grout between porcelain pavers is often softer than the tile itself, so keep the stiff stuff away from the joints.
Match the brush to the problem
The stain type changes both the brush you need and the technique. Here is how to match them.
Mold, algae, and moss
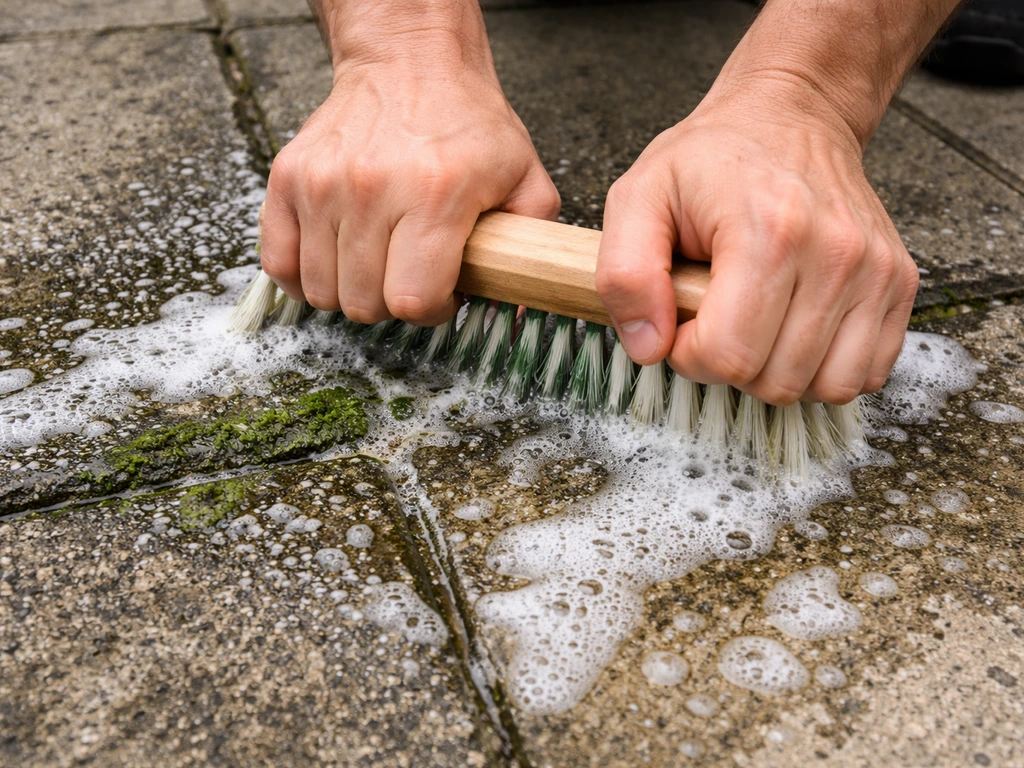
These are the most common patio problems and a stiff-bristle brush is your main weapon. Moss in particular needs physical agitation, not just chemical treatment. Bosch DIY specifically recommends using a brush and elbow grease to scrub the gaps between stones and remove the worst of the growth before applying any chemical moss killer. A wide sweeping brush works for loose moss on the surface. A narrower edge brush or a detail brush gets into the joints where regrowth starts. Algae and mold are slippery, so a stiff brush with good downward pressure cuts through the biofilm better than anything soft.
Rust stains
Rust stains need a brush and a chemical working together. The brush alone will not lift a rust stain. You need an oxalic acid-based cleaner (the active ingredient in products like Bar Keepers Friend) applied first, left to dwell, then scrubbed with a medium-stiff brush. For rust stains, the DIGGERS rust & stain cleaner product page from Recochem recommends using an oxalic-acid-based cleaner, then scrubbing with a stiff brush before hosing off oxalic acid-based cleaner. A smaller, more targeted brush head works better here than a wide deck brush because you are working a specific stained area. Do not use a wire brush on natural stone or porcelain even for rust: it leaves metal particles behind that create new rust spots.
Grease
Grease needs a degreasing cleaner and a stiff brush with a tight, densely packed bristle cluster so it can work the cleaner into the porous surface. A wide brush is fine here. Apply the degreaser, let it sit for the dwell time on the label, then scrub hard in a circular motion to lift the grease out of the pores.
Pet stains and organic matter
An enzyme-based cleaner plus a medium-stiff brush is the combination that works. Enzyme cleaners break down the organic compounds in urine and waste. The brush drives the cleaner into the surface texture. Use a brush with a handle long enough to keep you well clear of the area while scrubbing. After rinsing, a second pass with clean water and the brush removes residue.
Brush features that actually matter
Ignore the marketing language and focus on these specific features when you are choosing.
- Bristle material: Polypropylene is the workhorse for most patio cleaning. It is stiff, durable, and holds up to most cleaners. Natural fibre (tampico, bassine) is softer and better for delicate stone but degrades faster when used with bleach-based cleaners. Wire bristles are occasionally useful on bare concrete for heavy rust scale but should never go near natural stone, porcelain, or grout.
- Bristle stiffness: Most deck brushes are sold as soft, medium, or stiff. When in doubt, buy medium. You can always apply more pressure to a medium brush. You cannot undo scratch marks from a stiff one on the wrong surface.
- Head width: 25–35cm (10–14 inches) is the most versatile range. Wide enough to cover ground on an open patio, narrow enough to get close to edges and furniture.
- Handle length: A telescopic handle that reaches at least 1.2m is the single biggest comfort upgrade. Fixed-handle brushes with a 1.5m pole are fine if storage space is not an issue.
- Head shape: A flat rectangular head suits open paving. An angled or tapered head gets into corners and along wall bases. Rotating heads (like the O-Cedar Deck Scrub 360) are genuinely useful if your patio has lots of obstacles.
- Replaceable heads: Worth paying extra for. When the bristles flatten after a season or two, you replace just the head rather than the whole brush. Several decent brands offer screw-fit or clip-fit replacement heads.
- Flow-through design: If you are cleaning a large area and want to run water through the brush head continuously, a flow-through brush (like the Ettore FLO-Brush system) is a real time-saver. Less useful for chemical scrubbing where you want dwell time.
How to use a patio brush effectively
Technique matters more than most people realise. A good brush used badly still leaves a patchy, streaky result.
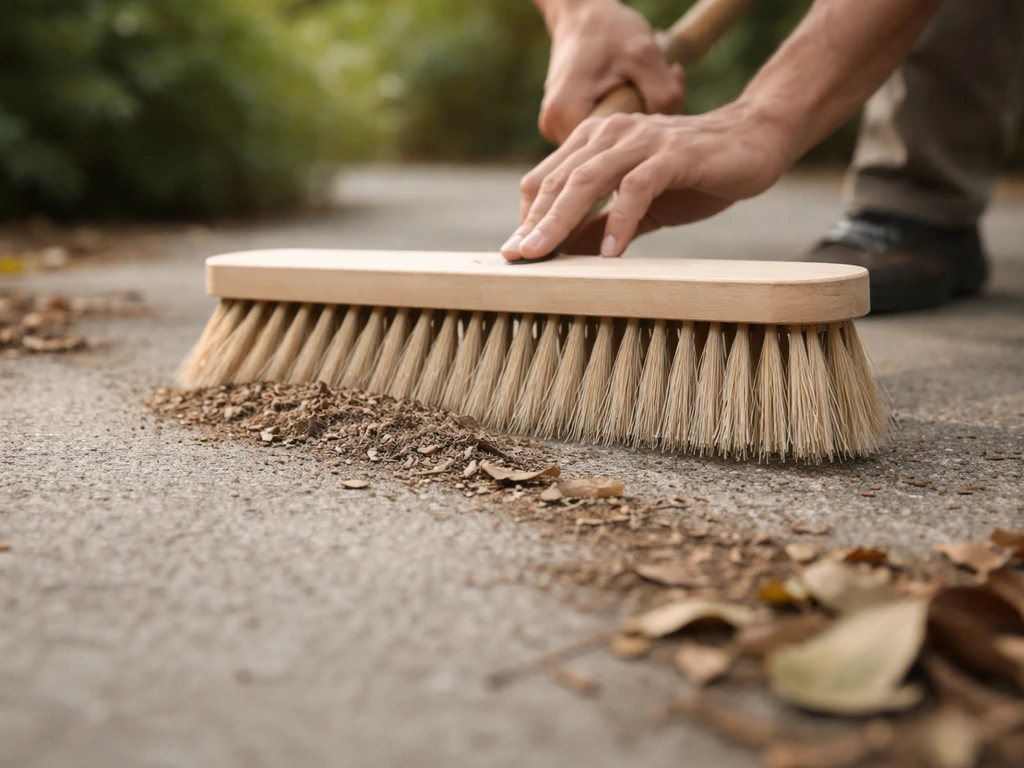
- Clear the surface first. Sweep away loose debris, leaves, and dry moss before you wet anything. Wet debris clogs bristles and smears grime around rather than lifting it.
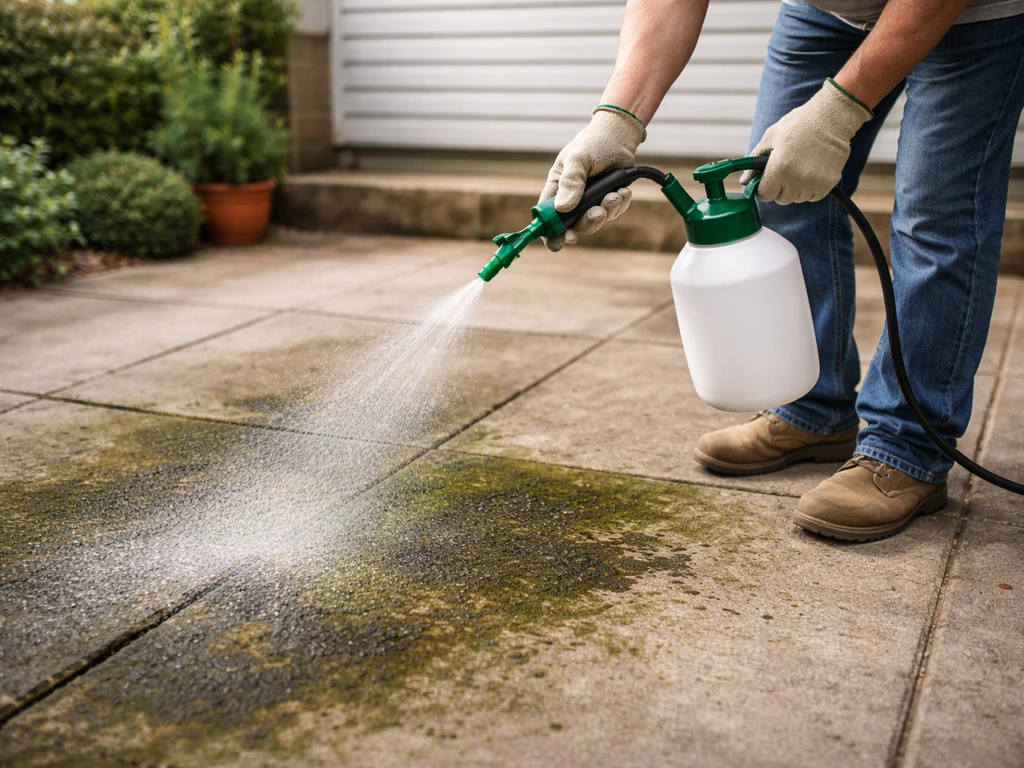
- Pre-wet the patio. Dampen the whole area with water before applying any cleaner. This stops cleaners from being absorbed too quickly into dry porous surfaces and keeps them working on the surface where you need them.
- Apply the cleaner and respect the dwell time. Read the label. Most patio cleaners need 5–15 minutes of dwell time to break down biological growth or stains before scrubbing. Do not skip this. Scrubbing immediately after applying cleaner is mostly wasted effort.
- Work in sections from the top down. If your patio has any slope or elevation change, always work from the highest point to the lowest. Dirty water runs downhill, so you are always scrubbing into clean, not already-scrubbed, areas. This follows the same logic that Techniseal recommends for pressure-washing paver installations.
- Use overlapping strokes and consistent pressure. Work in 60–90cm wide strips, overlapping each pass by about 10cm so you do not leave unscubbed lines. Apply steady downward pressure rather than fast, light strokes. Slow and deliberate beats frantic every time.
- Give joints specific attention with a narrower brush. After scrubbing the main surface, go back with a narrower brush (a hand-held grout brush or detail scrub brush) and work the joints. This is where moss and algae regrow fastest.
- Rinse thoroughly and check your work. Rinse from the top of the patio down to a drain or lawn edge. Check in bright light for any missed patches or streaking. A second pass on stubborn areas is normal.
Chemicals and water: what to apply with your brush
The brush is just the agitation tool. What you put on the surface before scrubbing determines whether you actually lift the stain or just move it around. If you are specifically trying to lift brick and patio grime, a quick review of Bostik Cementone Brick & Patio Cleaner can help you decide whether it is worth using on your surface bostik cementone brick & patio cleaner review. If you want a cleaner that is made for masonry surfaces, check Sika brick and patio cleaner reviews to see how well it performs on typical patio grime. Here is what works, and what to avoid.
What works
- Dilute bleach or sodium hypochlorite solution: Excellent for killing moss, algae, and mold on concrete and brick. Apply, let it dwell, then scrub. Do not use on natural stone (it can discolour some types) or near garden plants without diluting heavily and rinsing immediately.
- Purpose-made patio cleaners (patio block cleaner or brick and patio cleaner type products): Formulated for paving surfaces and usually safer on a wider range of materials than DIY bleach mixes. Good all-round choice if you are unsure about your surface.
- Oxalic acid-based cleaners: For rust and mineral stains. Effective, but always test on an inconspicuous area first on natural stone.
- Enzyme-based cleaners: For pet stains and organic matter. Safe on most surfaces and kind to plants if properly diluted.
- pH-neutral stone cleaner: For sandstone, limestone, slate, and other sensitive natural stone. This is the default for anything you are not sure about.
What to avoid
- Vinegar on natural stone: Vinegar is acidic and will etch calcareous stones like sandstone, limestone, marble, and travertine, leaving permanent dull marks. MAPEI specifically warns against this. Even on concrete it can degrade the surface over time.
- Bleach mixed with ammonia or other cleaners: The Washington State Department of Health is clear on this: mixing bleach with ammonia or acids produces dangerous gases including chlorine and chloramines. Never mix cleaning products in your bucket. Rinse the brush and bucket between switching products.
- Strong acids on grout: Acids will eat into cement-based grout and cause it to crumble. Laticrete's Stone & Tile Care guidance specifically highlights that acids damage both calcareous stone and cement-based grout.
- Bar Keepers Friend on marble or very soft stone: BKF's own FAQ states they do not recommend it for marble surfaces. Stick to pH-neutral products on any sensitive stone.
- Wire brushes with any chemical: Wire bristles and chemical cleaners are a bad combination on most patio surfaces. Wire sheds fine metal particles that rust and stain, especially on porous stone.
When a brush is not enough
A brush and a decent cleaner will handle most routine patio cleaning jobs. But there are situations where you need more firepower, or a different tool entirely.
Heavy, embedded black algae or very thick moss that has been left for years often does not lift with a brush alone even with a good dwell time. This is where pairing your brush work with a pressure washer makes sense. The brush does the agitation after the chemical has dwelled, and the pressure washer follows up with a flush at moderate pressure. However, Burgon & Ball specifically warns that jet washing can damage stone surfaces and erode the grout or jointing material between pavers. If you do use a pressure washer, Techniseal's guidance recommends keeping the lance 12–18 inches from the surface and always working from the highest elevation to the lowest to avoid blasting jointing sand out of the joints.
For larger patio areas with joint weed problems, Unilock's contractor guide mentions rotary brush machines as a tool for cleaning paver joints. These are essentially mechanical versions of the hand scrubbing you would do, and they are worth renting if you have a large area to tackle. They are overkill for an average domestic patio but genuinely useful for larger driveways or commercial-grade paving.
If your grout or joint filler has broken down and needs replacing rather than just cleaning, that is a separate job involving grout removal tools before you can re-fill and clean. If you are replacing grout, the best patio grout removal tool will help you remove old filler cleanly without damaging the surrounding pavers. Similarly, if staining has penetrated deep into a porous surface, a cleaner and brush alone may not be enough and an impregnating sealer applied after a thorough clean will help prevent the problem recurring. The right cleaner for your specific surface type matters too, whether that is a porcelain patio cleaner, a brick and patio formulation, or a block paver-specific product, so matching that to your brush technique gives you the best result.
Cleaning and maintaining your patio brush
A patio brush that gets left dirty after a job will mat its bristles, harbour mold in the head, and smell unpleasant next time you pick it up. Keeping it in good shape is straightforward and takes about two minutes.
- Rinse the brush head immediately after use. Run it under a tap or hose until the water runs clear. If you have used a bleach-based cleaner, a thorough rinse is especially important to stop the bleach degrading the bristle material over time.
- Shake out excess water and stand the brush upright or hang it head-down. Never store a wet brush resting on its bristles: the bristles will permanently deform to one side within a few days.
- Inspect the bristles after every third or fourth use. Flattened, fanned-out bristles that do not spring back mean the brush has lost its effectiveness. It is time for a new head or a new brush.
- If you have a brush with a replaceable head, keep a spare. Replacing just the head costs a fraction of a new brush and takes 30 seconds.
- Store the brush somewhere dry and sheltered, not left flat on the patio surface. UV exposure and sitting in pooled rainwater both degrade bristles and handles faster than normal use does.
- For brushes used with strong cleaners, rinse with a mild soap-and-water solution after rinsing with clean water. This neutralises any residual chemical and extends the bristle lifespan.
A quality patio brush, looked after properly, should last three to five years before the head needs replacing. The handle often outlasts several heads, which is exactly why buying a brush with replaceable heads is worth the slightly higher upfront cost. Treat the brush as a tool worth maintaining and it will perform consistently every time you need it.
FAQ
What bristle stiffness should I use if my patio is sandstone or limestone but heavily stained?
For patios that are already clean and you are only removing light film or dust, choose medium-stiff polypropylene bristles. Go to stiff bristles only if you are dealing with embedded moss, algae, or stained discoloration, and keep scrubbing pressure controlled near any joints or grout lines.
Can I use a pressure washer and still get good results without damaging grout?
Yes, but only after pre-wetting and using the right distance and cleaner dwell time. Start by applying your patio-safe cleaner and letting it dwell, then scrub with the brush. If you follow with a pressure washer, keep the lance well back and avoid concentrating the jet on grout or jointing material, since that is what most often causes future joint deterioration.
What should I do if brushing keeps making the joints look worse?
If the grout or joint filler is already failing, cleaning will not make it look uniformly new. In that case, plan for joint repair or re-filling after you remove loose filler. Your brush choice still matters for the pre-clean phase, but the fix is separate and you should not over-scrub trying to “resurface” joints.
What is the safest way to remove rust stains on porcelain or natural stone?
For rust on natural stone or porcelain, avoid wire brushes. Use an oxalic acid-based cleaner first, let it dwell as directed, then scrub with a medium-stiff nylon or polypropylene brush. A smaller detail brush helps you work the stain area without widening the surrounding discolored zone.
How can I tell if my brush is too abrasive before I clean the whole patio?
Do a test patch in an inconspicuous area using your chosen cleaner and the softer end of the bristle range first. If you see scratch lines or the surface starts catching dirt more quickly, switch to softer bristles, reduce force, and increase dwell time instead of scrubbing harder.
Why do I sometimes end up with patchy or streaky results even after scrubbing?
To prevent streaks, scrub in overlapping passes and keep the cleaner dwell time consistent. After scrubbing, rinse thoroughly and do a second light brush with clean water (especially on porous surfaces) so residue does not dry into visible lines.
Will a wide deck scrub brush work for greasy patio stains, or do I need a special tool?
Yes, but focus on compatibility and leverage. For grease, you need a degreaser and enough dwell time to break down oil before agitation. Use a brush with dense bristles and scrub in circles, then rinse well. A wide deck brush can work, but tight bristle clusters do more in the pores.
What is the best order of steps for moss on patio paving and in the joints?
Wet moss treatment works best when you remove the loosened growth first. Apply the moss killer per label instructions after scrubbing, and use an edge or detail brush for joints where regrowth starts. Relying on chemicals alone usually leaves a thin residue that re-grows faster.
Is it better to use a long-handled patio brush for algae and mold, or can I use a shorter floor brush?
Usually, yes. A brush with a long handle is also safer because it keeps you farther from slippery algae and prevents splashing cleaner back toward you. If you must kneel or get close, use a non-slip footwear plan and rinse off as you go to reduce slip risk.
How should I clean and store my patio brush after a job to stop it from smelling or growing mold?
Rinsing is the key last step, but also scrape or shake out debris before storing. Let the brush dry fully with bristles facing downward, then store it away from other tools so it does not transfer odor or mold. Replace the head when bristles splay or mat, even if the handle is still fine.
When do I need more than brushing and cleaner, like sealing?
If the stain has penetrated deep or keeps returning, a surface sealer may be the missing step after cleaning. Choose an impregnating sealer for the patio material, and only seal once the surface is fully cleaned, rinsed, and dry, otherwise you can trap contaminants under the coating.
Next Article
How to Use Wet and Forget Patio Cleaner Step by Step
Step by step guide to apply Wet and Forget patio cleaner, prep and safety, dwell time, rinse or no rinse, and troublesho