To pressure wash a patio properly, you need the right PSI for your surface (1,200–1,500 PSI for pavers, 2,000–3,000 PSI for concrete), a 25- or 40-degree nozzle, a patio cleaner applied and left to dwell for 2–3 minutes before rinsing, and a consistent sweeping motion held 12–18 inches from the surface. Do that and you'll shift mold, algae, grime, and most stains without cracking concrete or blowing out paver joints.
How to Pressure Wash a Patio Step by Step for Concrete and Pavers
Rhea Lang
1 May 2026
Prep and safety before you start
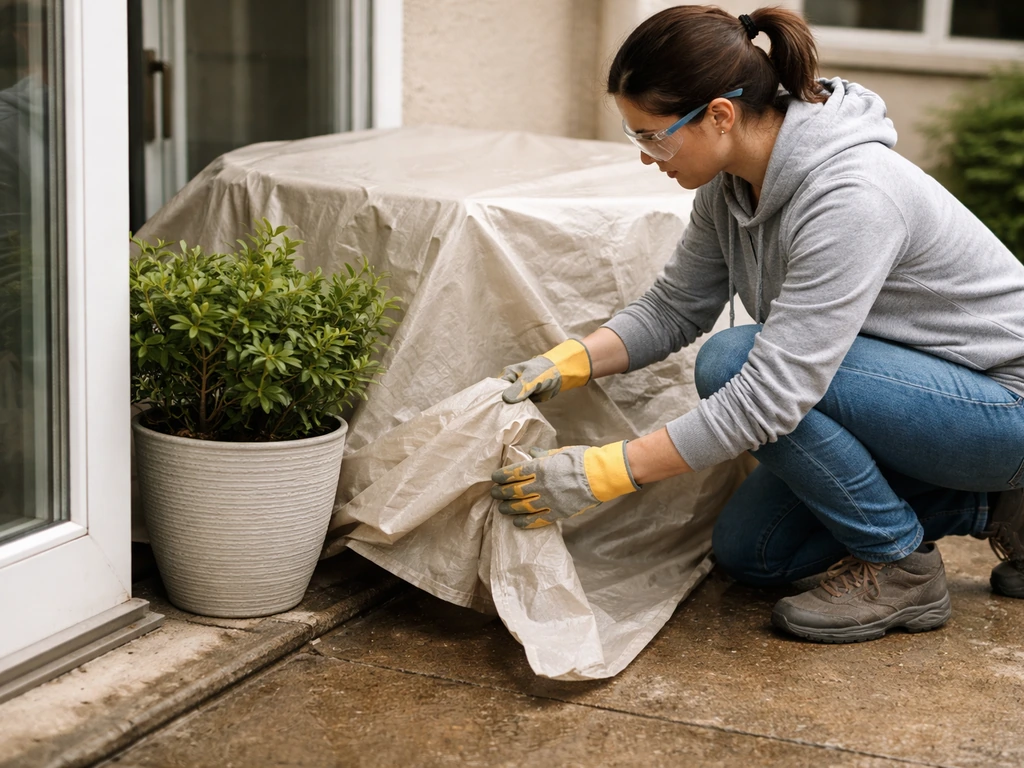
Skipping prep is the number-one reason people end up with a patchy result or a damaged surface. Spend 15 minutes on this and everything goes smoother.
- Clear the patio completely: furniture, pots, rugs, anything movable. You'll thank yourself when you're not dodging obstacles mid-wash.
- Protect plants and borders. Soak the soil around flower beds with plain water first — this dilutes any chemical runoff — and cover low-growing plants with plastic sheeting while you work.
- Check your storm drain. Wash water carrying detergent, oil residue, or algae-treatment chemicals is harmful if it discharges directly into drainage systems or nearby surface water. Block the nearest storm drain inlet with a drain mat or folded sandbags while you wash, and let muddy runoff soak into grass or gravel rather than flow down the drain.
- For electric pressure washers, keep all cord connections well away from any water runoff. A tripped circuit breaker after water contact isn't just inconvenient — it's a sign of a potential electrical fault, and you should have a qualified electrician check the machine before using it again.
- Wear eye protection and closed-toe shoes. A pressure washer jet at close range can puncture skin. This isn't optional.
- Pre-wet any surfaces you don't want blasted — timber fencing, painted walls, rendering — to reduce the chance of surface damage from splash.
Choose the right equipment and pressure settings
The single most common mistake I see is people cranking the pressure up as high as it goes, assuming more is better. It isn't. Too much pressure strips mortar joints on pavers, etches concrete, and can literally scar softer stone surfaces. Here's how to match the machine to the job.
| Surface | Recommended PSI | Best Nozzle | Notes |
|---|---|---|---|
| Concrete patio | 2,000–3,000 PSI | 25-degree (green) | Tough enough for deep stains; keep moving |
| Paver patio | 1,200–1,500 PSI | 40-degree (white) | Lower pressure protects joints and paver faces |
| Sandstone / natural stone | Under 1,000 PSI | 40-degree or low-pressure soap tip | Porous surfaces scar easily at high pressure |
| Porcelain / ceramic tile | 1,200–1,500 PSI | 40-degree (white) | High pressure can crack grout lines |
| Brick | 1,500–2,000 PSI | 25- or 40-degree | Test a corner first; old brick is softer |
For nozzles: a 40-degree tip covers a wider fan of water at lower impact pressure, which is ideal for general cleaning and delicate surfaces. A 25-degree tip concentrates more cutting power and works well for stubborn concrete grime. A turbo (rotating) nozzle spins a zero-degree jet in a circular pattern, giving you the coverage of a 25-degree tip with extra punching power, useful for heavy concrete staining but too aggressive for pavers or natural stone. Avoid zero-degree red nozzles entirely on patios.
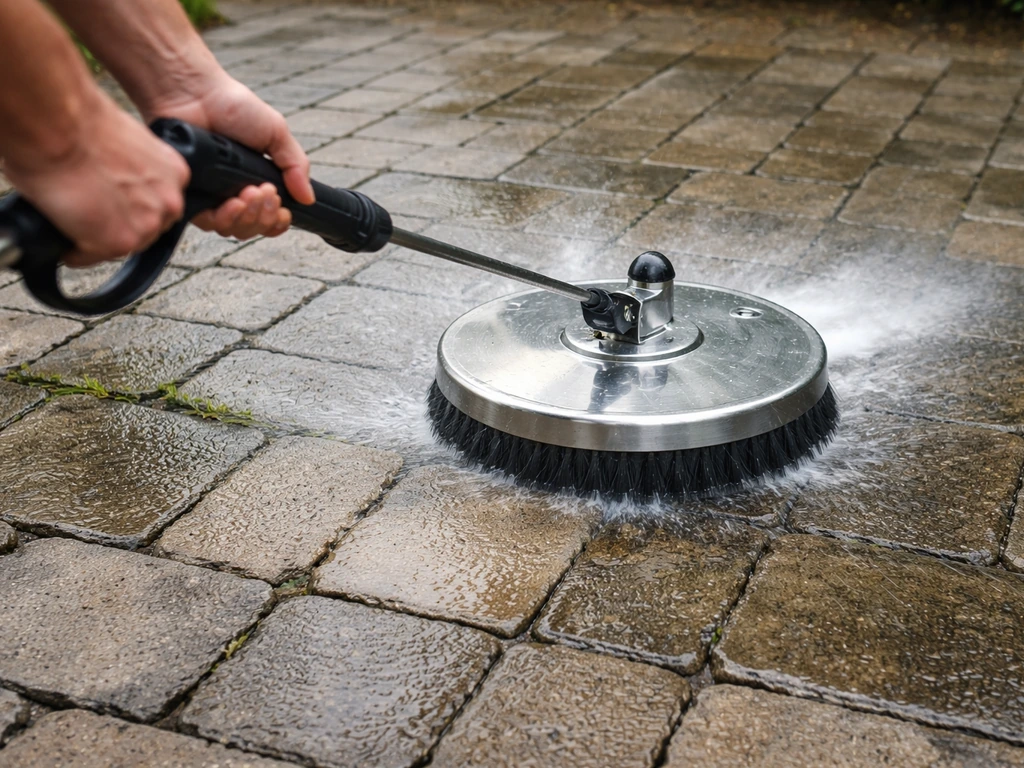
Surface cleaners (the circular spinning heads that attach to the wand) are genuinely worth renting or buying if you have a large concrete patio. They clean faster, leave fewer streak marks, and keep the pressure even. I use one for any concrete job over about 20 square meters.
Cleaning a concrete patio and tackling common stains
Concrete is the most forgiving patio surface for pressure washing because it's dense and hard. Even so, you can etch the surface if you hold a narrow nozzle too close or stay in one spot too long. The best approach for concrete is to apply a dedicated concrete cleaner first, let it work, then pressure wash it off.
General grime and biological growth (mold, algae, moss)
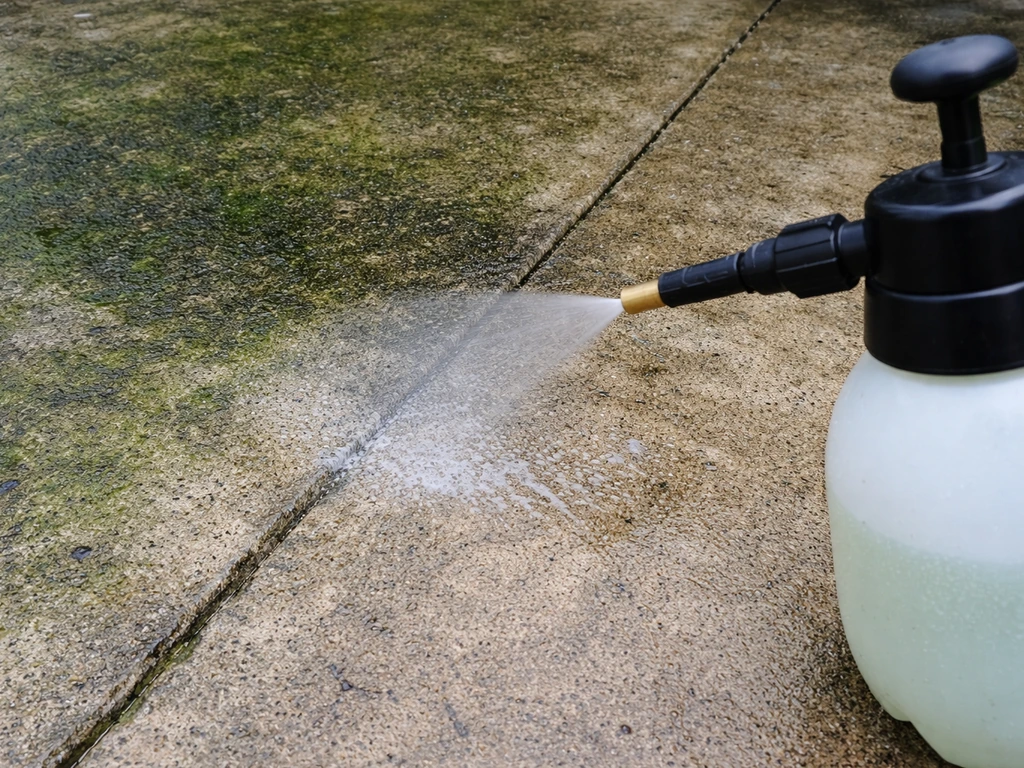
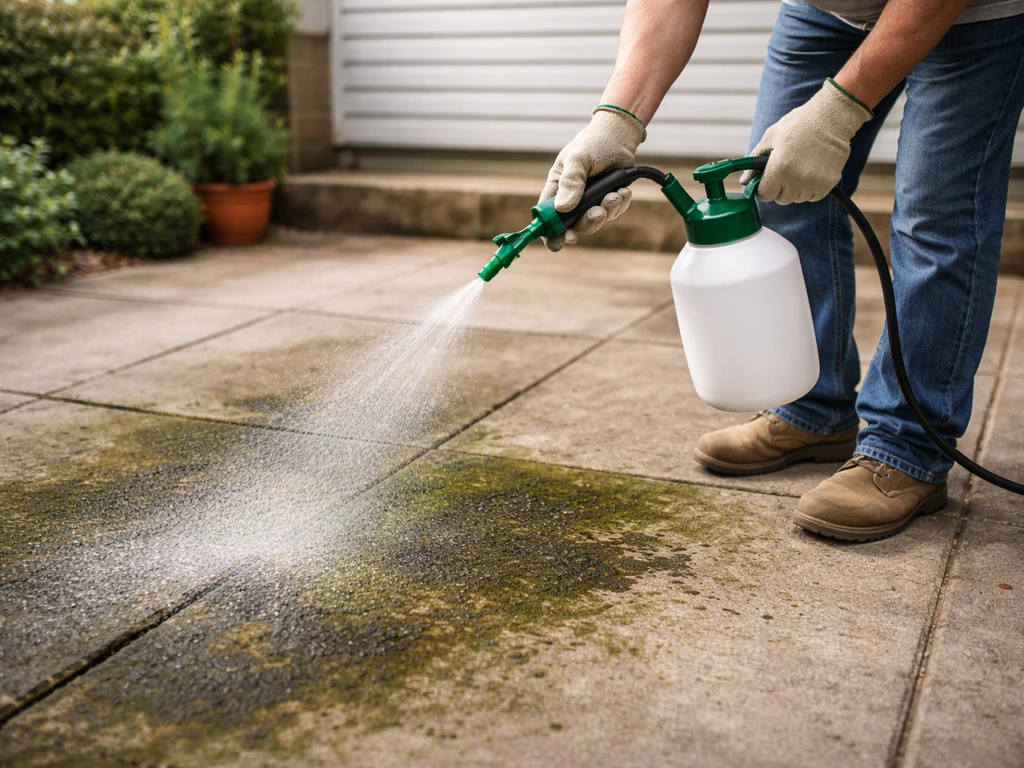
A diluted alkaline patio cleaner handles most biological staining on concrete. Apply it with a garden pump sprayer or a pressure washer soap tip, let it dwell for 2–3 minutes (don't let it dry), then rinse with a 25-degree nozzle at 2,000–2,500 PSI held 12–18 inches from the surface. One pass usually isn't enough for heavy green algae, do a second pass at a slight angle to the first.
Oil and grease stains
Oil stains need a degreaser applied before you pressure wash, not after. Soak the stain with a purpose-made concrete degreaser, agitate with a stiff brush, then hit it with the pressure washer. Rinse all degreaser residue away from storm drains, oil and detergent wash water is one of the most common stormwater contaminants from residential pressure washing.
Rust stains
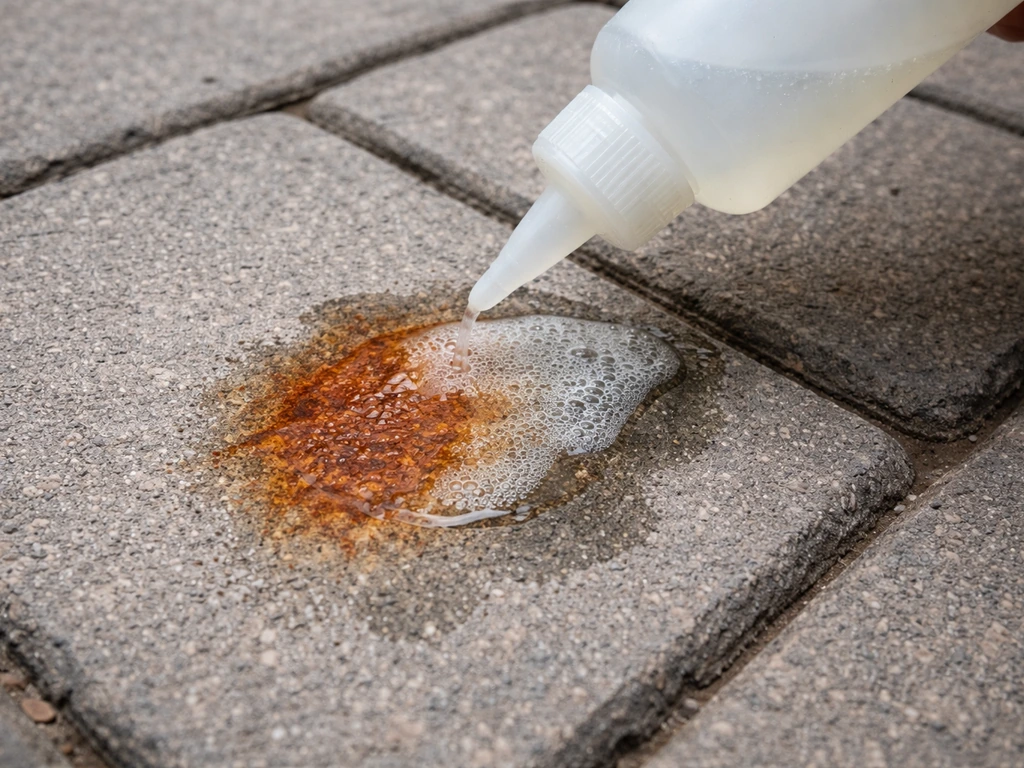
Rust stains from metal furniture or BBQ grills don't respond to pressure alone. Use an oxalic-acid-based rust remover, let it dwell until the stain lifts (usually 5–10 minutes), then rinse clean. The pressure washer here is for rinsing, not the heavy lifting.
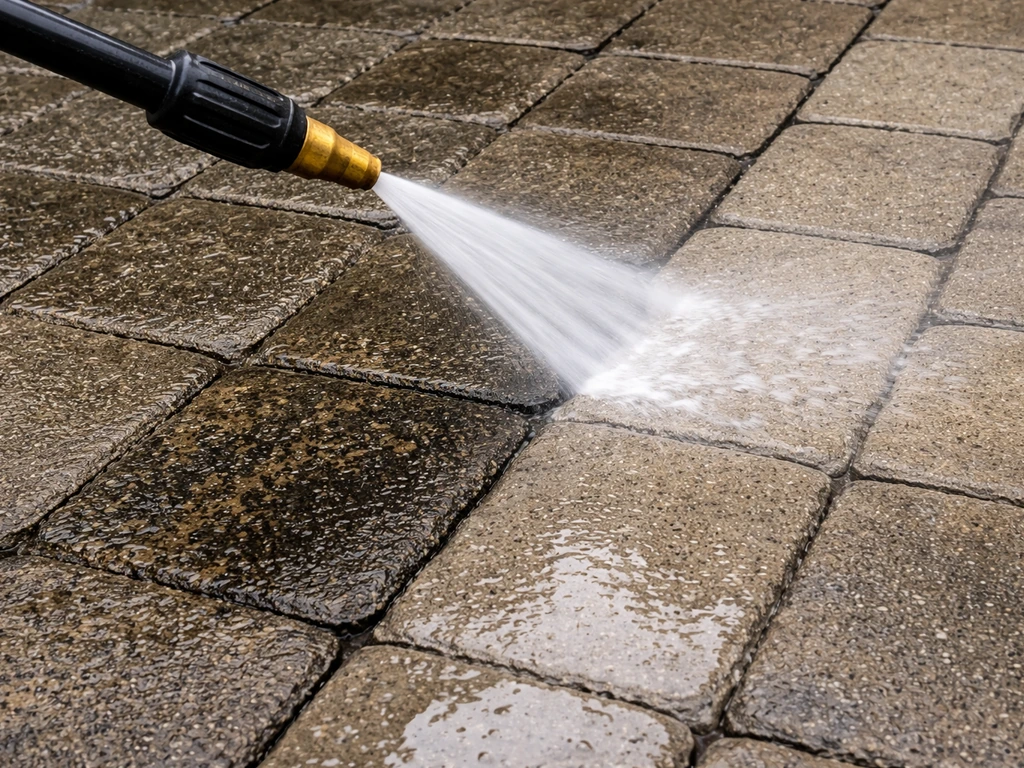
Cleaning paver and cement patios without wrecking the joints
Pavers are where pressure washing goes wrong most often. The problem isn't the paver faces, it's the joints. Conventional sand joints are easily eroded by a pressure washer held too close or at too high a PSI. Polymeric sand joints are more resistant, but even they can be damaged if your technique is poor. If your patio has recently had joints re-sanded, wait at least 30 days before pressure washing, this is the standard recommendation from polymeric sand manufacturers, and rushing it means redoing the whole job.
For pavers, keep pressure at or below 1,500 PSI and use a 40-degree nozzle. Hold the wand at least 12 inches from the surface and keep the spray angle relatively shallow (about 45 degrees to the paver face) rather than pointing straight down at the joints. Move continuously, never hover. If you do end up washing sand out of the joints (you'll see it pooling), let the patio dry fully, then re-sand and compact the joints before sealing.
For patio surfaces made from older or softer materials like sandstone or certain natural stone pavers, keep pressure below 1,000 PSI and hold the nozzle 18–30 inches from the surface. High-pressure cleaning isn't recommended at all for highly porous masonry, you'll do more damage than the grime. A low-pressure pump spray with a suitable cleaner and a soft brush will do a better job on those surfaces.
If you're unsure whether your pavers can handle the pressure, test an inconspicuous corner first. I learned this the hard way on a reclaimed York stone patio years ago, one pass with a 25-degree tip at full pressure and the surface was visibly pitted. Always test first.
Using a patio cleaner with your pressure washer
Pressure washing alone is fine for light surface dirt, but for mold, algae, moss, or any kind of staining you'll get dramatically better results by applying a cleaning solution before you wash. This is the step most DIYers skip, and it's why they end up going over the same patch four or five times.
- Choose the right cleaner for your surface and problem. Alkaline degreasers work well on organic growth and general grime on concrete. Acidic cleaners (like dilute phosphoric or oxalic acid products) handle efflorescence and rust. For pavers, check the manufacturer's guidance — some proprietary cleaners can react badly with certain paver finishes.
- Apply the cleaner using a garden pump sprayer or your pressure washer's downstream injector (the soap tip). Work in sections of about 10–15 square meters so the cleaner doesn't dry before you rinse it.
- Let it dwell for 2–3 minutes. That's the standard working time for most heavy-duty concrete cleaners, and it's enough for biological growth to break down. Don't leave it longer hoping for better results — it can dry and leave residue.
- Do not let the cleaner run into storm drains. Plug the nearest drain inlet before you start rinsing.
- Rinse with your pressure washer fitted with a fan-type tip (25 or 40 degree) providing enough flow to flush the cleaner and loosened debris completely clear. Work from the far end of the patio toward a drain point or grass area.
A word on bleach-based patio cleaners: they're effective on algae and mold, but they can discolor some block paving and natural stone, and they're harmful to soil biology if you're rinsing near planted areas. Rinse plants thoroughly with plain water before and after if you use them. There are good non-bleach biological cleaners available that are gentler on surrounding vegetation while still dealing effectively with green growth.
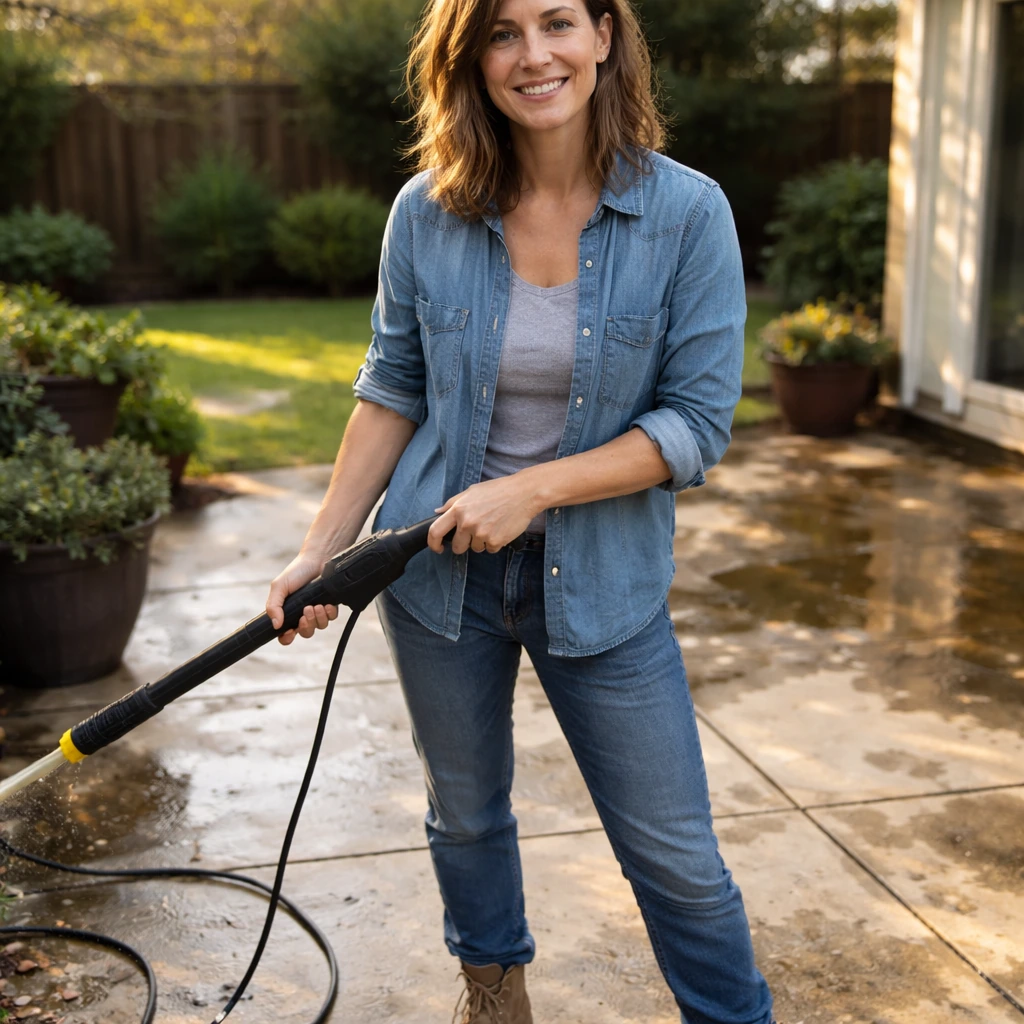
The pressure washing technique: spray patterns, distance, and passes
Good technique makes a bigger difference than the machine's power rating. Here's exactly how to do it.
- Start at the far end of the patio and work backward toward your exit point so you're not walking over the area you've just cleaned.
- Hold the wand 12–18 inches from the surface for concrete. For pavers and natural stone, move out to 18–30 inches and reduce pressure accordingly.
- Use a consistent sweeping motion, moving the wand side to side in overlapping passes. Move at roughly walking pace — if you're moving slower than that, you're dwelling too long in one spot.
- Overlap each pass by about a third to avoid striping. Stripes (alternate light and dark bands) are the most obvious sign of inconsistent technique.
- Keep the nozzle at a shallow angle (about 45 degrees) rather than perpendicular to the surface when you're near joints on a paver patio. This way the force pushes debris outward rather than driving it into or through the joint.
- For stubborn patches on concrete, make a second pass at 90 degrees to the first. This cross-hatch approach shifts dirt that a single-direction pass misses.
- If using a surface cleaner attachment, keep it moving at a steady pace and slightly overlap each run — letting it sit still creates circular scorch marks on softer surfaces.
Rinsing, drying, and keeping it cleaner for longer
Once you've pressure washed the whole patio, do a final rinse pass with clean water to flush any remaining cleaner, loosened grime, and sand residue toward the grass or a suitable runoff area. Check the joints on a paver patio at this point, if any look shallow or have gaps, top up with kiln-dried sand or polymeric sand once the surface is dry.
Let the patio dry completely before you do anything else. For concrete, that usually means 24–48 hours in decent weather. For pavers with polymeric sand joints, drying time is especially important before any sealing, applying sealer over a damp surface traps moisture and causes whitening or bubbling. In spring or autumn in cooler climates, give it 48 hours minimum.
Prevention: how to keep it from getting this bad again
A clean patio doesn't stay clean forever, but you can slow the return of algae and moss considerably with a few simple steps.
- Seal concrete or paver patios after pressure washing. A good quality patio sealer reduces the porosity of the surface, which is what allows algae and moss to take hold in the first place. It also makes future cleaning much easier.
- Apply a post-wash biocide or patio treatment after cleaning and drying. These slow the re-growth of green algae and moss significantly. One application typically lasts a season.
- Trim back overhanging plants or trees that deposit leaf debris and shade the patio — shade and organic debris are the two biggest factors in how quickly biological growth returns.
- Do a light pressure wash or jet-wash once a year (or even twice in damp climates) rather than waiting for heavy buildup. A 30-minute maintenance wash is much easier than a full deep-clean job.
- For pavers specifically, check the joints every year or two and top up with polymeric sand where needed. Solid joints resist weed growth and reduce moisture penetration.
If you have other outdoor surfaces to tackle after the patio is done, umbrellas, cushions, or furniture, the technique and pressure settings are a different story. For patio cushions specifically, choose a waterproofing spray made for outdoor fabric so water beads off and mildew is less likely to take hold umbrellas, cushions, or furniture. If you are wondering whether you can power wash patio cushions, you’ll usually need a gentler approach than you use on a hard patio surface umbrellas, cushions, or furniture. Those items need a much lighter touch than a hard patio surface, and in some cases a pressure washer isn't the right tool at all. It's worth understanding the limits of the equipment before you move from the patio to the rest of your outdoor setup.
FAQ
How do I know if my patio cleaner should dwell longer or if I should rinse right away?
Follow the “don’t let it dry” rule. If you notice the solution turning into a dry film, dulling, or whitening, rinse sooner rather than later. Also, if you still see active green growth after rinsing, re-apply the cleaner and dwell again, instead of increasing pressure.
What’s the safest way to rinse after cleaning so I don’t leave streaks on concrete or pavers?
Use a final, consistent rinse pass with a wider fan (typically the 25-degree tip for concrete work). Keep the wand at the same distance throughout and overlap passes slightly. If you’re seeing streaking, it’s usually from uneven rinse speed or missed cleaner residue, not from needing more pressure.
Can I pressure wash a patio that was sealed recently?
Be cautious. Seals can fail if you blast too hard or if the surface cleaner dwell is too aggressive. Wait until the seal has fully cured before washing (for many products this means weeks, not days), and test a small area first to confirm the seal isn’t being etched or scuffed.
How soon can I seal concrete or pavers after pressure washing?
Wait until the surface is fully dry. For pavers with polymeric sand joints, drying time matters even more because sealing damp joints can cause whitening or bubbling. If the weather is humid or the patio gets shade, extend the wait and do a quick check with a light water test (if water beads stay, you may still be too wet).
What should I do if I see sand coming out of the paver joints while washing?
Stop and let the patio dry completely, then re-sand and compact the joints before any sealing. Pooling sand in the joints usually means the spray was too close, too high PSI, or aimed too directly at the gaps.
Is it okay to use a surface cleaner attachment on pavers?
It depends, but generally it’s safer to avoid it on paver patios unless you’re experienced. Surface cleaners spread the spray evenly for concrete, but pavers need careful joint protection, and attachments can push sand out if used too close or at too high pressure.
How do I protect nearby plants and lawns from runoff and chemicals?
Before you start, water nearby plants lightly so they’re not “dry thirsty.” During rinsing, avoid directing runoff toward gardens, and after you finish, rinse plants with plain water. For bleach-based products, keep extra distance from planting areas and prevent puddling.
What’s the best way to remove stubborn oil stains without spreading them?
Treat the stain first with a purpose-made degreaser, agitate, then pressure rinse. Don’t rely on post-wash pressure, because pushing oil residue around is common. If the stain is older, you may need a second degreaser application and a thorough rinse to remove residue from surrounding pores.
Can I use bleach to remove algae and mold, and will it damage my patio?
It can work, but it may discolor some block paving and natural stone. It can also harm soil biology if rinsed near planted areas. If you use a bleach-based cleaner, rinse plants thoroughly with plain water and consider a non-bleach biological cleaner for a gentler approach around landscaping.
Do I need to pressure wash in a specific direction or pattern?
Work in controlled, overlapping passes, and don’t “hover” in one spot. For heavier grime, use multiple lighter passes rather than chasing results in one burst. Consistency in distance and movement speed matters more than direction, but staying uniform helps prevent uneven cleaning.
What if my pressure washer is adjustable and I’m still not getting results at the recommended PSI?
If results are poor, the fix is usually technique and pre-treatment, not cranking the PSI. Use the correct nozzle angle, ensure the cleaner dwell time is met, and do a second pass at a slight angle. For concrete, applying the dedicated cleaner before washing typically improves outcomes significantly.
How can I test whether my surface can handle pressure before I start the whole patio?
Test an inconspicuous corner using the recommended nozzle and PSI, start at the lower end of the range, and keep the proper distance. If you see visible pitting, etching, or rapid joint erosion, stop and switch to lower pressure or a gentler cleaning method for that specific material.
Can I pressure wash right after mowing or when the patio is damp with dew?
It’s better to wait until the patio surface is dry enough to apply cleaner evenly and to rinse without excessive dilution. Damp conditions can make dwell time less predictable and can increase streaking or uneven cleaning, especially on algae-prone areas.
Next Article
How to Use Wet and Forget Patio Cleaner Step by Step
Step by step guide to apply Wet and Forget patio cleaner, prep and safety, dwell time, rinse or no rinse, and troublesho