Jet washing a patio is straightforward once you match the right pressure, nozzle, and technique to your surface. For most concrete and brick patios, a 25° fan nozzle at 1500–2000 PSI works well. For natural stone, sandstone, slate, or porcelain, you want to go gentler: a 40° nozzle, greater standoff distance, and a lower-pressure machine under 1500 PSI. Pre-treat any mold, algae, or moss with a dedicated cleaner and let it dwell before you even pick up the lance. Then work in consistent, overlapping passes and rinse thoroughly. That's the whole method in a nutshell, the sections below break each step down in detail.
How to Jet Wash a Patio: Safe Steps for Every Material
Rhea Lang
21 May 2026
How jet washing works (and when it's actually the right tool)
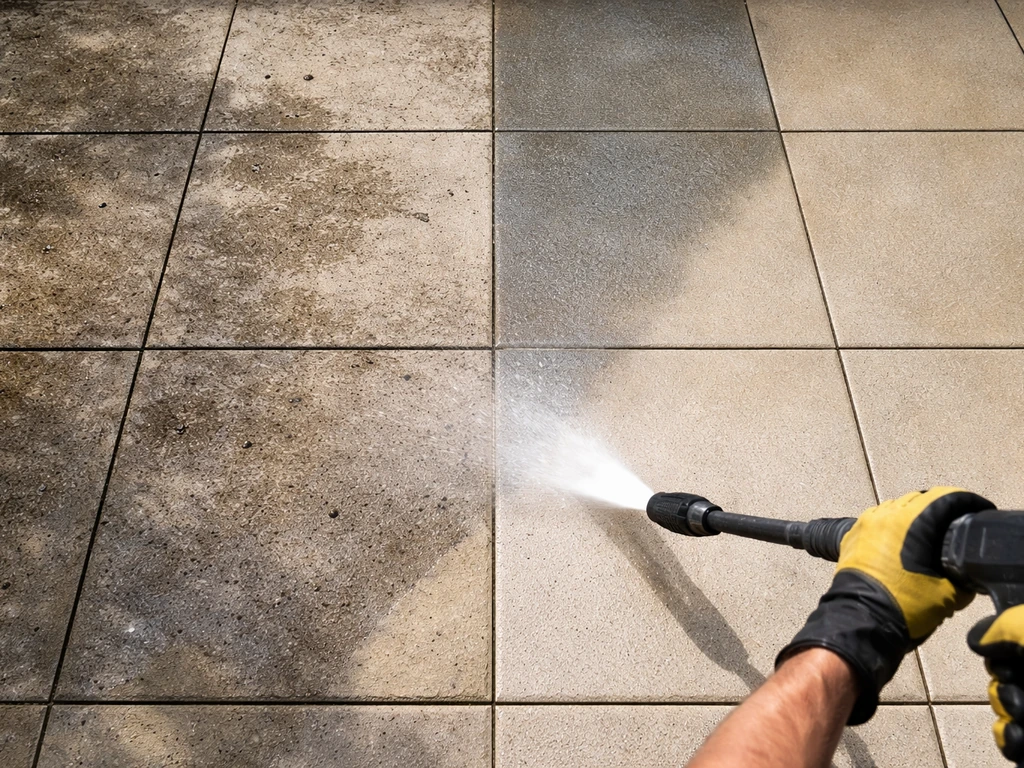
A jet washer, or pressure washer, forces water through a narrow nozzle at high velocity, generating enough impact energy to strip dirt, algae, mold, and grime from hard surfaces. The cleaning power comes from two things working together: the PSI (pressure) and the fan angle of the nozzle. A narrower fan concentrates that force into a smaller area, which hits harder. A wider fan spreads it out and hits more gently. You can dial in the aggression simply by swapping nozzles or adjusting your distance from the surface, which is what makes a pressure washer so versatile.
Jet washing is the right choice when your patio has visible algae, moss, mold, or ground-in dirt that a brush and bucket won't shift efficiently. It's also great for annual maintenance cleaning before you seal a patio or before summer entertaining season. If you're wondering how to powerwash a patio step by step, start with the right pressure for your surface and pre-treat any algae or moss first jet washing a patio.
It is not always the right choice for very soft or crumbling surfaces, old mortar joints that are already loose, or highly polished finishes where the pressure can scratch or dull the surface. If you're dealing with light dust or occasional marks, a stiff brush and soapy water is often faster and gentler. But for a patio that's genuinely green, black, or grimey? Jet washing is unbeatable.
Choose the right pressure washer, nozzle, and pressure settings
The single biggest mistake people make is cranking the pressure up to maximum and using the most aggressive nozzle because it seems like it'll clean faster. It doesn't, it just risks damaging the surface. Here's how to match the equipment to the job.
Pressure washer output: how much do you actually need?
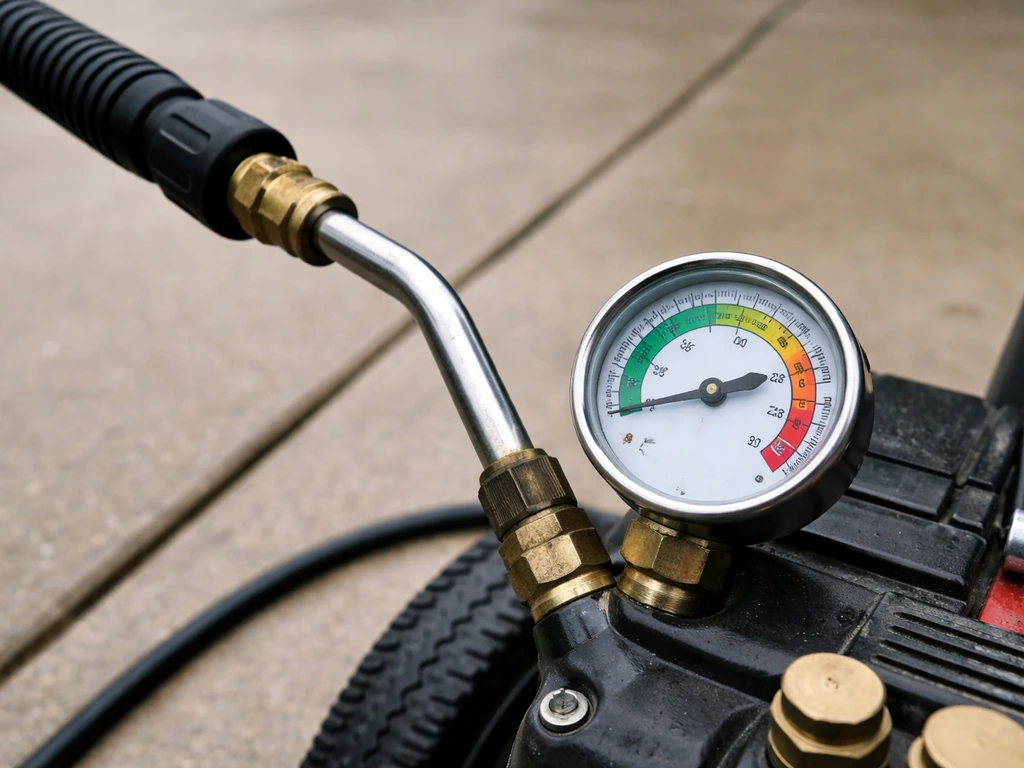
For most residential patio cleaning, a machine in the 1300–2000 PSI range is sufficient. Heavy concrete driveways might benefit from up to 2500–3000 PSI, but delicate surfaces like sandstone or porcelain rarely need more than 1200–1500 PSI. Higher PSI machines clean faster but require more care. A good flow rate (measured in GPM or litres per minute) matters too, a machine with decent flow and moderate pressure often outperforms a high-PSI machine with poor flow, because it rinses loosened dirt away more effectively.
Nozzle angles explained
Pressure washer nozzles are colour-coded by fan angle. The angle tells you how wide the spray fan is, wider means gentler, narrower means more aggressive. Most kits come with a set of interchangeable tips. Here's how to use them for patio work:
| Nozzle (colour) | Fan angle | Best used for | Avoid on |
|---|---|---|---|
| Red | 0° | Point cleaning drains/edges only | Any patio surface — too aggressive |
| Yellow | 15° | Stubborn stains on tough concrete | Brick mortar, stone, porcelain, sandstone |
| Green | 25° | General patio cleaning: concrete, brick, hard pavers | Soft stone, sandstone, slate |
| White | 40° | Delicate surfaces: sandstone, slate, porcelain, painted surfaces | Heavy mold/algae — too gentle |
| Black/soap | Low pressure | Applying detergent/pre-treatment solutions | Rinsing (not enough force) |
The 25° green nozzle is the everyday workhorse for patios and driveways. Start there. If it's not shifting the grime, step closer or try the 15° rather than immediately swapping to it. If you see the surface starting to look scratched or the mortar is lifting, back up or move to the 40°.
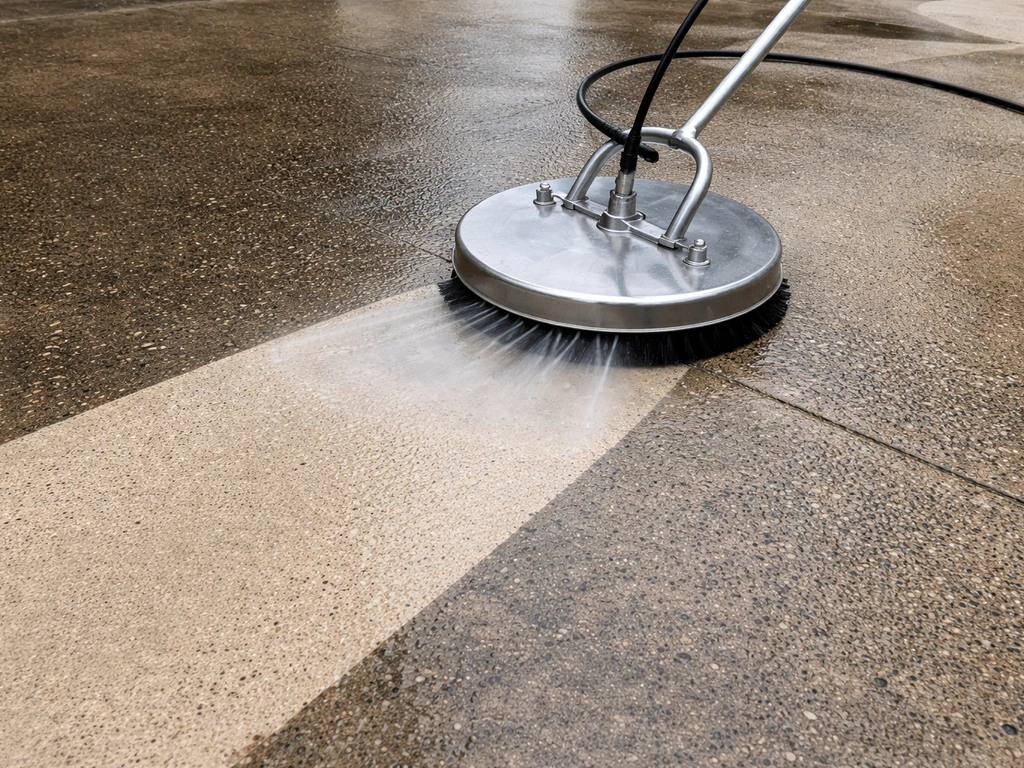
Surface cleaner attachments: worth it for large patios
If your patio is more than about 10 square metres, a rotary surface cleaner attachment is genuinely worth hiring or buying. It connects to your pressure washer lance and uses a spinning spray bar driven entirely by water pressure, no batteries or extra power needed. The rotating action gives you an even, consistent clean without the stripe marks you get from sweeping a wand back and forth at varying heights. Most surface cleaner heads max out around 3300 PSI, so check your machine is within range. They cut cleaning time significantly and produce much better results on large flat areas.
Prep the patio before you start
Ten minutes of prep saves a lot of headaches later. Don't skip this step, I've learned that the hard way after spending 20 minutes jet washing around patio furniture only to have to move it anyway.
- Clear everything off the patio: furniture, plant pots, children's toys, doormats, and decorative stones. Even items you think you can work around will get in the way.
- Sweep away loose debris — leaves, gravel, loose soil. Jet washing over debris just spreads it around and can block nozzles.
- Cover or move nearby plant beds. Jet wash overspray can carry detergent or displaced algae onto plants and borders. A few sheets of cardboard or an old tarp work fine.
- Close windows and doors adjacent to the patio area — overspray carries further than you expect, especially in wind.
- Check drains are clear so water has somewhere to go. Pooled dirty water sitting on the patio after washing is both a slip hazard and a mess.
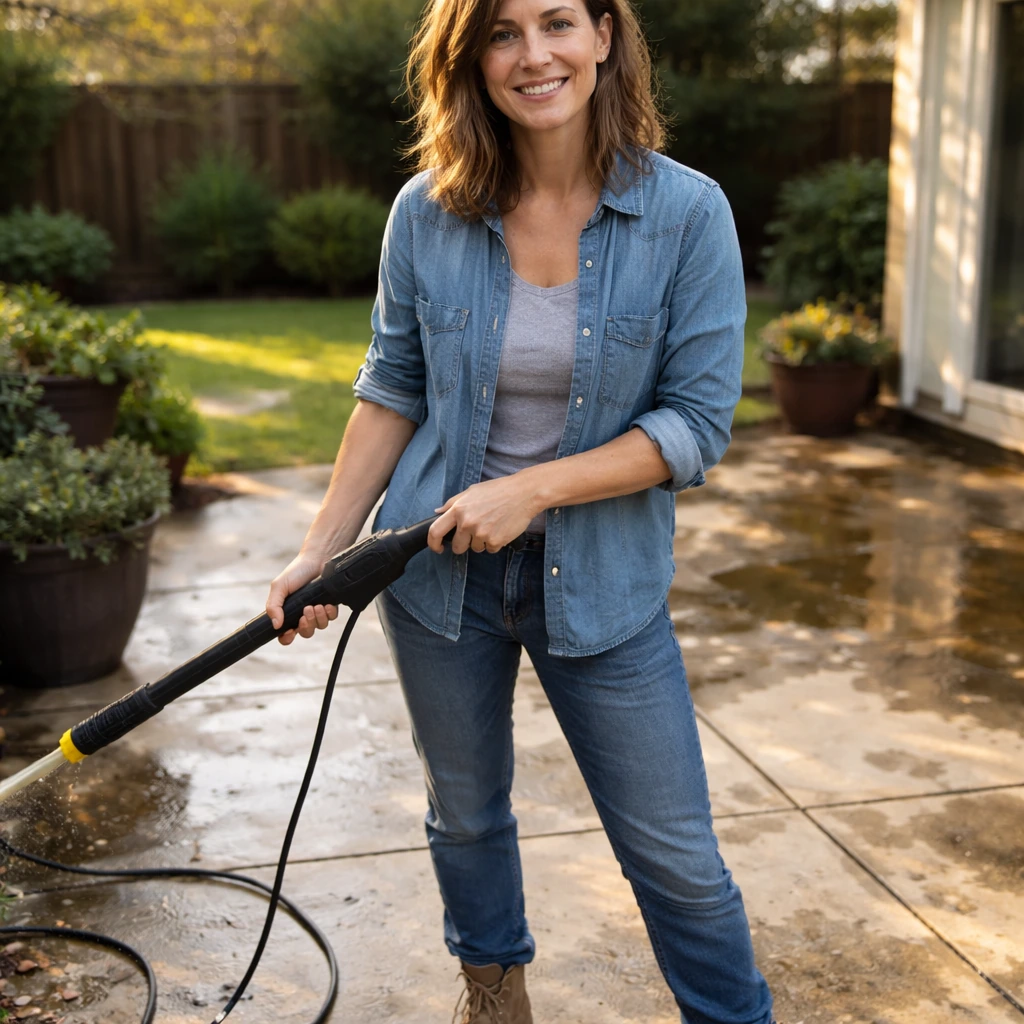
- Put on appropriate PPE: waterproof boots with grip (never jet wash in trainers — the surface gets extremely slippery), safety glasses to protect against debris, and waterproof clothing.
- Keep children and pets well away from the work area. The water jet from a pressure washer can cause serious injury at close range.
If you're using an electric pressure washer and an extension cord, make sure it's a heavy-duty cord rated for outdoor/wet locations, and keep the connection point off the ground and out of standing water. Electric shock is a real risk if you use an undersized or damaged cord outdoors.
Pre-treat stains, mold, algae, and moss before you jet wash
This step transforms your results. Jet washing over mold and algae without pre-treating is like trying to scrub dried paint off without soaking it first, you'll work twice as hard for half the result. Pre-treatment loosens the biological growth and staining so the pressure washer rinses it away rather than just pushing it around.
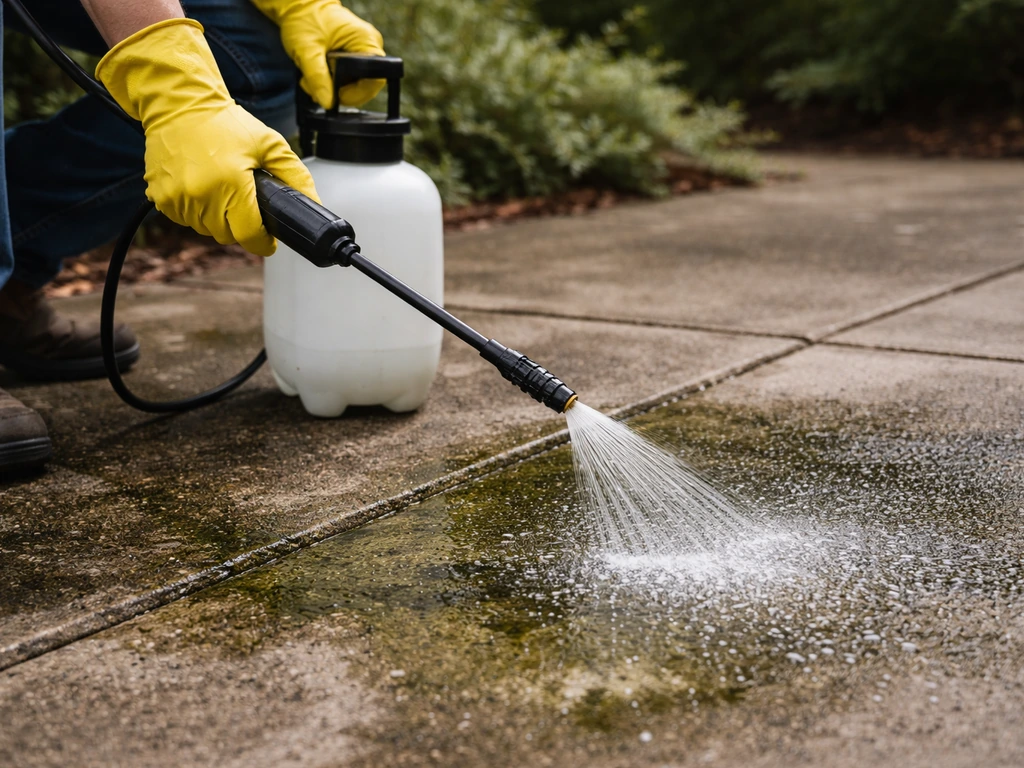
For mold, algae, and moss
Apply a dedicated patio or path cleaner (sometimes called an algaecide or bio wash) using either a garden sprayer or the low-pressure soap nozzle on your jet washer. Coat the affected areas thoroughly. Most products need a dwell time of at least 10–20 minutes to break down the growth. Don't let the product dry on the surface, if it starts to dry in warm weather, mist it lightly with water to keep it active. After dwell time, the moss and algae should look darker and softened, that's when you jet wash.
For efflorescence (white chalky deposits)
Efflorescence is that white, powdery, salt-like residue that appears on brick, concrete, and stone when moisture moves through the masonry and brings minerals to the surface. To treat it, blank" rel="noopener noreferrer">use a concrete and masonry cleaner or dedicated efflorescence remover. Apply it with a pump sprayer, allow a dwell time of around 5–8 minutes, and don't let it dry on the surface. Scrub lightly with a stiff brush, then rinse thoroughly. Some stronger acid-based products (like hydro-etch formulas) require neutralising the surface with clean water after treatment, check the label and verify with a pH strip if instructed. Always follow the safety data: blank" rel="noopener noreferrer">don't mix these products in metal containers, avoid breathing the spray mist, and rinse thoroughly.
For grease and oil stains
Apply a degreasing detergent or specialised concrete degreaser and work it into the stain with a brush before jet washing. Let it sit for 5–10 minutes. Pressure washing alone rarely shifts deep oil stains without a pre-treatment dwell step.
Natural alternatives
If you want to avoid chemicals near plants or pets, a strong solution of white vinegar (undiluted) can help loosen light mold and algae, though it works less aggressively than proprietary cleaners. A paste of bicarbonate of soda and water works on some surface stains. These options take longer and may need more elbow grease but are a reasonable choice for light or occasional grime.
Jet-washing technique by patio material
The technique changes depending on what your patio is made of. Getting this right is the difference between a clean, undamaged patio and one that looks etched, patchy, or has blown-out mortar joints. Here's what works for each common material.
Concrete
Concrete is the most forgiving surface to jet wash. Use the 25° nozzle at 1500–2500 PSI, or the 15° for really stubborn staining. Hold the wand 20–30cm from the surface and work in overlapping passes with consistent, even strokes. A surface cleaner attachment is ideal here because it eliminates the stripes you often get from wand sweeping. For heavy moss or algae, always pre-treat first. Avoid concentrating the spray on one spot for more than a second or two, even concrete can be etched or surface-pitted if you linger.
Brick
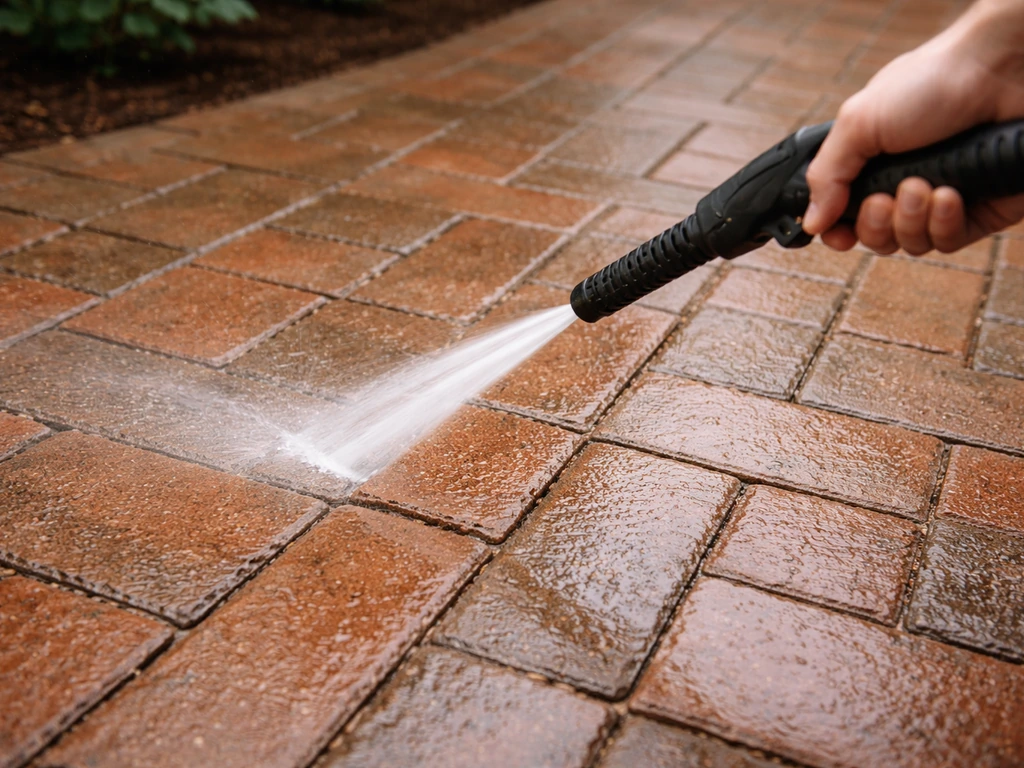
Brick patios need a bit more care because the mortar joints are softer than the bricks themselves. Use the 25° nozzle at around 1200–1800 PSI and keep the spray at an angle, don't point the nozzle directly into the mortar joints, as even moderate pressure can erode and hollow them out over time. Work at around 30cm distance and sweep the wand parallel to the brick courses rather than across them. If mortar joints are already cracked or crumbling, consider re-pointing before jet washing, as the water will make the damage worse.
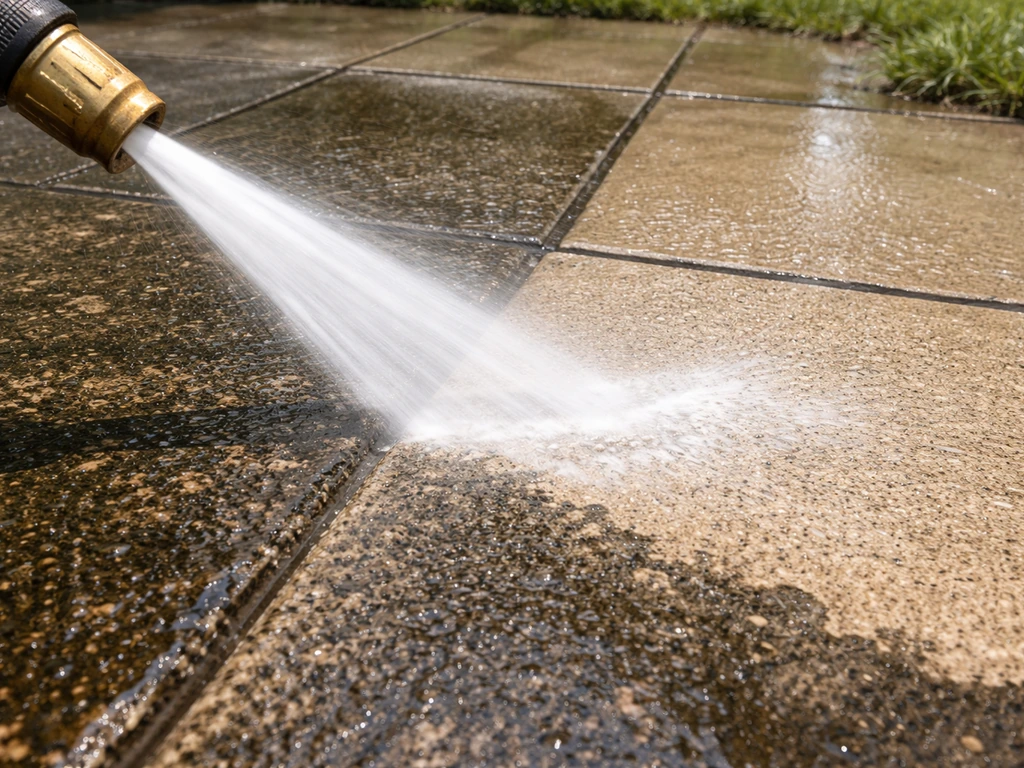
Natural stone and slate
Natural stone varies hugely in hardness and porosity, so treat it with caution. Slate, limestone, and similar materials can be surface-damaged by aggressive pressure. Use the 40° nozzle at 1000–1500 PSI, hold the wand at 30–40cm distance, and keep the spray moving at all times. The key principle from Kärcher is useful here: the water pressure is greatest right in front of the nozzle, so you can clean stubborn spots by moving slightly closer, and back off for lighter or more sensitive areas. Never use acid-based cleaners on limestone or marble-type stone as it will etch the surface.
Sandstone
Sandstone is soft and porous, this is the surface I'd be most careful with. Stick to the 40° nozzle, keep pressure under 1200 PSI, and hold the wand at 40–50cm distance. Work lightly and evenly. Sandstone is easily etched or 'furred' by too much pressure, which permanently changes the surface texture. Pre-treatment for algae is especially important on sandstone because you want the chemical to do most of the work rather than relying on physical pressure.
Porcelain
Porcelain is dense and relatively non-porous, but the glaze or textured finish can be damaged by aggressive nozzle angles. Use the 40° nozzle at 1200–1500 PSI and keep a good 30–40cm standoff distance. Keep the lance moving constantly, porcelain shows pressure marks quickly if you dwell in one spot. The grout lines between porcelain tiles are usually a much softer material and should be treated like brick mortar joints: don't blast directly into them.
Quick-reference surface guide
| Surface | Recommended nozzle | Pressure range (PSI) | Standoff distance | Notes |
|---|---|---|---|---|
| Concrete | 25° (green) | 1500–2500 | 20–30cm | Surface cleaner attachment ideal for large areas |
| Brick | 25° (green) | 1200–1800 | 30cm | Angle away from mortar joints; check joints first |
| Natural stone / slate | 40° (white) | 1000–1500 | 30–40cm | Keep wand moving; no acid cleaners on limestone |
| Sandstone | 40° (white) | Under 1200 | 40–50cm | Most delicate — let chemical pre-treatment do the work |
| Porcelain | 40° (white) | 1200–1500 | 30–40cm | Avoid dwelling; protect grout lines from direct blast |
Rinsing, drying, finishing, and what to do next
Rinsing
After jet washing, rinse the entire patio with a fresh pass using clean water. This removes any loosened debris, residual detergent, or displaced algae that's sitting on the surface. If you used a chemical pre-treatment, this rinse step is especially important, residual cleaner sitting on the surface can cause staining or interfere with any sealer you plan to apply. Work from the highest point of the patio down toward the drain so dirty rinse water doesn't flow back over clean areas.
Drying and sealing
Allow the patio to dry fully before applying any sealer or jointing compound, this typically takes 24–48 hours in normal conditions, longer in cool or damp weather. Sealing is optional but genuinely worthwhile for porous surfaces like sandstone, concrete, and natural stone. A penetrating sealer reduces the rate at which algae and moss recolonise the surface, makes future cleaning much easier, and helps protect against staining. Most penetrating sealers need 24–48 hours to fully cure after application.
Troubleshooting common problems
- Streaking or tiger-striping: almost always caused by inconsistent wand height or speed. Next time, use a surface cleaner attachment or consciously keep passes even and overlapping. If streaks are already there, you can re-wash the area with more controlled, overlapping passes.
- Surface etching or white patches: you were too close, pressure too high, or nozzle too narrow. For concrete, light etching often weathers out. On stone or porcelain, it can be permanent. Always test a hidden corner first if you're unsure about a surface.
- Missed spots or patchy cleaning: usually means the pre-treatment didn't work long enough, or you moved the wand too fast. Go back over those areas after re-applying pre-treatment and allowing a full dwell time.
- Blocked nozzle: remove the nozzle, use the small cleaning wire usually included in the kit to clear the orifice, then flush from the back with water. Never use a metal object that could enlarge the orifice and change the spray pattern.
- Mortar blowing out of brick joints: pressure is too high or you're too close and pointing directly into the joints. Switch to a wider nozzle, increase standoff distance, and angle the spray to sweep across the surface rather than into the joints.
- Patio is slippery after washing: this is normal — the surface is wet. Don't step on it without grip-soled footwear until it's fully dry. If it remains slippery after drying, consider applying an anti-slip treatment or a textured sealer, especially on smooth porcelain or slate.
How often should you jet wash your patio?
For most patios in the UK or in shaded, damp climates, a thorough jet wash once a year is about right, typically in spring after winter growth, or in early autumn. Jet wash patio tips can help you avoid damage while still getting that deep clean, especially when you match pressure and nozzle angle to your patio material jet wash once a year. A sealed patio can often go two years between full washes. If you're seeing significant green growth within a few months of cleaning, consider applying a longer-lasting algae inhibitor or biocide after the next wash, and look at whether improving drainage or sunlight access is feasible to slow regrowth.
Equipment and products to consider for the future
If you're borrowing or hiring a pressure washer for a one-off clean, a mid-range electric machine in the 1600–2000 PSI range handles most residential patios comfortably. If you're buying for repeated use, look for a model with an interchangeable nozzle set and compatibility with a surface cleaner attachment, that combination covers the vast majority of patio cleaning jobs. For a quick buying guide, the best steam cleaner for patio is the one that matches your patio size and surface type while delivering steady heat and pressure without damaging finishes. Keep a stock of patio algae/moss pre-treatment, a compatible patio sealer for your surface type, and a bottle of degreaser for spot-treating any oil or food stains between full washes.
There's more detail on specific patio materials, the best nozzle combinations for tricky jobs, and working in wet weather elsewhere on this site, including tips specifically focused on getting better results from pressure washing and what to know if you're thinking about jet washing during rainy periods. Once you've done this a couple of times with the right setup, it becomes one of the most satisfying maintenance jobs you can do, a patio that was almost black with algae looking genuinely clean in under an hour.
FAQ
Can I jet wash a patio when the surface is still wet or it has rained recently?
Yes, but only if you do it the right way. Use a wide fan nozzle (around 40°) and keep the wand moving, standoff roughly 30 to 50 cm depending on the surface. Avoid lingering because even concrete can get pitted. If the algae is just starting, pre-treat first so you rely less on brute force, then do a light rinse pass to lift loosened growth without blasting grout or mortar.
How do I tell the difference between efflorescence and detergent residue after jet washing?
If you see white, powdery residue, separate the likely cause. Efflorescence (salt-like powder) is mineral movement, it needs a masonry/efflorescence remover plus a proper dwell time and rinse. Limescale or soap residue from detergent looks similar but usually clears more easily with thorough rinsing and sometimes a targeted cleaner. Test a small inconspicuous area and let it dry fully, then decide if you need efflorescence treatment or just more rinse.
What is the correct order of operations, pre-treatment first or pressure first?
For most situations, start with the gentlest approach that matches the material, then increase only if needed. A practical order is: pre-treat (algae/mold or degreaser) first, then start with about 25° at moderate pressure on concrete and brick, rinse, and only if grime remains adjust distance or swap to a narrower nozzle for short bursts. If mortar starts to hollow or the surface looks etched, stop and back off immediately rather than trying to push through.
What should I do if the patio still has oil or rust stains after jet washing?
Stain removal often fails when oil or rust is tackled with plain rinsing pressure. Degrease by applying a concrete degreaser to the stain, work it in with a brush, let it dwell about 5 to 10 minutes, then jet wash. For rust, you may need a rust-specific remover and you should check compatibility with your stone type first, since some products are acidic and can damage limestone or marble-like materials.
Why does my patio look streaky or patchy after jet washing?
Use a surface cleaner attachment for flat areas to reduce streaking and swirl effects, but keep it within its intended pressure range. Also, avoid overlapping by too much or too little. A consistent overlap pattern and steady walking speed help, because pressure washers can leave striping when you change height, slow down at edges, or sweep unevenly.
Can jet washing permanently damage concrete or stone, even if I use the recommended PSI?
Yes, it can. Even when you use the “right” PSI, prolonged nozzle dwell on one spot can etch concrete, lift mortar, or create permanent texture changes on sandstone and some textured finishes. The fix is technique: keep the lance moving, limit pauses, and use a surface cleaner for large flat concrete where you want uniform results.
When can I apply sealer after jet washing, and how can I tell it is actually ready?
Most of the time you should only seal after everything is fully dry and any cleaner residue has been rinsed away. Plan for about 24 to 48 hours in normal weather, longer in cool or damp conditions, and do not seal if you still smell chemical or see dark damp patches. For best results on porous surfaces, ensure the surface passes the “dryness test” by checking for a uniform dry color before applying penetrating sealer.
Is vinegar or bleach a safer substitute for algae treatment before jet washing?
Bleach-based cleaners can work for some growth, but they are not always compatible with all patio sealers and can cause residue or discoloration if you do not rinse extremely well. If you want lower-risk options around plants, vinegar can help with light growth but is typically less aggressive than designed bio cleaners. If you plan to seal soon, pick a cleaner intended for patio use, follow dwell time carefully, and rinse thoroughly.
Should I re-point my brick patio before jet washing if the mortar is already cracked?
If you see cracking or loosened mortar, jet washing can worsen it because water gets into gaps and expands the damage over time. For cracked or crumbling joints, re-pointing first is the safer route. If you are unsure, start with gentler settings on brick, angle away from mortar lines, and stop if you notice joints getting wider or edges lifting.
What safety steps should I take if I’m jet washing near plants, pets, or electrical outlets?
Yes, but protect both the power supply and the environment. For electric units, use a heavy-duty outdoor cord rated for wet locations, keep connections elevated and out of pooled water, and never run cords through puddles. For chemicals, avoid overspray onto beds and drains, apply with a sprayer rather than a high-pressure fan when possible, then rinse the patio thoroughly when the dwell time is done.
Next Article
How to Powerwash a Patio: Step-by-Step for Concrete
Step-by-step guide to powerwash a concrete patio safely, choosing the right washer, nozzles, pressure, and cleaning solu