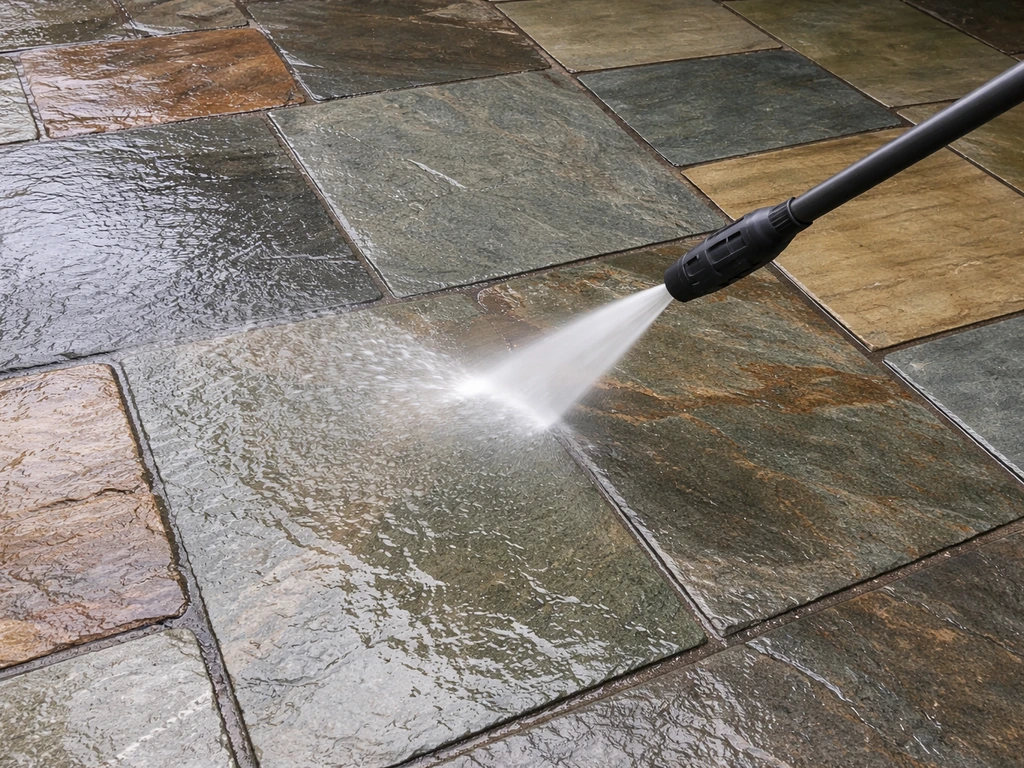
Pressure washing can absolutely damage a patio, but whether it actually does depends almost entirely on three things: the surface material, the PSI and nozzle you use, and how close you hold the wand. If you are wondering is it ok to power wash patio pavers, the safest approach is to match the PSI, nozzle, and distance to the paver type and condition pressure washing can absolutely damage a patio. Get those right and pressure washing is one of the fastest, most satisfying ways to clean an outdoor space. Get them wrong and you end up with etched concrete, blown-out mortar joints, chipped stone, or water forced under your slabs. The good news is that most damage is avoidable once you know what to watch for.
Does Pressure Washing Damage a Patio? How to Clean Safely
Rhea Lang
10 Jul 2026
How pressure washing actually damages patios (and when it doesn't)
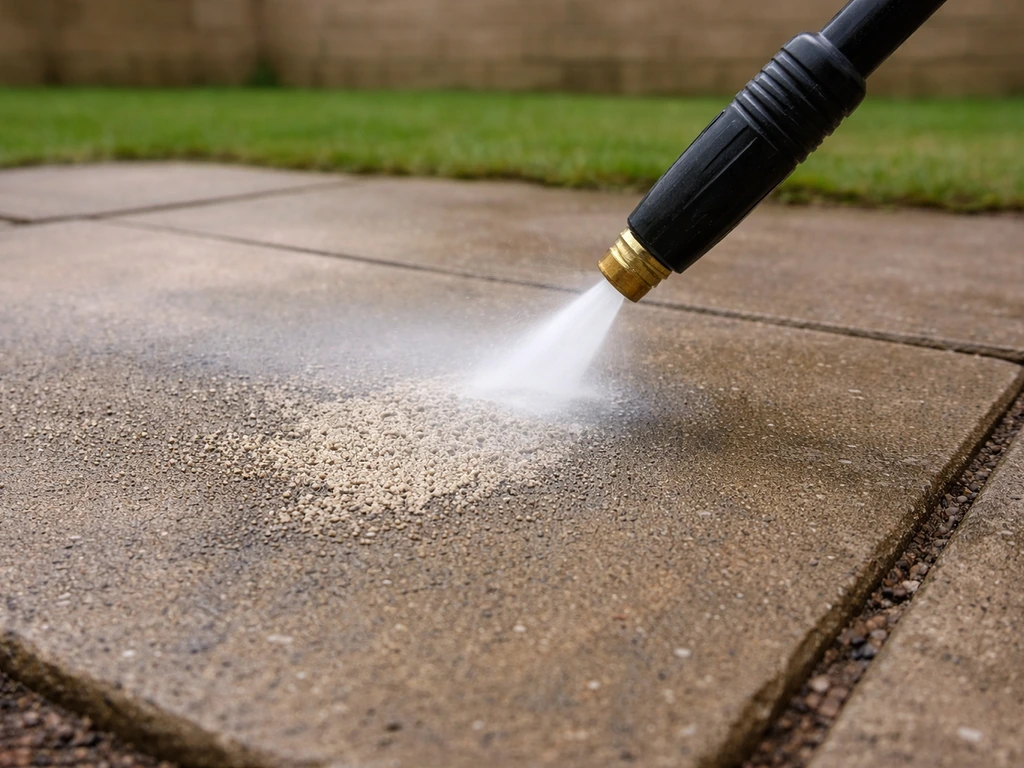
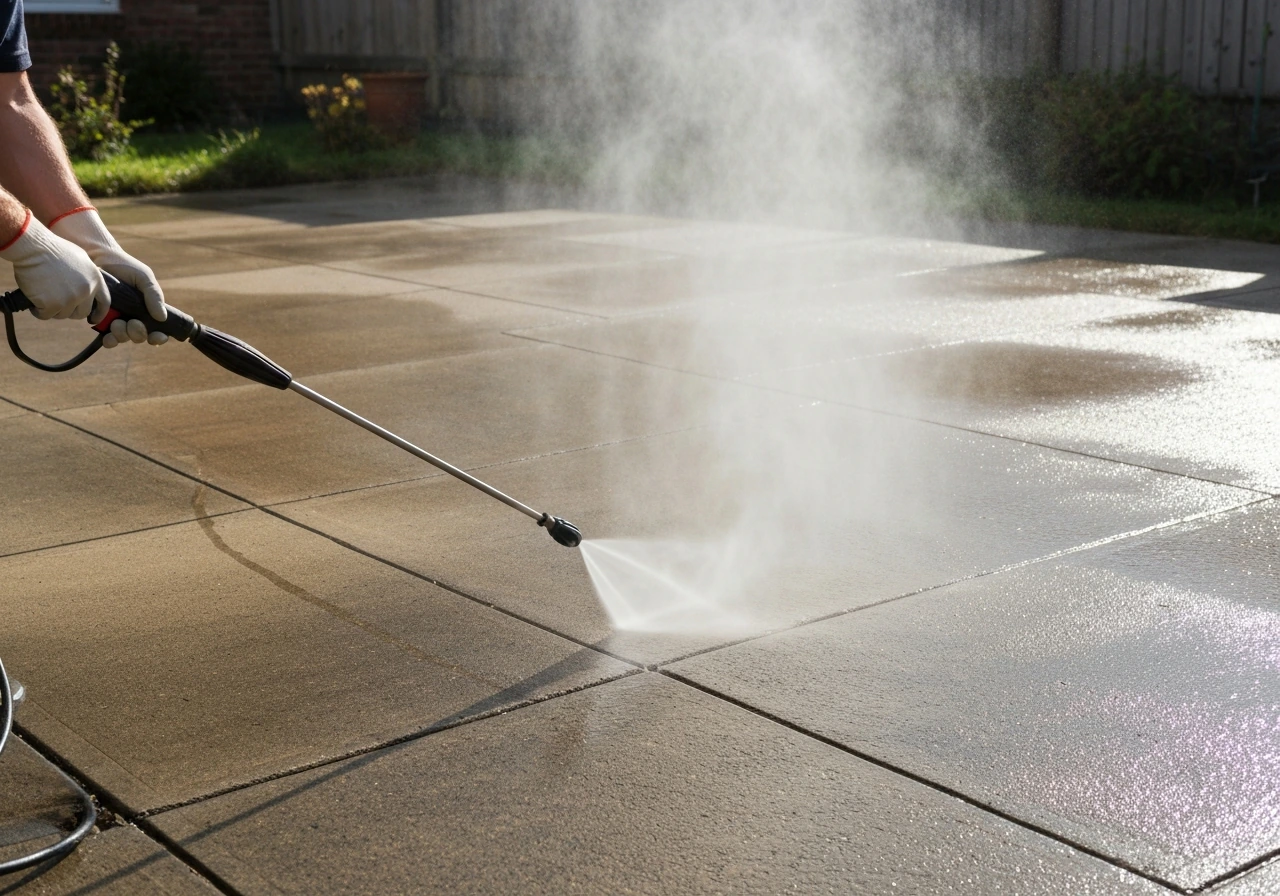
The damage modes are pretty consistent across surface types. The first is surface erosion or etching, where the water jet physically removes the top layer of material. This shows up as a dull, roughened patch on concrete, or a pitted, spiderweb texture on softer stone. The second is spalling and chipping, where concentrated pressure forces small flakes off the surface face. The third is mortar joint erosion, where the pressurised water scours out the pointing between pavers, bricks, or slabs. Over time this loosens individual units and lets weeds and water in. The fourth is water intrusion, where too much water forced under slabs or through cracked surfaces causes shifting, frost damage over winter, and efflorescence staining.
None of this happens if the surface is in good condition and you're using appropriate settings. Solid, well-cured concrete or porcelain at the right PSI with a wide-angle nozzle and correct standoff distance? You'll be fine. The problems come when people grab whatever machine is available, fit a zero-degree nozzle, and blast away from six inches. I've seen homeowners destroy a perfectly decent sandstone patio in an afternoon doing exactly that. If your next task is patio cushions, you can use the same careful pressure and technique mindset from how to clean patio cushions with pressure washer as a related option.
Damage risks by patio surface type
Not all patio surfaces handle pressure the same way. Here's a practical breakdown of what to expect from each common material.
| Surface | Safe PSI Range | Main Risk | Notes |
|---|---|---|---|
| Concrete (sound) | 2,000–3,000 PSI | Etching if too close or zero nozzle | Use 25° or 40° nozzle, keep 12–18 inches away |
| Concrete (spalled/cracked) | 1,500–2,000 PSI | Worsening existing damage | Lower pressure; consider chemical clean instead |
| Brick | Under 700 PSI at nozzle | Mortar erosion, surface spalling | High risk; wide fan nozzle essential, wet brick first |
| Natural stone (general) | 800–1,200 PSI | Surface pitting, scratching | Test spot mandatory; avoid tight nozzles |
| Sandstone | 500–800 PSI | Rapid surface erosion | Very soft; soft washing often safer |
| Slate | 800–1,000 PSI | Delamination, flaking | Fragile layered structure; low pressure and wide angle only |
| Porcelain | 1,500–2,000 PSI | Grout joint erosion | Tiles themselves are tough; joints are the weak point |
| Pavers (concrete/block) | 1,500–2,500 PSI | Joint sand washout | Re-sand joints after cleaning |
Concrete
Concrete is the most pressure-tolerant patio surface. Sound, well-cured residential concrete handles 2,500 to 3,000 PSI without structural problems. If your concrete already shows surface scaling, fine cracks, or flaking, drop to 1,500 to 2,000 PSI to avoid making things worse. The danger zone is the zero-degree nozzle held close, which concentrates all that force into a pencil-thin jet and will etch a visible line into the surface faster than you'd think.
Brick
Brick is far more vulnerable than most people realise. Preservation guidance puts the safe nozzle pressure at under 700 PSI for brick, specifically because both the brick face and the mortar joints are at risk above that. That's well below what a standard domestic pressure washer delivers on its default setting. If you're cleaning a brick patio or wall, you genuinely need to throttle right back, use a 40-degree wide fan nozzle, and wet the surface first. If the mortar is already old or crumbling, seriously consider a chemical clean instead.
Sandstone and slate
These two are the ones that catch people out most often. Sandstone is porous and relatively soft, and a pressure washer running at 1,400 PSI with a standard nozzle will physically abrade the surface in a single pass. Slate is a layered stone and the delamination risk is real: too much pressure forces water between the layers and can cause flaking. For both, I'd generally say keep the PSI below 1,000, use a 40-degree nozzle, stay at least 18 inches away, and test a hidden corner first. For historic masonry, the blank" rel="noopener noreferrer">GSA advises limiting jet pressure, including not to exceed 300 psi for certain washing steps (with mockup approval) and not to exceed 400 psi for rinsing. If you want the safe option, a dedicated stone cleaner applied with a brush or soft wash does the job without the risk.
Porcelain
Porcelain tiles themselves are dense and tough, and the tile surface can handle reasonable pressure without issue. The vulnerability is the grout joints. High-pressure water directed straight at the joints will erode the pointing over time, loosening tiles and opening up channels for water. Keep the spray moving, use a surface cleaner attachment where possible, and check the joints afterwards. If you're curious about the specifics for porcelain, this topic comes up in detail in the guide on pressure washing porcelain patios.
Different stains need different approaches
Pressure washing alone doesn't always get the best result on specific stain types, and in some cases it actually makes things worse. Here's how to match the treatment to the problem.
Mold, algae, and moss
This is where pressure washing often falls short if you skip the pre-treatment step. A pressure washer will blast the visible green or black growth off the surface, but if the spores and roots remain, regrowth happens within weeks. The right approach is to apply a patio biocide or algaecide first, let it dwell for 15 to 30 minutes to kill the growth at the root, then rinse off with the pressure washer. This gives you a much cleaner result and a longer-lasting one. For heavy moss particularly, a stiff brush after the dwell time and before pressure washing also helps.
Rust stains
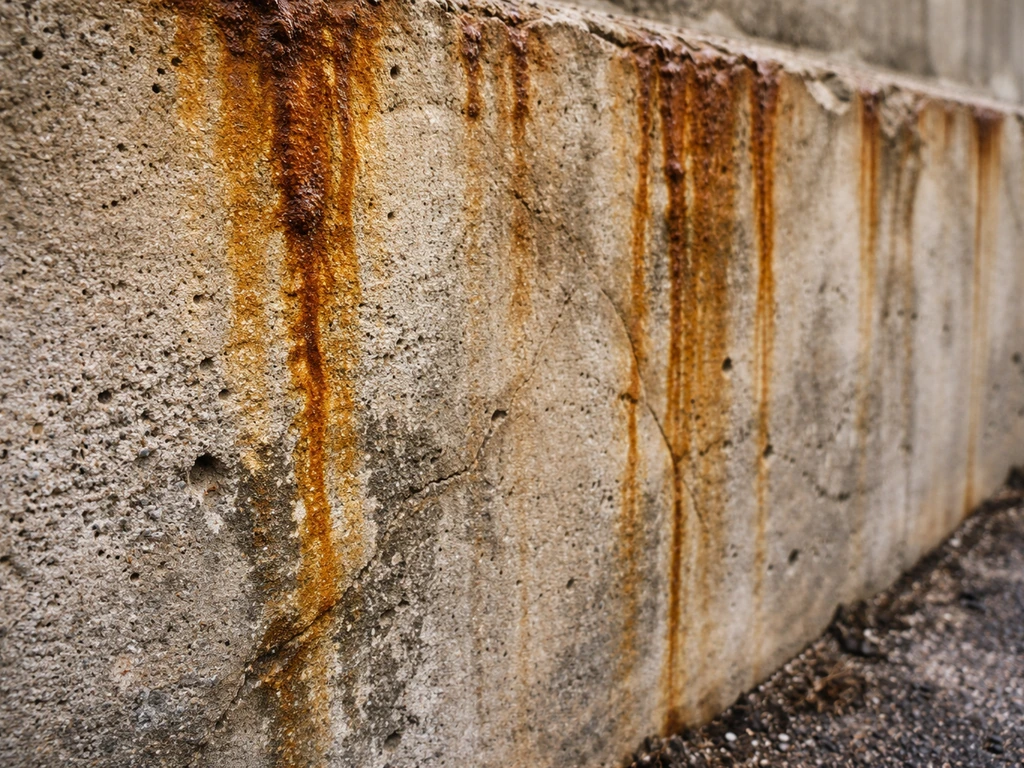
Pressure washing does nothing for rust. Those orange-brown stains come from iron compounds bonding chemically with the stone or concrete surface. You need an oxalic acid-based rust remover applied directly to the stain, left to dwell, and then scrubbed and rinsed. Apply the rust remover before any pressure washing session to avoid spreading the stain across a wider wet area.
Grease and oil
Grease is hydrophobic, meaning water (even high-pressure water) tends to push it around rather than remove it. You need a degreaser or alkaline patio cleaner applied first. Let it break down the oil, then use the pressure washer to flush it away. Using hot water (if your machine has that capability) dramatically improves results on grease. A surface cleaner attachment also helps avoid spreading the greasy water across clean areas.
Pet stains
For urine stains specifically, pressure washing will dilute and rinse away visible residue but won't neutralise the odour compounds. You need an enzyme-based outdoor pet cleaner applied first to break down the uric acid, then rinse. On porous surfaces like sandstone or natural stone, the urine can penetrate deep, so multiple treatments may be needed. High pressure can actually drive the contamination deeper into porous stone, so go easy on the PSI for these.
Safe pressure washing setup: PSI, nozzles, distance, and technique
Getting this right is where most DIY mistakes happen. The machine's maximum PSI is not the number you should be working at. You're adjusting pressure to match the surface. Always start with the widest nozzle angle, the most distance, and the lowest practical pressure, then work up if needed.
Nozzle selection
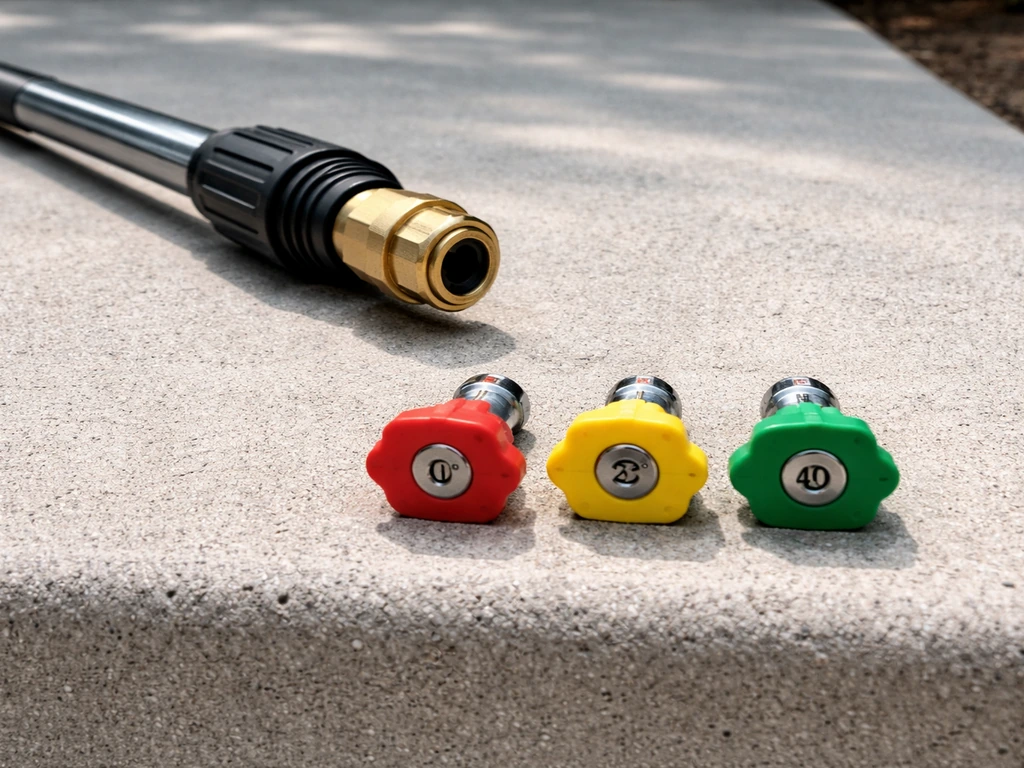
Nozzle colour coding is fairly universal. The red 0-degree nozzle produces a pencil-thin jet with maximum concentrated force. Unless you're clearing a drain, there is almost no reason to use this on a patio surface. The yellow 15-degree nozzle is for heavy-duty stripping tasks on very hard surfaces. The green 25-degree nozzle is your general-purpose cleaning nozzle for concrete. The white 40-degree nozzle is what you want for brick, stone, sandstone, slate, and any fragile surface. A rotary or turbo nozzle spins a zero-degree jet in a cone pattern, combining power with wider coverage. Use this only on robust concrete. A surface cleaner attachment is genuinely worth buying if you have a large patio: it uses two or more spinning jets enclosed in a housing, giving even coverage without streaks, and it prevents the aggressive direct jet that causes etching.
Distance and angle
Pressure drops off significantly with distance. On concrete, start at 12 inches and see how the surface responds. For stone and brick, start at 18 to 24 inches. Never hold the nozzle closer than 6 inches to any surface. Keep the spray at a consistent angle rather than pointing straight down. A slight angle (around 45 degrees) lets debris escape and reduces the force applied directly to the surface. Keep the wand moving; dwelling in one spot even for a second or two on stone can etch a visible mark.
Always do a test spot
This is non-negotiable, especially on natural stone or old brick. Pick a corner or edge that's hidden, run your planned setup on a small area, then assess after it dries. Wet surfaces look different from dry ones and you won't see fine surface damage until things have dried out. I learned this the hard way on a limestone patio years ago: what looked fine when wet showed clear dull patches once dry. That's a good 30 minutes of patience that saves a lot of grief.
Prepping the space before you start
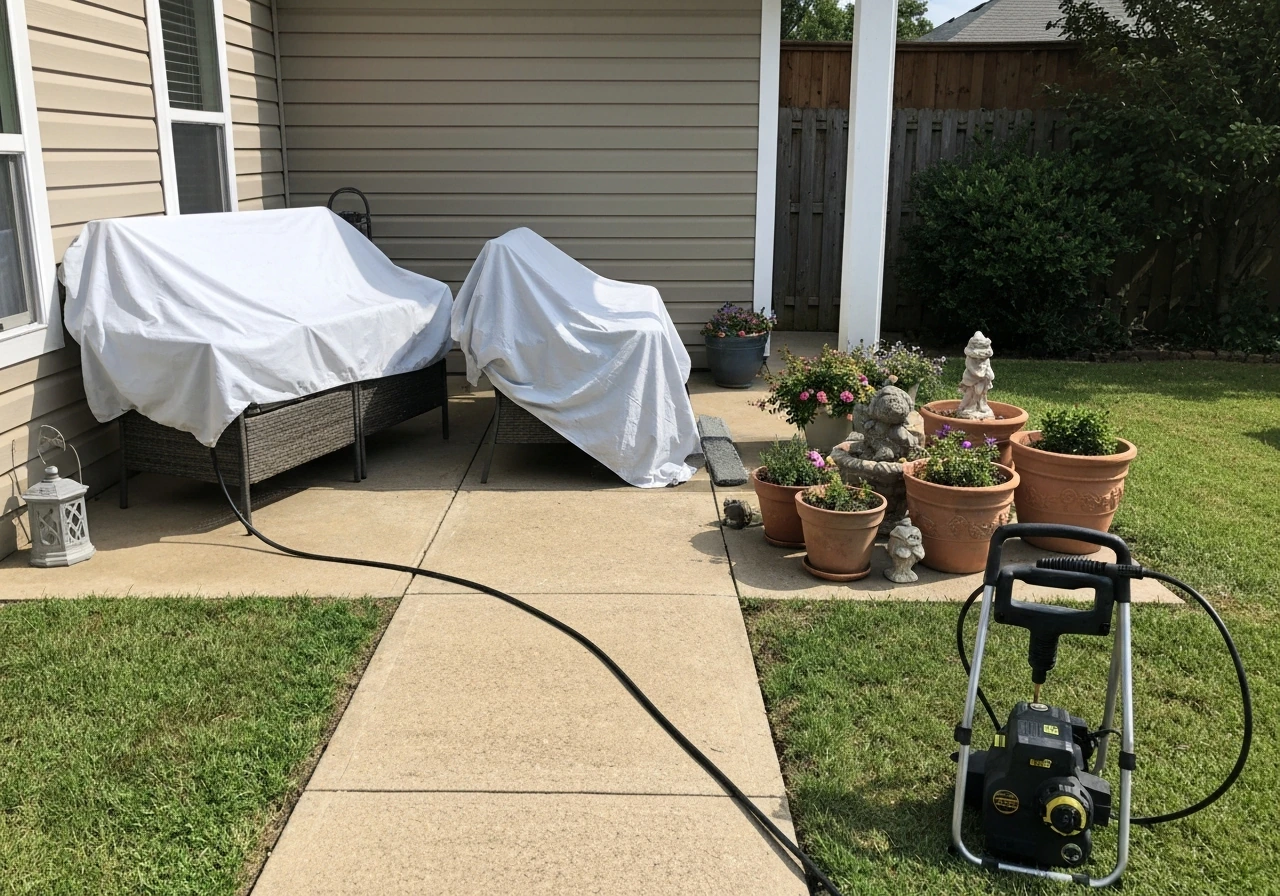
A bit of prep work upfront makes the job safer, cleaner, and protects things you don't want damaged. Here's what to do before you start the machine.
- Move all furniture, plant pots, and garden ornaments off the patio. High-pressure overspray carries debris and cleaning chemicals much further than you'd expect.
- Cover any plants or shrubs at the patio edge with plastic sheeting or old towels. Biocides and alkaline cleaners will burn foliage even in diluted splash form.
- Wet any plants or lawn immediately adjacent to the wash area before starting, and rinse them again after you finish. This dilutes any chemical overspray.
- Clear loose debris (leaves, dirt, twigs) with a brush or leaf blower first. Running a pressure washer over leaf litter just plasters it against the surface.
- Check the mortar and pointing between slabs before washing. Soft, crumbling, or missing mortar means you should re-point before pressure washing or skip pressure washing entirely for that area.
- Block off any drains you don't want to receive heavy silt or chemical runoff. Check your local regulations on what can go to drain.
Sealing: timing matters
If you're planning to seal your patio after cleaning (which is a good idea for most stone and concrete surfaces), get the timing right. The surface needs to be completely dry before sealer goes down, which typically means waiting at least 48 hours after pressure washing in warm weather, or longer in cool or damp conditions. Sealing onto a damp surface traps moisture, causes milky discolouration, and can cause blistering. Don't rush this step.
Weather and surface conditions
Don't pressure wash in freezing or near-freezing temperatures. Water forced into micro-cracks will freeze and expand, worsening any existing damage. Overcast days are actually better than blazing sunshine for using patio cleaners because hot surfaces cause cleaning chemicals to evaporate before they've had time to work. Avoid washing when rain is forecast within a few hours, especially if you're applying a pre-treatment.
When to skip the pressure washer altogether
Pressure washing is not always the right tool. There are several situations where a soft wash approach, chemical cleaning, or manual scrubbing will give better results with less risk.
- Sandstone and very soft natural stone in general. The abrasive force of any meaningful pressure will erode the surface. A diluted stone cleaner applied with a soft brush and rinsed with a garden hose is the safer approach.
- Old or deteriorating brick with crumbling mortar. Even low pressure will continue the erosion. Chemical cleaning with a brick-safe acid or alkaline cleaner, applied carefully and rinsed gently, is far less destructive.
- Any surface with deep existing cracks. Water intrusion under cracked surfaces causes frost heave, settlement, and efflorescence. Clean these chemically and then get the cracks repaired.
- Sealed or painted surfaces where you want to preserve the coating. Pressure washing will strip sealants and paint. Use a mild detergent and soft brush.
- Surfaces around delicate or established planting where chemical runoff is unavoidable.
- Rust and grease stains (as covered above), which need chemical pre-treatment regardless of whether you then rinse with a pressure washer.
Soft washing uses much lower pressure (often below 500 PSI) combined with a higher concentration of cleaning chemicals, letting the chemistry do the heavy lifting rather than force. It's the professional standard for anything fragile and it works well on mold, algae, and moss on sensitive surfaces. If you only have a high-powered machine and no way to dial it down meaningfully, a garden pump sprayer and a brush gets the job done safely on vulnerable materials.
What to do if things went wrong or the cleaning isn't working
If you've already damaged the surface
For etched or roughened concrete, light surface etching can sometimes be partially disguised by applying a penetrating concrete sealer, which evens out the appearance and protects the now-open surface from further weathering. Severe etching or deep grooves typically require professional resurfacing or a concrete overlay product to restore the appearance. For mortar joint erosion from brick or stone work, the fix is re-pointing. This is a job you can do yourself with a bagged pointing mortar mix for small areas, or call in a tradesperson if the damage is extensive. Get this done promptly because open joints let in water and weeds quickly.
For chipped or spalled stone or brick, small chips on individual units can sometimes be colour-matched and filled with exterior stone repair compound. For widespread damage, the honest answer is that those units need replacing. Damaged stone or brick face is not something you can effectively reverse.
If the stains aren't coming off
If you've pressure washed and the patio still looks stained, the problem is almost always that pressure washing alone isn't the right tool for that stain type. Go back to the stain-specific approach: biocide dwell time for organic growth, oxalic acid for rust, alkaline degreaser for oil and grease, enzyme cleaner for pet stains. Apply the appropriate product, allow the full recommended dwell time (people almost always rush this), agitate with a stiff brush, then rinse. If staining persists on porous stone after multiple treatments, a poultice application can draw deep staining out over 24 to 48 hours.
If the surface looks streaky or patchy after washing
Streaky results on concrete usually mean you were washing with inconsistent distance or pressure, or that the surface has differential weathering and porosity. A surface cleaner attachment used in slow, overlapping passes generally eliminates this. Patchy results on stone often mean some areas were wetter than others during cleaning, or that the stone has natural variation in porosity. If this bothers you, a penetrating sealer applied after full drying will even out the appearance and reduce future staining.
The bottom line is that pressure washing a patio safely comes down to matching the equipment settings to the specific surface, using the right pre-treatments for the specific stain, and taking five minutes to do a test patch before committing to the whole area. For most patios, that means choosing the right PSI for your surface type before you start spraying. Most patio damage from pressure washing is not from the machine being too powerful overall, but from settings that weren't adjusted down for the material in front of the nozzle.
FAQ
Can pressure washing damage patio pavers, even if the pavers look tough?
Yes, but only if you can control the pressure and nozzle. Follow the same rule of matching PSI, nozzle angle, and standoff distance to the paver material and condition, then avoid directing the stream straight into joints. After rinsing, inspect joints for sand loss or mortar erosion, since damaged joints are what later loosen pavers and invite weeds.
Is pressure washing more likely to damage an old patio than a newer one?
Use the same test-patch method, but widen your margin of error. On older patios, micro-cracks and already-weak mortar can be invisible until the first cleaning. Start at lower PSI than you think you need, keep the nozzle farther back (18 to 24 inches for most masonry), and re-check after the surface dries fully.
What should I watch for that tells me the pressure is damaging the grout or joints?
For joints, the biggest risk is water scouring out pointing or polymeric sand. If you notice sand washing out or paver edges lifting, stop pressure washing immediately and switch to gentler methods (soft wash or careful hand brushing with cleaner chemistry). You may also need to re-sand or re-point after cleaning.
Does pressure washing damage a patio if it is already sealed?
Yes, sealed patios can still be damaged. If the sealer is worn, aggressive pressure can erode the surface layer and create dull spots, and forcing water under edges can undermine adhesion. If you do it anyway, use lower PSI, a wider nozzle (40 degrees), and keep the wand moving without dwell time.
Can pressure washing damage my sealer or cause blistering later?
Not directly, but pressure washing can be a trigger. If the surface is wet and you apply sealer too soon, you trap moisture and can get milky discoloration or blistering later. Plan for at least 48 hours of dry time in warm weather, and longer if the concrete or stone stays damp.
Why is pressure washing a patio near freezing temperature risky?
It can, especially in cold or near-freezing weather. Water forced into micro-cracks can freeze and expand, widening cracks and accelerating surface scaling. If temperatures are near freezing, postpone until conditions are consistently above freezing for a couple days after washing.
Why does my patio look clean right after washing, but stains come back quickly?
Often, yes. Pressure washing can remove grime but not the chemistry behind stains. For organic growth you need a biocide with dwell time, for rust you need oxalic acid, for grease an alkaline degreaser, and for pet urine an enzyme cleaner. Skipping these steps commonly leads to stains returning or spreading.
Can pressure washing make pet urine stains worse on sandstone or natural stone?
Yes, because it can drive contamination deeper into porous stone and can also spread soluble stains over a larger area. Reduce PSI, use a gentler nozzle, and prioritize enzyme-based treatment for the odor-causing compounds, then rinse thoroughly after the dwell period.
Why are there streaks or patchy areas after I pressure washed my patio?
Streaks usually point to inconsistent technique or the wrong cleaning setup, not just “leftover dirt.” Common causes are changing distance or speed, using direct jets instead of a surface cleaner for concrete, and washing when the surface dries too quickly. Overlap passes, keep distance consistent, and rinse evenly.
Is a surface cleaner attachment safer than using the wand directly?
It depends on what you’re using it for and how you apply it. A surface cleaner attachment is best for broad concrete and helps avoid the etching lines from direct zero-degree or narrow jets. It can still erode weak surfaces if PSI is too high, so choose settings appropriate to the material and keep steady, overlapping passes.
If I already etched or damaged part of the patio, is there a way to recover it with more pressure washing?
Yes, if you have a damaged surface and you try to “fix” it with higher pressure. Etching can create rough texture you cannot fully reverse, and chipping needs repair or replacement of affected units. When you see deep grooves, widespread spalling, or loosening pavers, switch to repair products (re-pointing, patch repair, or professional resurfacing) instead of increasing power.
Next Article
Can You Pressure Wash Slate Patio Safely? PSI and Steps
Answer if you can pressure wash a slate patio safely, with PSI, nozzle, distance, cleaning steps, and what to avoid.