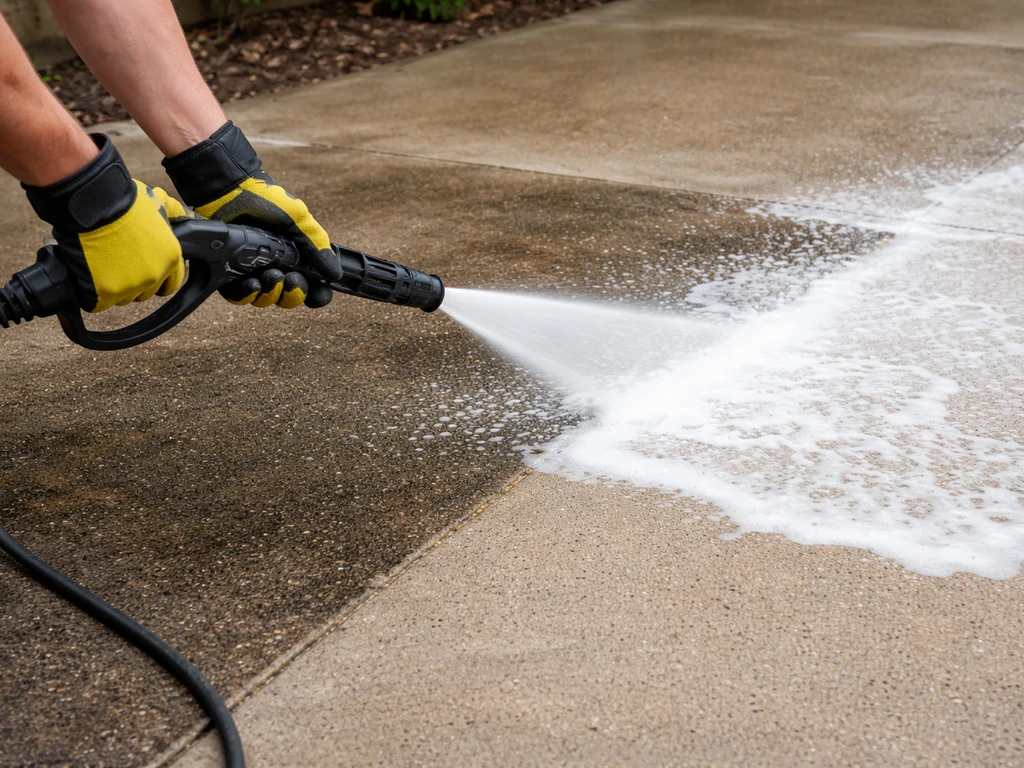
Most Kärcher patio cleaner attachment problems come down to three things: the wrong connector type, the attachment not being fully seated and locked, or a partially blocked nozzle jet. Fix those three and about 80% of issues disappear. The rest are usually a pressure/flow mismatch between your pressure washer model and the surface cleaner head, or a technique problem that causes streaks and uneven results. This guide walks through all of it, from fast diagnosis to surface-specific fixes, so you can get cleaning today.
Karcher Patio Cleaner Attachment Problems: Fixes, Setup, Maintenance

Rhea Lang
10 Jul 2026
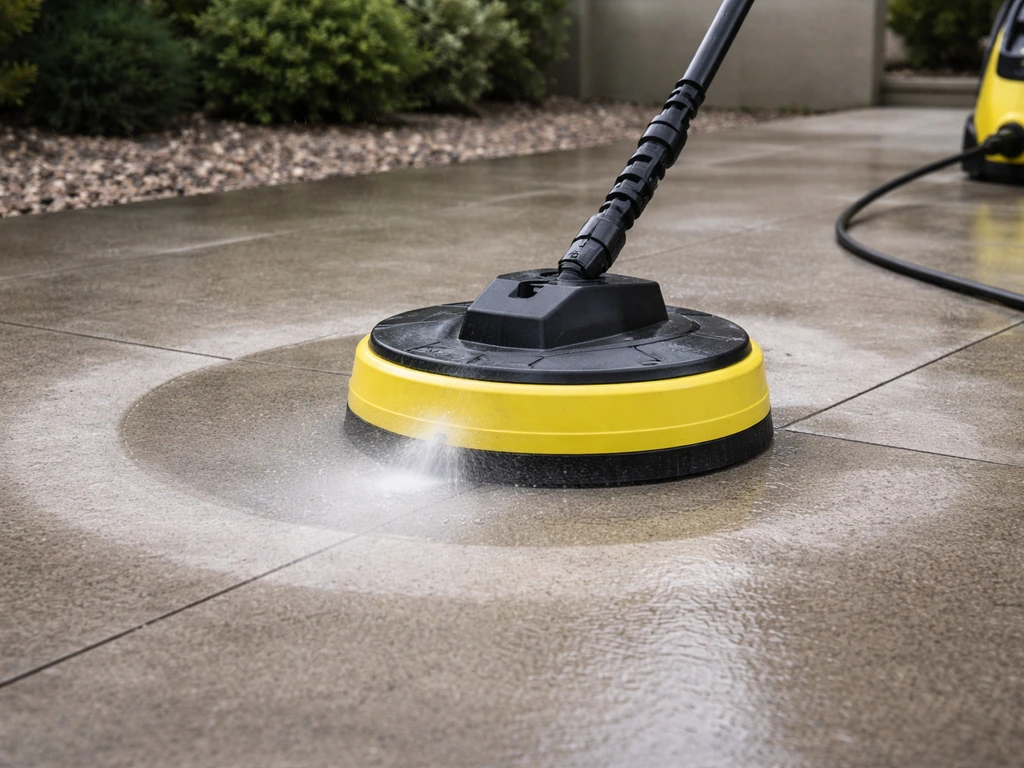
Quick diagnosis: figure out what's actually wrong first
Before you start pulling connectors apart or ordering parts, spend two minutes running through this fast checklist. Most problems fall into one of five categories, and knowing which one you're dealing with saves a lot of time.
| Symptom | Most Likely Cause | Where to Go First |
|---|---|---|
| Won't connect to gun/wand | Wrong connector type (Quick Connect vs bayonet) or not fully latched | Check compatibility section below |
| Weak or no spray from the rotating head | Clogged nozzle jet or mismatched nozzle for your K-class model | Troubleshooting symptoms + maintenance sections |
| Head not spinning | Low pressure, blocked jet, or bearing issue | Spinning issues subsection |
| Leaking at connection point | Wrong connector, worn O-ring, or loose latch | Setup and maintenance sections |
| Streaks or uneven cleaning | Wrong height, uneven movement speed, or wrong pressure for surface | Setup + surface-specific sections |
| Cleans but etches or damages surface | Pressure too high for the material | Surface-specific fixes section |
If your head won't spin at all, there's a dedicated article on that specific problem worth reading alongside this one. But if you've got a combination of symptoms, work through the sections below in order.
Check compatibility: model fit, connector types, and pressure requirements
This is the most overlooked step. People assume any Kärcher patio cleaner attachment fits any Kärcher pressure washer, and that's not how it works. If you're still unsure where that leaves you, follow this step-by-step approach to how to attach Kärcher patio cleaner for a solid, leak-free connection. The K-series machines (K2 through K7) use different Quick Connect generations, and the connector on your surface cleaner head needs to match your gun/hose system.
Quick Connect vs bayonet: know which system you have
Kärcher uses two main connection systems on their domestic range: Kärcher Quick Connect (a push-and-click collar) and the bayonet system (push-twist-lock, similar to a camera lens). Mixing them is the single biggest reason an attachment won't connect properly. If you genuinely don't know which system your machine uses, Kärcher recommends buying their trigger gun and hose kit (part number 2.643-910.0) rather than guessing with adapters. Getting this wrong doesn't just mean a poor fit, it can cause persistent leaks and poor head performance even when it technically clips on.
The T 450 T-Racer, for example, uses a bayonet connection. The instruction manual is explicit: you press the bayonet connector into the gun, then rotate to latch it. If you don't hear or feel it lock, it's not properly seated. Plenty of people have gone through an entire cleaning session with a half-connected attachment, wondering why it's leaking or spraying weakly.
K-series model compatibility
Kärcher's own compatibility guidance is worth checking before you buy or before you assume your existing head is the right match. As a general rule: the T 450 and similar surface cleaners are rated for K3 and above. If you want the exact workflow for what to do on your unit, see how to use patio cleaner with Karcher K3 for step-by-step setup and movement tips.
Running a surface cleaner on a K2 is marginal at best because the flow rate and pressure may not be enough to spin the rotor arm properly and generate even cleaning. Most surface cleaner heads need a consistent minimum of around 300 to 350 bar-litres (pressure x flow combined) to perform well. If you're on a K2 and the head barely spins or cleans weakly, the machine may simply not have enough grunt.
Also worth noting: when using a T-Racer or equivalent with any K2 or above, Kärcher specifies that the high-pressure nozzles must be adapted to match the specific pressure washer being used. The nozzle orifice size (often indicated by nozzle colour) affects the spray angle and pressure delivery at the rotor. Using the wrong nozzle for your machine class leads to weak, ineffective cleaning even when everything else is connected correctly.
Correct setup and usage: connection order, water flow, and movement
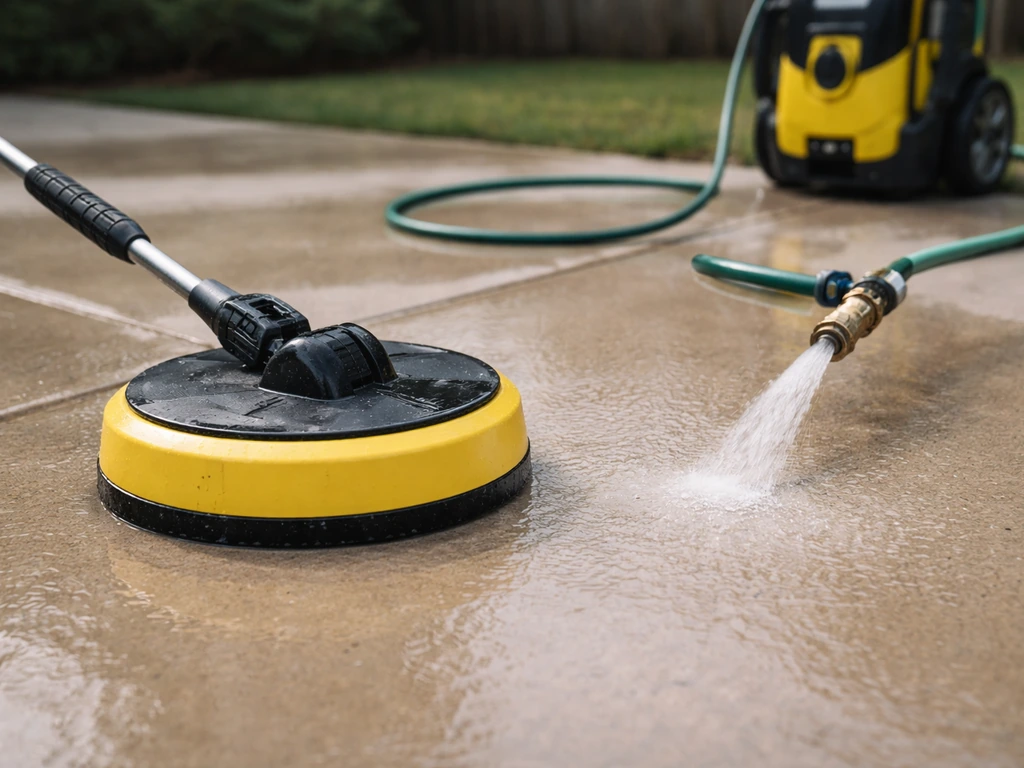
Even with the right attachment and the right machine, poor setup causes a lot of the problems people experience. Kärcher instructs not to trigger the high-pressure jet at the gun until the T-Racer is on the cleaning surface, because this affects early-life performance, streaking, and can prevent dry-spots or cavitation-type behavior do not trigger the high-pressure jet at the gun until the T-Racer is on the cleaning surface. Here's the correct sequence.
- Connect the garden hose to the pressure washer inlet first and turn the water supply on fully before starting the machine.
- Connect the high-pressure hose to the machine, then to your trigger gun.
- Attach the patio cleaner head to the trigger gun using the correct connector (bayonet or Quick Connect). Press firmly and rotate until you feel it lock.
- Place the surface cleaner head flat on the patio surface before you pull the trigger. Kärcher is explicit about this: do not trigger the high-pressure jet while the head is in the air. Doing so causes uneven pressure delivery, can damage the nozzle jets, and creates streaking when you first put it down.
- Start the machine, pull the trigger gently, and confirm the head is spinning and spraying evenly before you begin moving.
- Move in long, overlapping sweeps. Kärcher's own patio and deck cleaning guide specifies using long overlapping strokes to avoid banding or missed strips.
Height and angle
The surface cleaner shroud should sit flat on the surface and essentially glide across it. If you're tilting it or lifting one edge, you'll get a crescent of missed cleaning and visible streaks at the edges of each pass. Keep it as level and consistent as possible. On uneven surfaces like old cobbles or irregular flagstones, you'll naturally get some lift, so slow your movement speed down to compensate.
Surface-specific fixes: concrete, brick, stone, and porcelain
The patio cleaner attachment is genuinely more forgiving than a direct lance, but it can still cause damage on the wrong surfaces or at the wrong settings. Kärcher acknowledges that the recommended approach changes depending on whether you're cleaning natural stone, concrete, clay pavers, or tiles, and that for anything you're unsure about you should check suitability for high-pressure cleaning before you start.
Concrete and concrete pavers
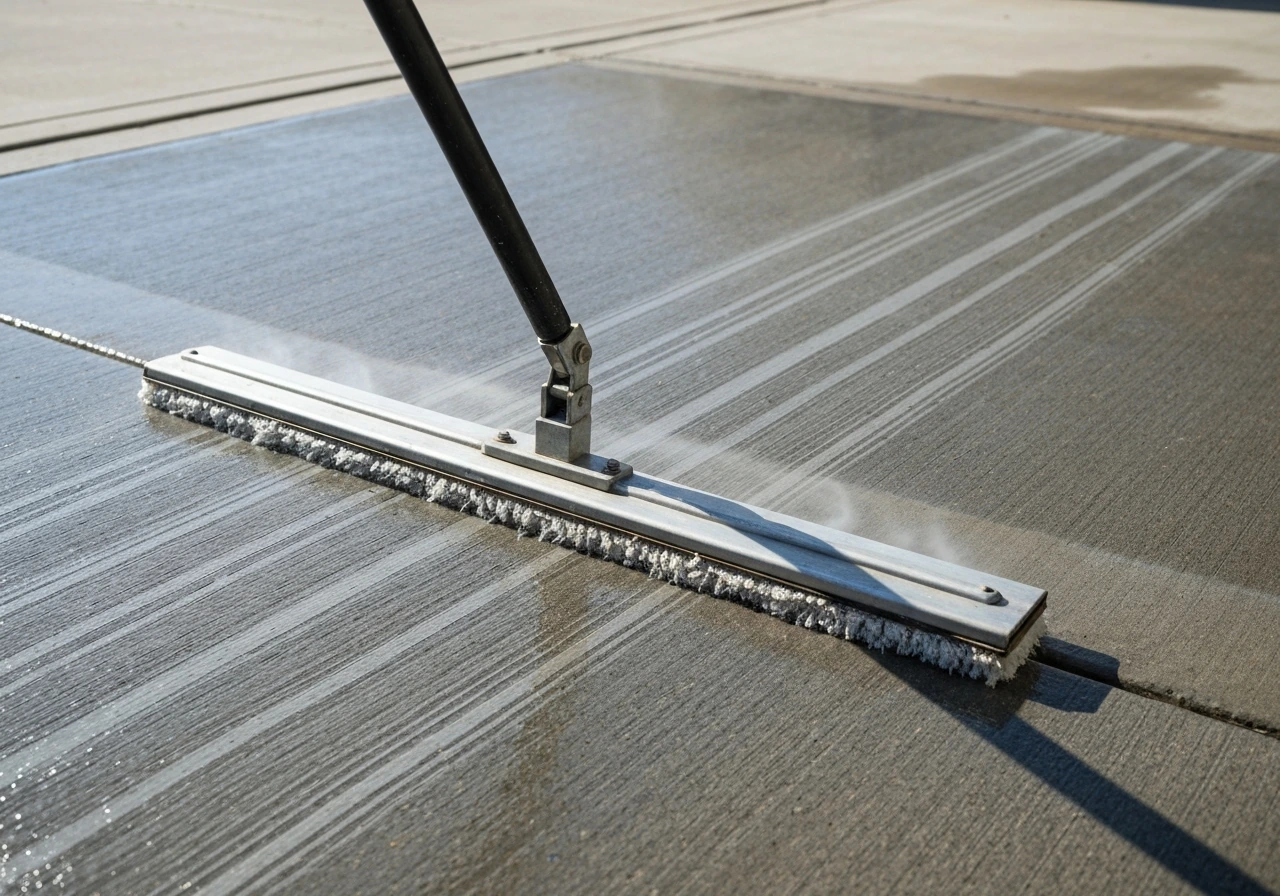
Concrete handles pressure well and is generally the most forgiving surface for the T-Racer. Use your normal K4 or K5 pressure setting, keep the head flat, and use long overlapping passes. Pre-rinse the surface first to loosen surface grit that could scratch or score. If you're getting tiger-stripe lines, you're moving too fast or there's a partial nozzle block.
Brick and clay pavers
Brick is more porous than concrete and the surface can be softer, particularly on older handmade bricks. The bigger risk here isn't the surface itself but the pointing (the mortar between bricks). High pressure blasts mortar out of joints surprisingly quickly, and once it's gone you've created a water ingress problem. Reduce pressure where you can (K3 or lower setting if your machine has variable pressure), and avoid lingering the head over joints. If you're using a K4 on brick, keep moving.
Natural stone: sandstone and slate
Sandstone is the one that catches people out the most. I learned this the hard way on a sandstone patio where full K4 pressure left visible etching marks. Sandstone is soft and layered, and the rotating jets can literally strip the surface texture if you use too much pressure or move too slowly. Use the lowest pressure setting available, do a test pass on an inconspicuous area first, and keep the head moving at a consistent walking pace. Slate is generally tougher but can be slippery when wet, so work carefully and rinse thoroughly.
Porcelain and smooth stone tiles
Porcelain is hard and pressure-resistant, but the grout lines between porcelain tiles are the vulnerability. Use moderate pressure and avoid slow passes over grout lines. Smooth porcelain also shows streaks very readily if you're not using overlapping passes or if you're leaving the head stationary for any reason. With smooth tiles, moving at a consistent pace and rinsing thoroughly after cleaning is what separates a clean finish from a streaky one.
| Surface | Risk Level | Recommended Approach |
|---|---|---|
| Concrete | Low | Full K4/K5 pressure, overlapping passes, pre-rinse |
| Brick/clay pavers | Medium | Reduce pressure, keep moving over joints |
| Sandstone | High | Lowest available pressure, test patch first, constant movement |
| Slate | Medium | Standard pressure, thorough rinse |
| Porcelain tiles | Medium (grout) | Moderate pressure, overlapping passes, full rinse |
Troubleshooting specific symptoms
Low or weak spray from the head
First check: is the water supply fully on and delivering full flow to the machine? A kinked hose or partly-closed tap starves the pressure washer and everything downstream suffers. Second check: the nozzle jet. This is the most common cause of weak spray on a surface cleaner that was working before. Kärcher's troubleshooting guidance directs you straight to the nozzle as the first diagnostic step. Rinse the nozzle insert with clean water from both directions (see the cleaning steps in the maintenance section below). Third: check that you're using the correct nozzle orifice for your K-class machine.
Leaks at the connection point
A leak right at the gun-to-attachment connection almost always means either the connector isn't fully seated, the O-ring is worn, or you have a connector type mismatch. Disconnect, inspect the O-ring on the male connector for any cracking or deformation, and re-seat the connection firmly. If the O-ring is damaged, replacement O-ring kits for Kärcher accessories are inexpensive and widely available. A leak at the garden hose inlet on the machine is a separate issue, and Kärcher sells a Quick Connect garden hose adapter kit specifically designed to create a more reliable seal at that point.
Head not spinning or spinning slowly
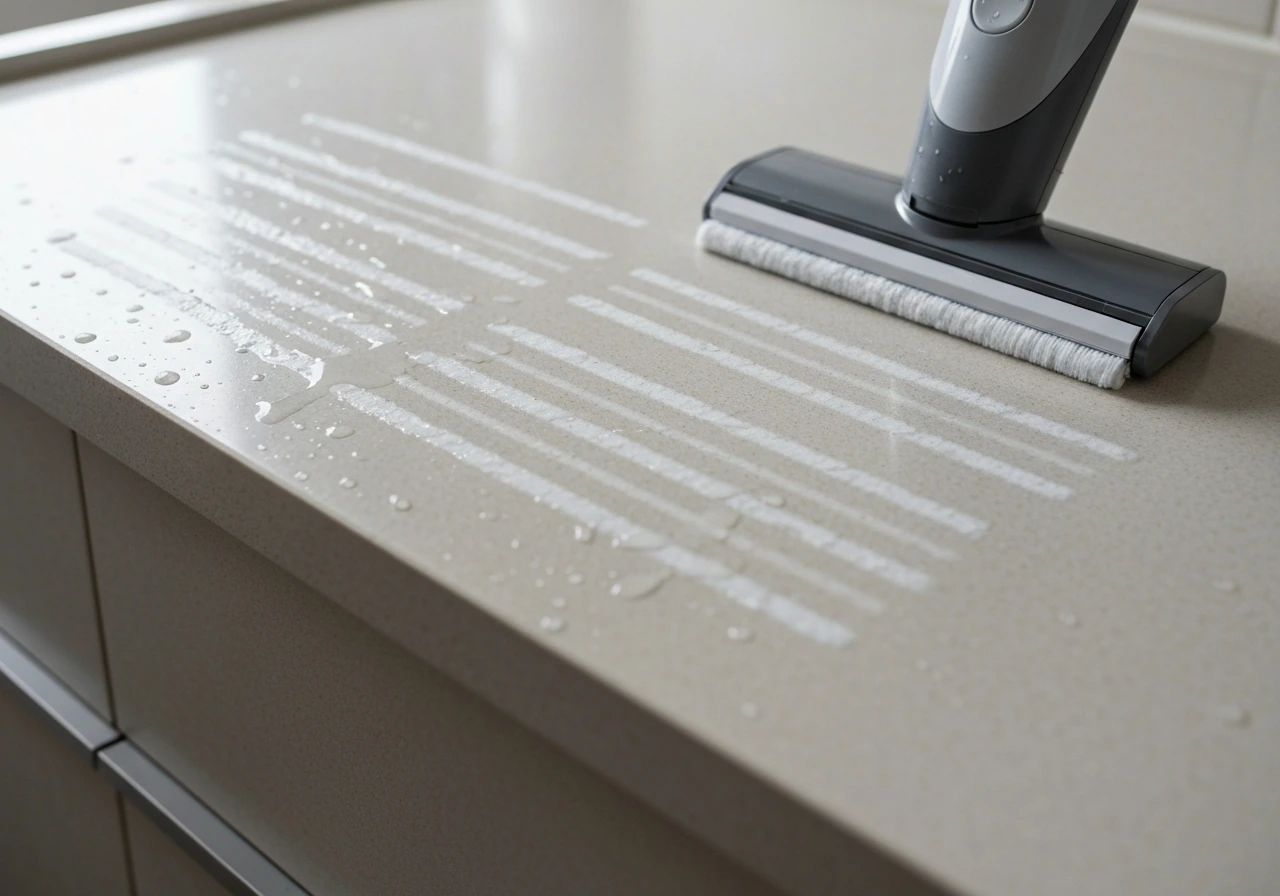
A non-spinning head is almost always a pressure/flow issue or a blocked nozzle. If the machine is running and water is flowing but the rotor arm isn't spinning, the pressure at the jets isn't enough to drive rotation. Check for a blocked jet first. If both jets are clear and flow is strong, your pressure washer may not be delivering enough for that particular surface cleaner head (common on K2 with attachments rated for K3+).
There's more detail on this specific problem in the dedicated spinning article, but those are the first two places to look. If your Kärcher patio cleaner rotor arm still will not spin after the basic checks, see the troubleshooting steps for why it might not be spinning at all Head not spinning or spinning slowly.
Uneven cleaning, streaks, and banding
Streaks and banding are a technique problem more than an equipment failure. The two main causes: moving the head too fast at the edges of each pass (leaving uncleaned strips between passes) and moving unevenly in speed. Kärcher recommends long, overlapping strokes specifically to address this. Slow, consistent movement with a 5-10cm overlap on each pass eliminates banding. If you're still getting marks after fixing technique, check whether one of the two nozzle jets is partially blocked, which creates asymmetric cleaning.
Head skipping or bouncing on the surface
If the head is skipping or lifting off the surface erratically, you're likely running it at too high a pressure for a smooth surface, or the water pressure is creating a hydraulic lift effect under the shroud. Reduce pressure and keep the head deliberately flat. On very uneven surfaces, the head can't maintain contact consistently and you'll need to do a follow-up pass with a lance and fan nozzle on those areas.
When and how to use cleaning fluid
Water pressure alone handles light grime and surface dirt well. For moss, algae, or embedded organic staining, a patio cleaner concentrate makes a real difference. Kärcher's own RM 564 patio and deck cleaner concentrate is described as material-gentle, which is important for mixed patios with natural stone components. It's a high-concentration product, so dilution to the product instructions matters. If you're wondering how to use karcher patio cleaner fluid with your specific Karcher patio cleaner attachment, follow the dilution and dwell-time approach described in the next technique section.
The correct technique when using detergent: pre-rinse the surface with plain water first to remove loose grit. Apply the detergent solution and allow dwell time (typically 5 to 15 minutes depending on the product and how dirty the surface is, but check your specific product instructions). Don't let it dry on the surface. Then run the patio cleaner over it. Rinse thoroughly afterwards. Kärcher's guidance is explicit that detergents should not be allowed to penetrate into soil or waterways, so pre-water surrounding planted areas before you start, and flush them with clean water after you're done. This also protects plants from any chemical runoff.
If you're using a Kärcher machine with an onboard detergent tank (available on some K4 and K5 models), the patio cleaner attachment typically bypasses the detergent injection because the head operates at high pressure and most detergent injection systems on domestic machines operate at low pressure. If you're trying to figure out how to use patio cleaner with a Kärcher K4, that typically means bypassing detergent injection and running the surface cleaner head at high pressure, then rinsing thoroughly afterward use patio cleaner with K4. Apply detergent separately in this case.
Maintenance: jets, seals, bearings, and when to replace
Cleaning the nozzle jets
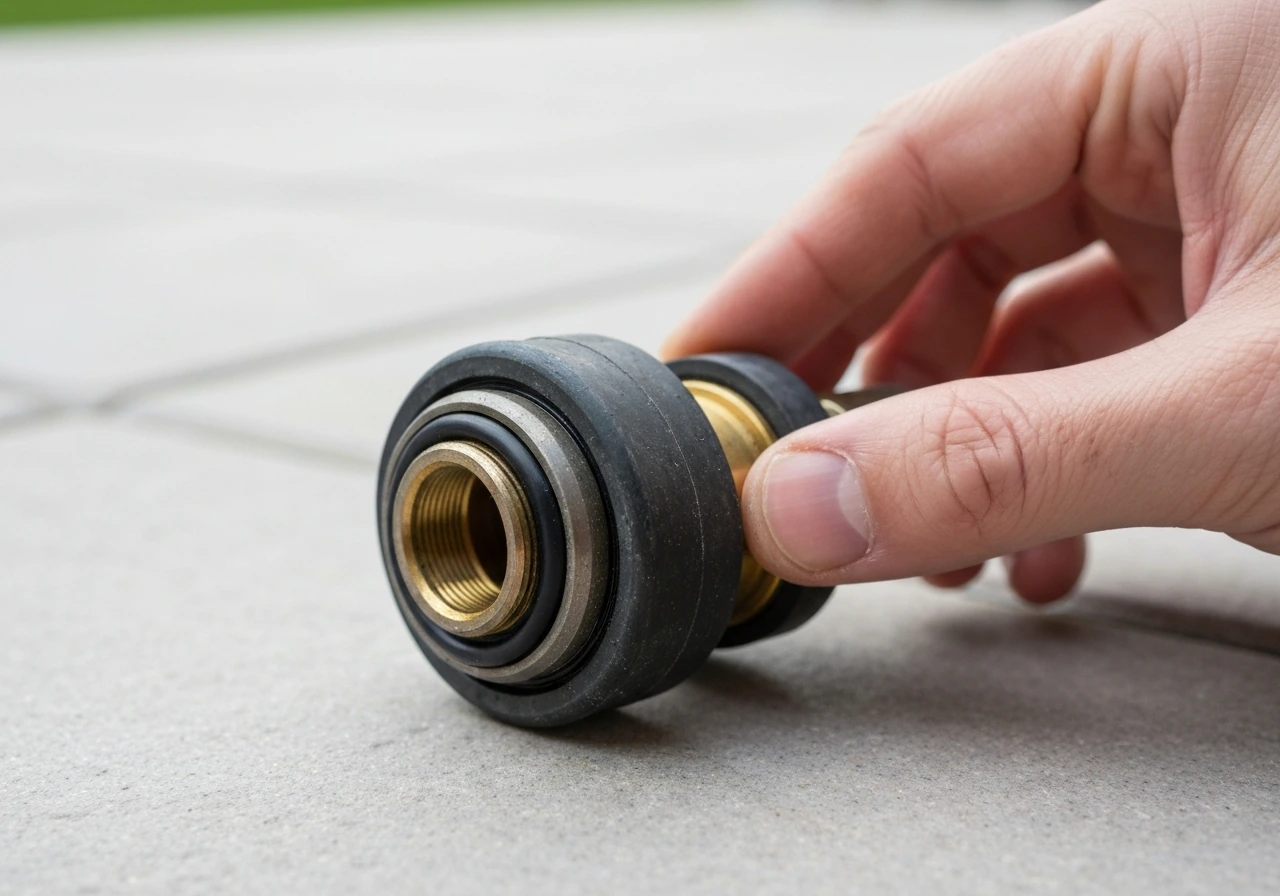
This is the single most valuable maintenance step you can do and it takes about two minutes. Kärcher's FAQ and T-Racer manuals both provide a specific procedure for this. Disconnect the attachment from the gun. Locate the nozzle insert on the rotor arm. Flush clean water through it in both directions (forward and reverse). If there's a partial blockage, a fine pin or the nozzle cleaning needle (often supplied with the machine) can be used to carefully clear the orifice. Don't use anything that could widen or deform the jet opening. Reassemble and test before assuming anything else is wrong.
Checking seals and O-rings
After every few uses, quickly inspect the O-ring on the connection collar. These degrade with UV exposure and wear from repeated connection cycles. A flattened, cracked, or visibly deformed O-ring should be replaced before it causes a leak mid-session. Kärcher's parts finder portal (accessible through the Kärcher website using your model number) lists the correct replacement O-rings for each surface cleaner model, and they're typically cheap enough that keeping a spare set is worth it.
Bearings and the rotor arm
The central bearing that allows the rotor arm to spin is a wear part. On a machine used regularly through UK winters with hard water, mineral deposits can foul the bearing over time. You'll notice this as a gradual reduction in spin speed even when pressure and nozzles are fine. Descaling the bearing housing with a dilute citric acid solution can restore performance. If the arm still spins stiffly after descaling, the bearing itself needs replacing. At that point, check whether a full replacement attachment is more cost-effective than individual bearing replacement, especially on older units.
When to replace the attachment rather than repair it
Replace the attachment rather than continuing to repair it if: the rotor arm housing has cracked (water sprays outward rather than downward), the connector collar is physically damaged and can no longer form a seal, or you've replaced the nozzles and bearing and still can't get even cleaning. Surface cleaner heads for the domestic K-series aren't expensive relative to the time spent on repeated fixes, and a new T 450 or equivalent will clean noticeably better than an end-of-life unit that's been patched together.
Safety, protecting your garden, and when to stop
Personal safety during use
Kärcher includes explicit safety instructions for patio cleaner use. Always disconnect the attachment and switch off the machine before inspecting, cleaning, or adjusting any component. Never point the trigger gun at people, animals, or electrical fittings. The high-pressure jet from a surface cleaner head is contained within the shroud during normal use, but if the shroud is damaged or the head is lifted, that jet is exposed and can cause serious injury. Wear eye protection when pressure washing in general, but especially when the shroud isn't making full contact with the surface.
Protecting plants and pets
The pressure itself isn't the main risk to plants, chemical runoff is. Pre-water any planted borders, grass edges, or pots near the patio before you start. This dilutes any detergent that splashes onto vegetation. After cleaning, flush those areas with clean water again. Keep pets indoors during cleaning. The noise, the spray, and any detergent on the surface post-clean are all hazards. Don't let animals walk on a freshly cleaned surface that has detergent residue until you've done a thorough clean-water rinse.
When to stop and get support
Stop and contact Kärcher support if: the machine is making unusual noises suggesting internal damage, there's water ingress into the motor housing, the high-pressure hose has a visible bulge or crack, or you have a persistent leak that continues after replacing the O-ring and reseating the connection. Continuing to use a machine with a compromised hose or damaged pressure housing is a genuine safety risk. Kärcher's support team and the official parts finder and operator manual portal are both worth using before attempting any repair beyond basic maintenance. If you've got a newer machine still under warranty, don't disassemble beyond the user-serviceable components listed in the manual, or you'll void the warranty.
For most people, working through the diagnosis table at the top, verifying connector compatibility, clearing the nozzle jets, and correcting technique will solve the problem completely. The patio cleaner attachment is a simple piece of kit when everything is matched correctly, and the results on concrete, brick, and stone are genuinely better than a lance because the enclosed shroud contains the spray and cleans more evenly. If you need step-by-step guidance, this article explains how to use a Karcher K2 patio cleaner safely and effectively. Get the basics right and it's one of the most useful accessories in the Kärcher range.
FAQ
My Karcher patio cleaner attachment connects but doesn’t clean evenly. How can I tell if it’s the wrong nozzle for my pressure washer?
Not always. Some Kärcher patio cleaner heads require a specific nozzle orifice size for your pressure washer class to generate the right spray angle and rotor force. If the head “connects” but still cleans weakly or won’t spin, confirm the nozzle colour/orifice size you are using matches your K-series model and the head’s guidance, then re-test on a small patch.
I’m getting water leaking or spraying oddly from the head, could a blocked jet be the cause?
If it’s leaking at the shroud-to-surface interface or around the collar, it’s usually not a “jet leak.” Check the connection first (seat and O-ring), then verify both nozzle jets are clear. A partially blocked jet can create asymmetric pressure that feels like a leak and also causes banding.
Why does my patio cleaner attachment skip, lift, and leave patches on uneven paving?
If your shroud is lifting or chattering, reduce pressure and focus on keeping the shroud flat, then slow your walking speed. On very uneven areas, expect the head to lose contact in dips, so do a quick follow-up with a lance and fan nozzle for those spots rather than trying to force the surface cleaner to bridge gaps.
Can I use an adapter to fix karcher patio cleaner attachment problems, or should I avoid adapters?
Yes, mixing connection systems can fail in subtle ways. Even if the parts “click,” the seal may not form correctly, causing persistent leaks and weak performance. Confirm whether your setup is Quick Connect or bayonet, then use the correct workflow for your gun (push-and-click vs push-twist-lock) until you feel the lock.
What’s the quickest way to eliminate streaks and banding without changing equipment?
A longer overlapping stroke schedule usually beats random back-and-forth. Use consistent overlap (about 5 to 10 cm) and keep your passes parallel, especially near edges. If streaks still appear after correcting movement, inspect the two jets for partial blockage, since one clogged jet often creates repeating “one-sided” banding.
How do I use patio cleaner concentrate with the attachment so I don’t damage the surface or plants?
For “moss and algae,” detergent concentrate can help, but technique matters. Pre-rinse to remove loose grit, apply solution, keep a controlled dwell time (per the product instructions), and do not let it dry. Afterward, rinse thoroughly and re-rinse around plants or borders to prevent chemical residue damage.
Does the onboard detergent tank work with my patio cleaner attachment, or do I need a separate application?
Don’t assume the onboard detergent tank is relevant when using a high-pressure patio cleaner head. Many setups bypass low-pressure detergent injection because the surface cleaner runs at high pressure. In those cases, apply detergent separately at the correct concentration, then rinse through the attachment after dwell.
My attachment spins slower than it used to. Could it be hard-water deposits, and what should I do first?
Yes, hard-water mineral buildup can make the rotor spin slower even if pressure is otherwise fine. If you notice reduced spin speed over time, descaling the bearing housing with a dilute citric acid solution can restore performance. If it remains stiff after descaling, plan for bearing replacement or attachment replacement.
When is it better to replace the patio cleaner attachment instead of repairing it?
If the rotor arm housing is cracked, the connector collar is physically damaged, or you’ve already replaced nozzles and the bearing but cleaning stays uneven, replacing the attachment is often the safer and more economical choice. Continuing to patch a failing shroud can also lead to spray escaping upward.
What signs mean I should stop and contact support rather than troubleshooting further?
If you get water ingress into the motor housing, unusual internal noises, a hose bulge or crack, or a leak that continues after O-ring replacement and reseating, stop using the machine. These can become safety risks quickly, and warranty coverage may be affected if you disassemble beyond user-serviceable parts.
Next Article
How to Use Karcher Patio Cleaner Fluid With a Pressure Washer
Step-by-step guide to use Kärcher patio cleaner fluid with a pressure washer, safely, by patio material, plus fixes for