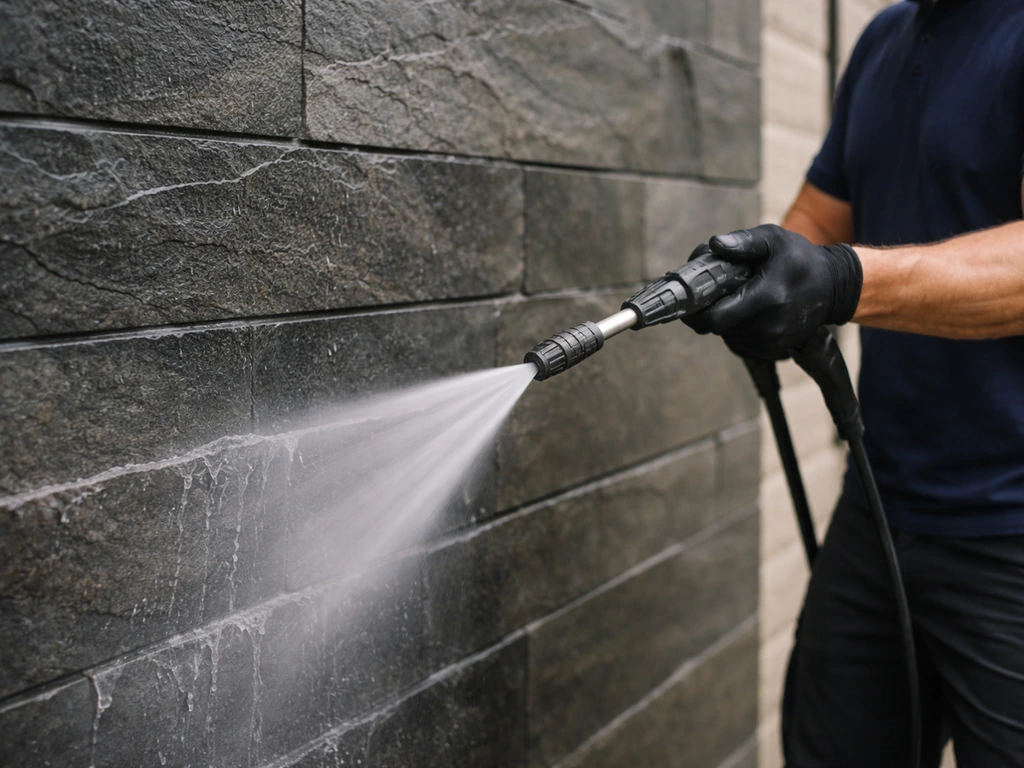
For most patios, a pressure washer set between 1,500 and 3,000 PSI with a 25-degree (green) nozzle held 8 to 12 inches from the surface, moving in slow overlapping passes, will shift years of grime, algae, and moss without damaging the material. Kärcher also notes that blank" rel="noopener noreferrer">water pressure is greatest immediately in front of the nozzle, so stubborn grime and moss should be cleaned off closer to the surface while light dirt and sensitive areas need a greater distance. The key is matching your pressure and nozzle angle to the surface you're working on, pre-treating stubborn stains before you start, and never letting the jet linger in one spot. Get those three things right and you'll be done in a morning with results that last.
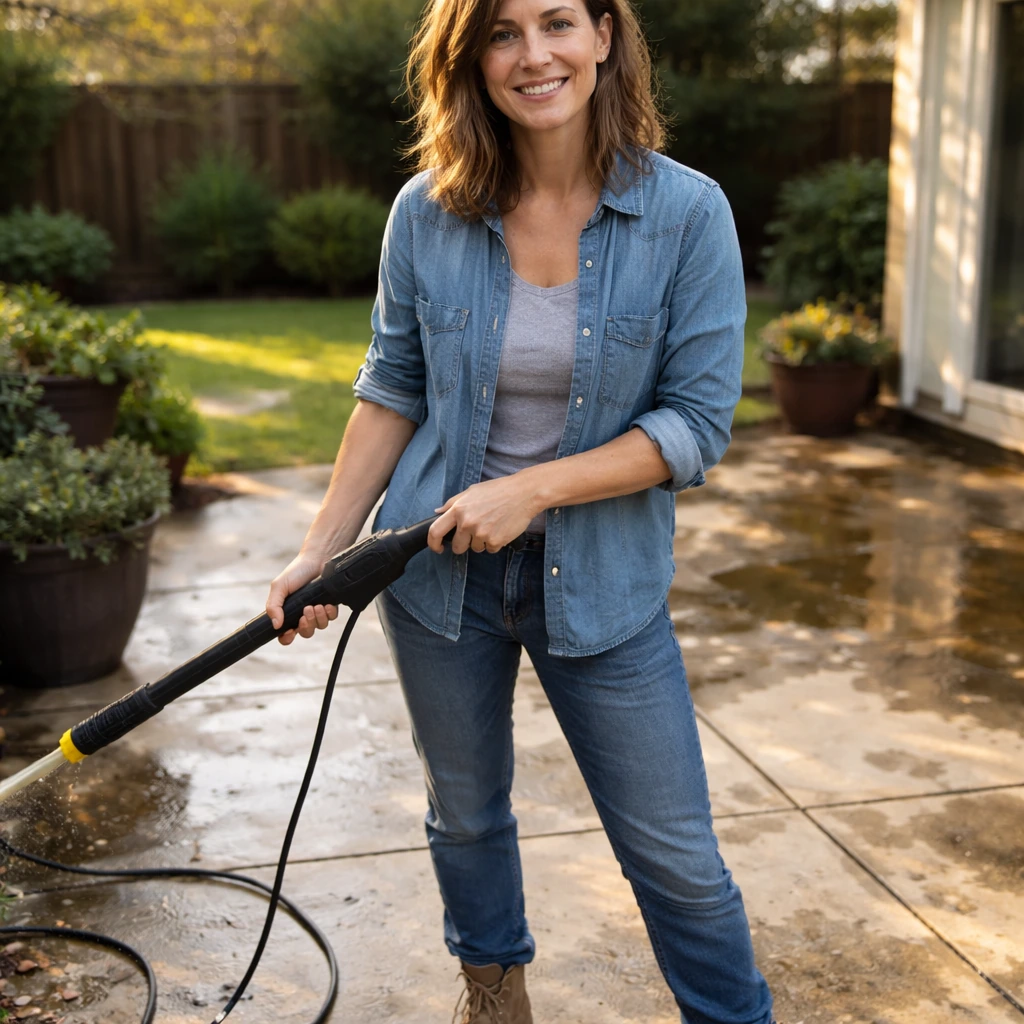
Jet Wash Patio Tips: Concrete, Brick, Slate, Porcelain
Quick decision: match your approach to your surface and stain
Before you even unroll the hose, spend two minutes figuring out what you're dealing with. The surface material determines your maximum safe pressure, and the type of stain tells you whether you need a pre-treatment or whether water alone will do the job. Use this table as your starting point.
| Surface | Max safe PSI | Best nozzle | Pre-treat needed? | Main risk |
|---|---|---|---|---|
| Concrete | 2,000–3,500 PSI | 25° (green) or surface cleaner | Yes for algae, moss, rust, grease | Pitting if too close; streaking without overlap |
| Brick (clay) | 1,200–2,000 PSI | 25° or 40° (white) | Yes for moss and mold | Eroding mortar joints at high pressure |
| Natural stone (sandstone) | 1,000–1,500 PSI | 40° (white) | Yes for organic growth; gentle cleaner | Surface spalling, colour change |
| Slate | 1,000–1,500 PSI | 40° (white) | Optional; mild cleaner only | Delamination if too close or high pressure |
| Porcelain tiles | 1,500–2,500 PSI | 25° (green) | Usually not needed | Grout erosion, loosening tiles if poorly laid |
| Block paving | 1,500–2,500 PSI | 25° or surface cleaner | Yes for oil and moss | Sand joint washout |
For stains specifically: green algae and moss respond well to a pre-treatment with a patio biocide or a diluted white vinegar solution left for 15 to 30 minutes before washing. Rust and grease need a purpose-made chemical pre-treatment because water pressure alone won't shift the chemistry. Pet urine stains need an enzyme-based cleaner applied first. If you're just dealing with general dirt and grime on concrete or porcelain, you can often go straight to washing.
Safety and prep: protect your plants, drains, and yourself
This step gets skipped more than any other, and it's the one you'll regret most. High-pressure water throws debris, grit, and chemical residue in every direction. A few minutes of prep saves you from a damaged border plant, a blocked drain, or a trip to urgent care.
Protect nearby plants and borders
Wet down any plants or shrubs adjacent to the patio with plain water before you start. This dilutes any chemical overspray and reduces absorption. Cover low-growing plants with old towels or sheeting if you're using a strong patio cleaner. After you're done, give the borders another rinse. I've lost a box hedge this way before by underestimating how far a biocide can travel in the mist.
Drains and runoff
Check where your patio drains to. If it runs into a soakaway or a water feature, be cautious with chemical pre-treatments. Flush the drain with clean water before you start washing so you're not blasting debris into a partially blocked drain mid-job. If you're using a biocide, check the label for disposal guidance because many aren't approved for direct discharge to watercourses.
Furniture, fixtures, and walls
Move everything off the patio first: furniture, plant pots, ornaments, and doormats. Cover any exterior sockets, outdoor lights, or wall-mounted fixtures with plastic bags or waterproof tape. If you have rendered or painted walls adjacent to the patio, keep the jet angled down and away. High-pressure water will strip render and lift paint at close range.
Personal protective equipment
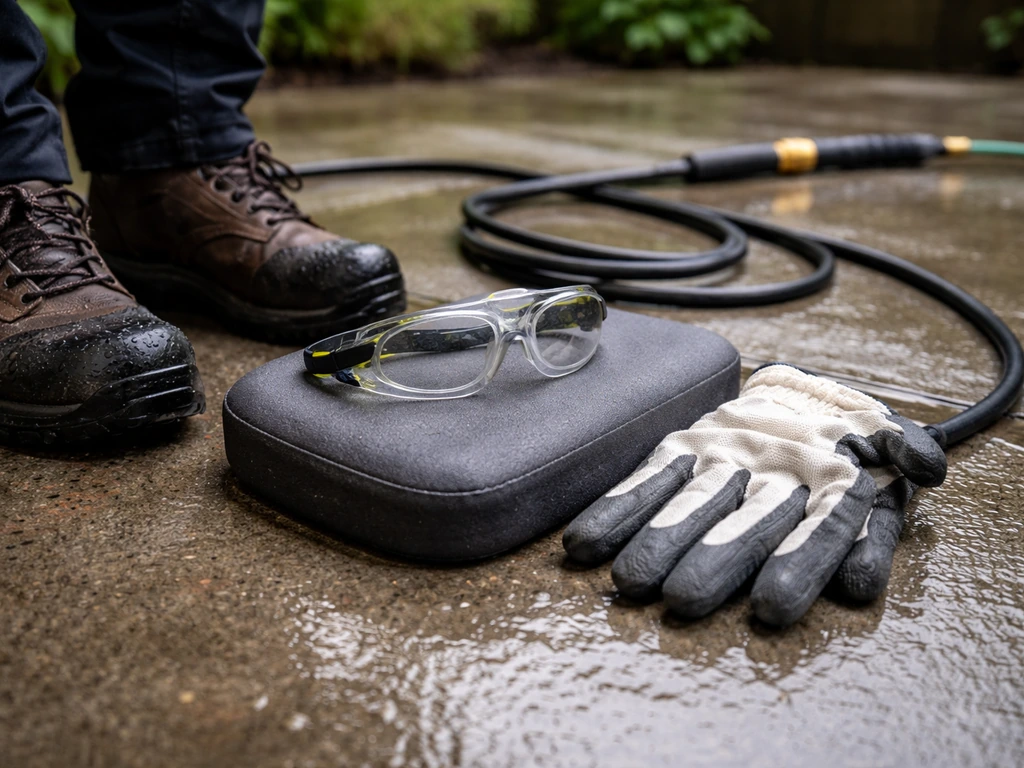
At minimum: waterproof boots with good grip (the patio will be extremely slippery), safety glasses or goggles, and waterproof gloves. If you're applying chemical pre-treatments, add a face mask and wear old clothing that covers your arms. OSHA guidance is clear that PPE is a last resort, not a substitute for using the safest product available. Where a low-toxicity cleaner does the same job as a harsher one, use the gentler option.
Equipment setup: what you actually need
Choosing a pressure washer
For a typical residential patio, an electric pressure washer in the 1,500 to 2,500 PSI range is enough for most jobs. If you're looking specifically for a steam cleaner, choose one rated for outdoor grime and compatible with your patio surface steam cleaner for patio. If you've got a large concrete or block-paving area that's heavily soiled, look for something at the higher end of that range or consider renting a petrol-powered unit. Petrol machines (often 3,000 PSI and above) give you more flexibility on tough jobs but are louder, heavier, and need more maintenance. For most homeowners cleaning once or twice a year, a mid-range electric unit like the Kärcher K4 or K5 is the sweet spot between power, portability, and price.
Nozzles: the most important accessory
Most pressure washers come with a set of colour-coded quick-connect nozzles. Here's what each one is actually useful for on a patio:
| Nozzle colour | Spray angle | Best use on a patio |
|---|---|---|
| Red (0°) | Concentrated point jet | Avoid for patios — will etch most surfaces instantly |
| Yellow (15°) | Narrow fan | Concrete only, very stubborn grime, use with extreme care |
| Green (25°) | Medium fan | General concrete cleaning, block paving, porcelain tiles |
| White (40°) | Wide fan | Sandstone, slate, brick, delicate surfaces, rinsing |
| Black (65°) | Very wide / low pressure | Applying soap/detergent only |
The 25-degree green nozzle is your default for most patio work. Move to the 40-degree white nozzle for anything softer or older. The red 0-degree nozzle has no place on a patio surface, even on hard concrete, it will leave pitting and permanent marks.
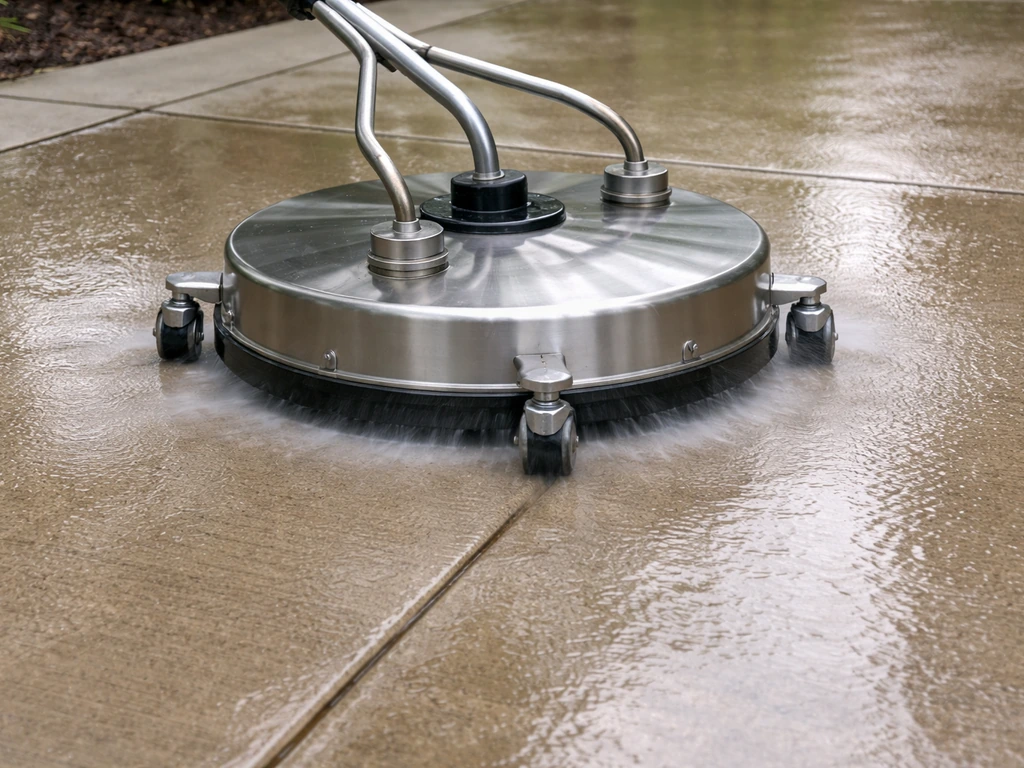
Surface cleaner attachment: worth every penny for concrete
A rotary surface cleaner is a spinning disc attachment that replaces the wand for flat surface work. It distributes the pressure evenly across a set width (typically 12 to 16 inches) at a fixed height, which eliminates the tiger-stripe lines you often get with wand-only cleaning. On a large concrete or block-paving area, a surface cleaner is faster, more consistent, and far less likely to cause damage than sweeping a wand manually. They attach to the standard quick-connect fitting on most pressure washers and cost between £30 and £80. I don't jet wash a concrete patio without one anymore.
Other useful accessories
- Extension wand: reduces back strain and gives better angle control, especially near walls
- Turbo/rotary nozzle: for very stubborn deposits on hard surfaces only; use with caution
- Stiff-bristle scrubbing brush: essential for working in pre-treatment chemicals on textured surfaces before washing
- Garden pump sprayer: the easiest way to apply liquid pre-treatments evenly
- Long hose (at least 10 metres): lets you position the machine without dragging it around the wet patio
Step-by-step jet washing technique for best results
- Clear and prep the area: move furniture, cover sockets and lights, wet down adjacent plants, check drains are clear.
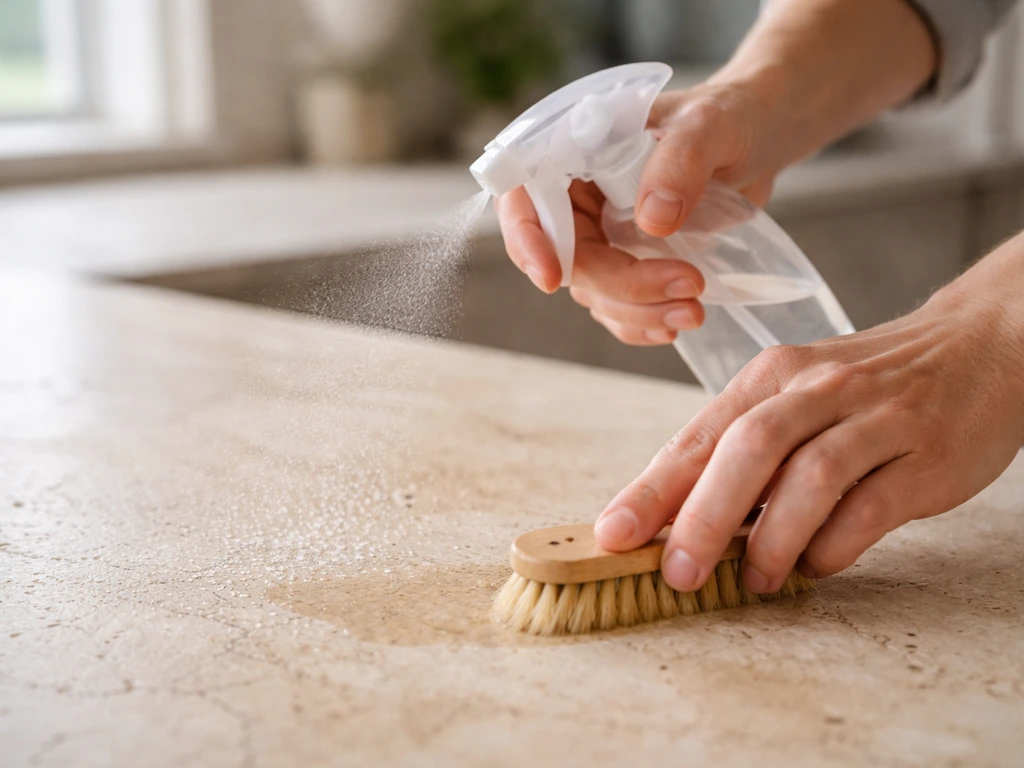
- Apply pre-treatment if needed: use a garden sprayer to apply your chosen cleaner (biocide, degreaser, or enzyme cleaner) and leave for the dwell time on the label — usually 10 to 30 minutes. Don't let it dry out on the surface.
- Do a test patch: before you go all-in, test your chosen nozzle and distance on an inconspicuous corner. This takes 30 seconds and can save you from a very expensive mistake on sandstone or slate.
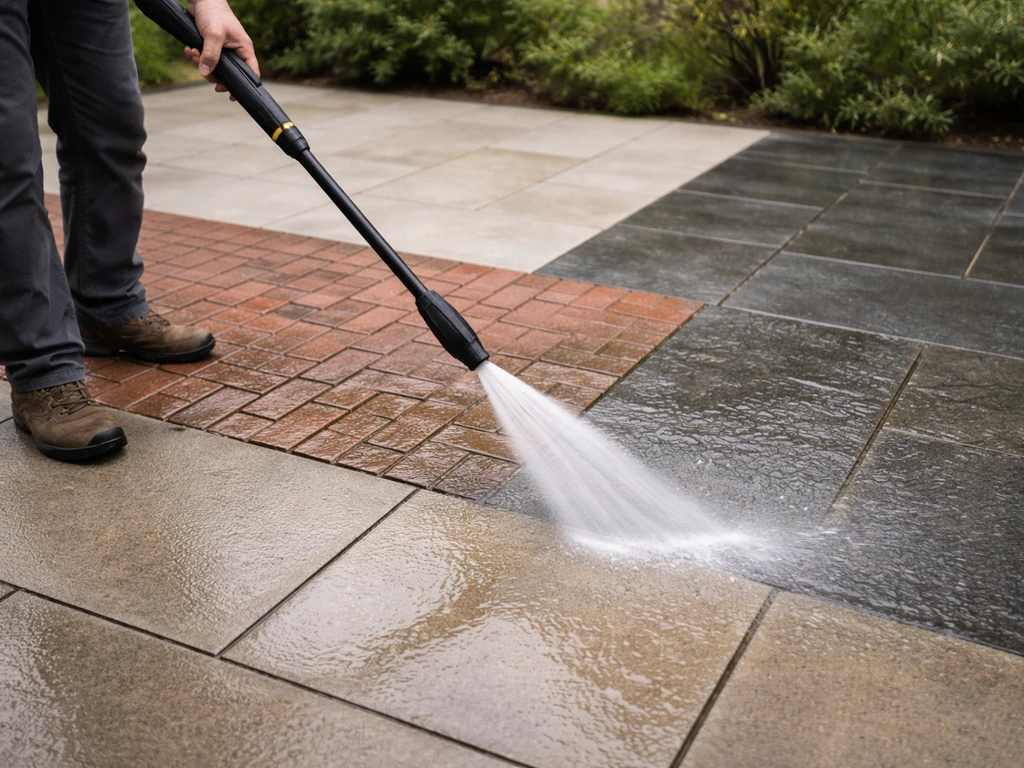
- Set your starting distance: begin at 30 to 40 cm (12 to 15 inches) from the surface and move in slowly until you find the sweet spot. According to Kärcher's guidance, stubborn dirt and moss can be tackled at closer range, while lighter dirt and more sensitive surfaces need more distance. The working sweet spot for most surfaces is around 20 to 30 cm (8 to 12 inches).
- Hold the nozzle vertically: aim the jet straight down at 90 degrees to the surface, not at a shallow angle. An angled jet is more likely to get under loose material, erode grout, or undercut brick edges.
- Work in overlapping passes: move the wand in slow, steady lines across the surface, overlapping each pass by about 20% with the previous one. This is how you avoid stop marks and tiger stripes. Kärcher's own operator guidance specifically flags this: overlap to eliminate stop marks.
- Work with the drainage: always wash water and debris toward the drain or off the edge of the patio, not into a corner where it pools.
- Rinse with a sweeping motion: switch to a wider nozzle or increase your distance and rinse the whole surface with smooth, sweeping passes to clear loosened debris and pre-treatment residue.
- Inspect while wet: check for any missed patches, remaining stains, or areas where growth is still visible. It's much easier to go back over a spot while the machine is running than to come back another day.
Surface-specific do's and don'ts

Concrete
Concrete is the most forgiving surface for jet washing. Work at 2,000 to 3,500 PSI with a 25-degree nozzle or a surface cleaner attachment. A surface cleaner gives much more even results on large slabs. Pre-treat any algae or moss growth for at least 15 minutes before washing. Do not use a 0-degree nozzle and do not hold the jet closer than 6 inches, even concrete will pit at that range. After washing, let it dry fully before considering a concrete sealer.
Brick
The mortar joints are the weak point on brick patios. Keep pressure at 1,200 to 2,000 PSI maximum and use a 25-degree or 40-degree nozzle. Never aim the jet directly at mortar joints at close range, work across the surface at a slight angle to the joint lines rather than straight at them. Check the joints after cleaning: if they look eroded or hollow, they'll need repointing before winter.
Sandstone
Sandstone is soft and porous and it will spall, pit, or change colour permanently if you jet wash it at too high a pressure or too close. Keep it below 1,500 PSI, use the 40-degree white nozzle, and stay at least 12 inches from the surface. Pre-treat with a pH-neutral stone cleaner rather than anything acidic or strongly alkaline. Avoid bleach on sandstone entirely, it can bleach the colour and weaken the surface over time. Seal sandstone after cleaning while it's still clean to protect it going forward.
Slate
Slate's layered structure means it can delaminate, literally split apart in layers, if you hit it with too much pressure. Keep below 1,500 PSI, use the wide 40-degree nozzle, and keep your distance. A mild, pH-neutral cleaner is fine for organic growth. Never use an acidic cleaner (like undiluted vinegar) on slate as it can etch the surface and dull the finish. After cleaning, a slate-specific sealer helps repel future growth and makes the next clean much easier.
Porcelain tiles
The tile face itself is very hard and tolerates pressure well (up to 2,500 PSI), but the grout between tiles is the problem area. Use a 25-degree nozzle and avoid directing the jet straight into grout lines at close range. If the tiles were recently laid or you're unsure about the adhesive bond, start with less pressure and work up. Porcelain rarely needs chemical pre-treatment for general grime, water pressure alone usually does the job. For stubborn algae in the grout, a grout-specific cleaner applied with a brush before washing gives much better results.
Natural stone (limestone, granite, travertine)
Treat these similarly to sandstone: lower pressure, wider nozzle, pH-neutral cleaner. Limestone is particularly sensitive to acid, never use vinegar or acid-based cleaners on it. Granite is harder and more forgiving. Travertine has natural pores that collect dirt and growth, so a pre-soak with a stone cleaner followed by gentle scrubbing and then a moderate-pressure rinse tends to work better than blasting it at high pressure.
Removing common problems: algae, mold, moss, rust, grease, and pet stains
Algae, mold, and moss
These are by far the most common patio problems and the ones most people are jet washing to solve. The important thing to understand is that pressure alone won't fully remove mold and algae, you need to break down the organic matter first. If you want the best results, learn the full process for how to jet wash a patio, including pressure, nozzles, and pre-treatments for stubborn growth pressure alone won't fully remove mold and algae. The US EPA's guidance on mold is clear: the goal is to physically remove it, not just kill it with bleach. A biocide or patio cleaner pre-treatment loosens the growth so the jet can actually clear it rather than just spreading it around. Apply your pre-treatment, let it work for 15 to 30 minutes, then jet wash. If you want a full step-by-step on the process, see our guide on how to powerwash a patio. For a natural option, white vinegar diluted 50:50 with water works reasonably well on algae on harder surfaces like concrete, though it's less effective than a purpose-made biocide and should not be used on limestone or natural stone.
Rust stains
Rust stains come from metal furniture legs, plant pot bases, or iron content in water reacting with certain stone types. Pressure washing will not remove rust, it's a chemical stain, not a surface deposit. You need an oxalic-acid-based rust remover applied directly to the stain, left for the dwell time on the label, then scrubbed and rinsed. After treatment, you can jet wash the whole area normally. Be careful with oxalic acid on porous stones like sandstone, test a small area first and neutralise with clean water afterwards.
Grease and oil
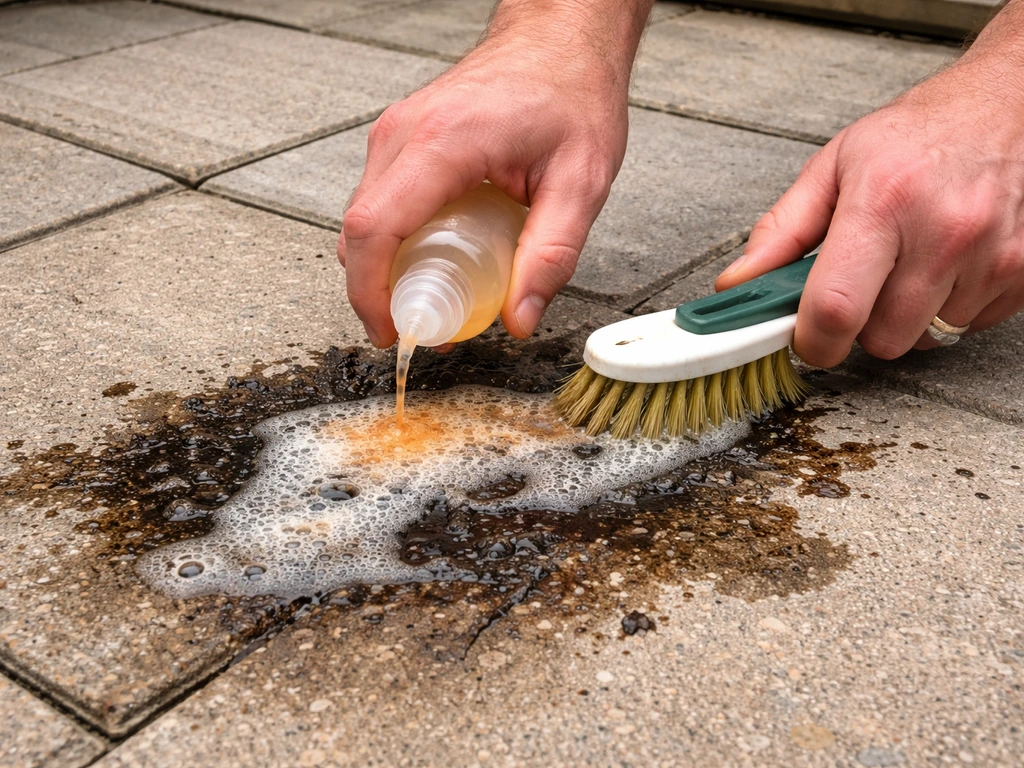
BBQ grease, cooking oil, and engine oil all need a degreaser pre-treatment before washing. A neat application of a citrus-based or alkaline degreaser, scrubbed in with a stiff brush and left for 10 to 20 minutes, will emulsify the grease so the pressure washer can actually flush it out. Without pre-treatment, high-pressure water just spreads grease further into the surface and makes the stain bigger. For very old or deeply ingrained oil stains, you may need two rounds of treatment.
Pet stains and urine
Pet urine leaves both a visible stain and an odour-causing residue that bonds to porous surfaces. An enzyme-based cleaner is the correct tool here, enzymes break down the uric acid crystals that cause the persistent smell, which neither bleach nor pressure washing will eliminate on their own. Apply the enzyme cleaner generously, keep it wet (cover with a damp cloth if it's warm out), leave for at least 20 minutes, then scrub and jet wash. For patios where pets regularly go, a non-slip patio sealer afterwards significantly reduces absorption and makes future cleaning much easier.
Aftercare: rinsing, drying, sealing, and troubleshooting
Thorough rinsing matters more than people realise
Once you've finished washing, do a dedicated rinse pass using either a wide nozzle or a reduced pressure setting. Use the sweeping motion Kärcher recommends in their operator guidance, long, smooth arcs that push water and residue off the surface rather than back and forth scrubbing. Any pre-treatment chemical left on the surface will affect how a sealer bonds, and on porous stone, residue trapped in the pores can cause efflorescence (white salt deposits) as the surface dries.
Drying time before sealing
Don't rush to seal immediately after washing. Most patio sealers require the surface to be completely dry, and for a porous material like sandstone, concrete, or brick, that means waiting at least 24 to 48 hours in dry weather, and longer in cooler or humid conditions. Sealing a damp surface traps moisture underneath and can cause the sealer to cloud, peel, or fail within weeks.
Should you seal after jet washing?
For sandstone, limestone, and brick: yes, sealing is strongly recommended after every deep clean. It dramatically slows the return of algae and moss, makes the next clean easier, and protects against frost damage and staining. For concrete and porcelain: a sealer is beneficial but less critical. For slate: a breathable slate oil or impregnator sealer is the right product. Avoid film-forming sealers on natural stone as they can peel. Match the sealer to the surface and check whether it's a wet-look or natural-look finish before committing to a large area.
Troubleshooting: when the patio still isn't clean
If you're seeing tiger stripes or lines after washing, you didn't overlap your passes enough or moved the wand too fast, go back over the area with deliberate overlapping strokes. If green growth is coming back within a few weeks, the spores weren't fully removed or killed; use a post-wash biocide treatment designed to be left on the surface rather than rinsed off. If there are white chalky patches appearing as the surface dries, that's efflorescence: it means salts are migrating from below and will often reduce with time, but a specialist efflorescence remover can speed the process. If the surface looks etched or paler in patches, the pressure was too high or the nozzle too aggressive for that material, there's no quick fix for this, but a stone restorer or coloured sealer can reduce the visual impact on softer stones.
How often should you jet wash?
Once a year is the practical answer for most patios in the UK and northern US climates where damp conditions encourage growth. A sealed patio in a sunny spot might only need attention every two years. An unsealed patio in a shaded, north-facing garden might need a light clean twice a year. If you're wondering whether it's safe to jet wash in wet conditions, that's a separate question worth looking into, the short answer is that rain affects chemical dwell times more than it affects the washing itself, but technique adjustments matter. If you want to know whether you can jet wash a patio in the rain, the main issues are dwell time and how you apply any pre-treatment jet wash in wet conditions.
FAQ
Can I jet wash a patio in the rain or right after it starts raining?
Yes, but plan around chemical dwell time. If you applied a biocide or enzyme cleaner, rain can dilute or rinse it before it has worked, so you may need to reapply or wait until the surface is mostly dry. Also expect slower drying, which affects rinsing and sealer timing.
How long should I wait before sealing after jet washing if the forecast is mixed?
Use dry-weather drying time as the minimum, then extend it. If dew is common overnight or humidity is high, wait longer than 48 hours, because trapped moisture is what causes clouding, peeling, and early sealer failure. Do a small tape test (masking tape stuck down and pulled up after a few minutes) to see if the surface is still damp.
What’s the safest way to test pressure and nozzle choice before cleaning the whole patio?
Pick an inconspicuous corner and do a 1 to 2 square foot test using your planned PSI and nozzle, then let it sit for 10 minutes and recheck. Look for darkening, etching, pitting, or lifted joint material. If you see damage, reduce pressure or switch to a wider nozzle or a surface cleaner.
Why do I still see green patches even after washing, and what should I do differently?
Usually the growth wasn’t fully removed or the treatment wasn’t allowed enough time to work. Use a post-wash biocide (the kind meant to remain on the surface) and keep it undisturbed for the label dwell period. Also focus on getting rid of the slimy layer, not just the surface color.
Will bleach help remove algae faster than a biocide?
On most patios, bleach mainly bleaches what it touches, it does not reliably remove the organic layer and it can cause long-term discoloration or surface weakening on some materials. If you want a chemical boost, choose a product designed for patio algae, and avoid vinegar or bleach on sensitive stone like limestone, sandstone, and slate.
Is a surface cleaner attachment better than using the wand on concrete?
For large flat areas, yes. It gives consistent pressure across a fixed width and reduces the chance of overlap lines. If you do use a wand, keep the motion slow and overlapping, and don’t angle the jet across the surface at a steep direction because that increases wear.
How do I avoid damaging mortar joints on brick or block paving?
Keep the jet angled across the surface rather than aiming into the joints, and cap pressure to the lower end recommended for brick. After cleaning, inspect for hollow or eroded joints, if you can press a fingernail into a joint or see loss of sand, repointing may be needed before winter.
What’s the best way to remove rust stains, can I just jet wash harder?
No, rust is a chemical reaction stain, pressure will not remove it and higher PSI can damage the surrounding surface. Use an oxalic-acid-based rust remover applied directly to the rust, respect dwell time, scrub gently, rinse, then you can clean the whole patio normally afterward.
How should I handle pet urine stains beyond the initial enzyme wash?
Enzymes work best when the surface stays wet for long enough to penetrate, cover with a damp cloth if it dries quickly, and do a follow-up clean if odor returns. After the patio is fully dry, a non-slip sealer can reduce future absorption, which helps prevent repeat odor.
What should I do about efflorescence or white chalky patches after cleaning?
Let the area dry and see if the deposits reduce, trapped salts often move out over time. If it keeps worsening or you need faster improvement, use an efflorescence remover designed for your stone, then rinse thoroughly and only consider sealing after it is fully resolved and dry.
Why does my patio look etched or lighter in spots, and can it be fixed?
That typically means too much pressure, too close a distance, or an overly aggressive nozzle for that material. There is rarely a quick repair, for softer stones the options are a stone restorer to even the tone or using a compatible colored sealer after the surface is properly cleaned and dry.
How often should I jet wash my patio to avoid aggressive buildup?
In damp climates, a practical rhythm is one deeper clean per year, then lighter maintenance as needed. If your patio is shaded or north-facing, you might need a spring and early autumn touch-up. If it is sealed and in a sunny spot, you may stretch it to every two years.
What’s the biggest mistake people make that leads to plant damage or blocked drains?
They start without a protection plan. Common issues are overspray drift from not wetting plants first, letting biocide mist spread unchecked, and not flushing the drain path before cleaning. Cover sensitive plants, wet borders, and do a quick water flush on the route to the drainage point before you begin.
Best Steam Cleaner for Patio: How to Choose and Use It
Shop the best steam cleaner for patio by surface, then learn how to tackle algae, mold, moss, stains safely.
