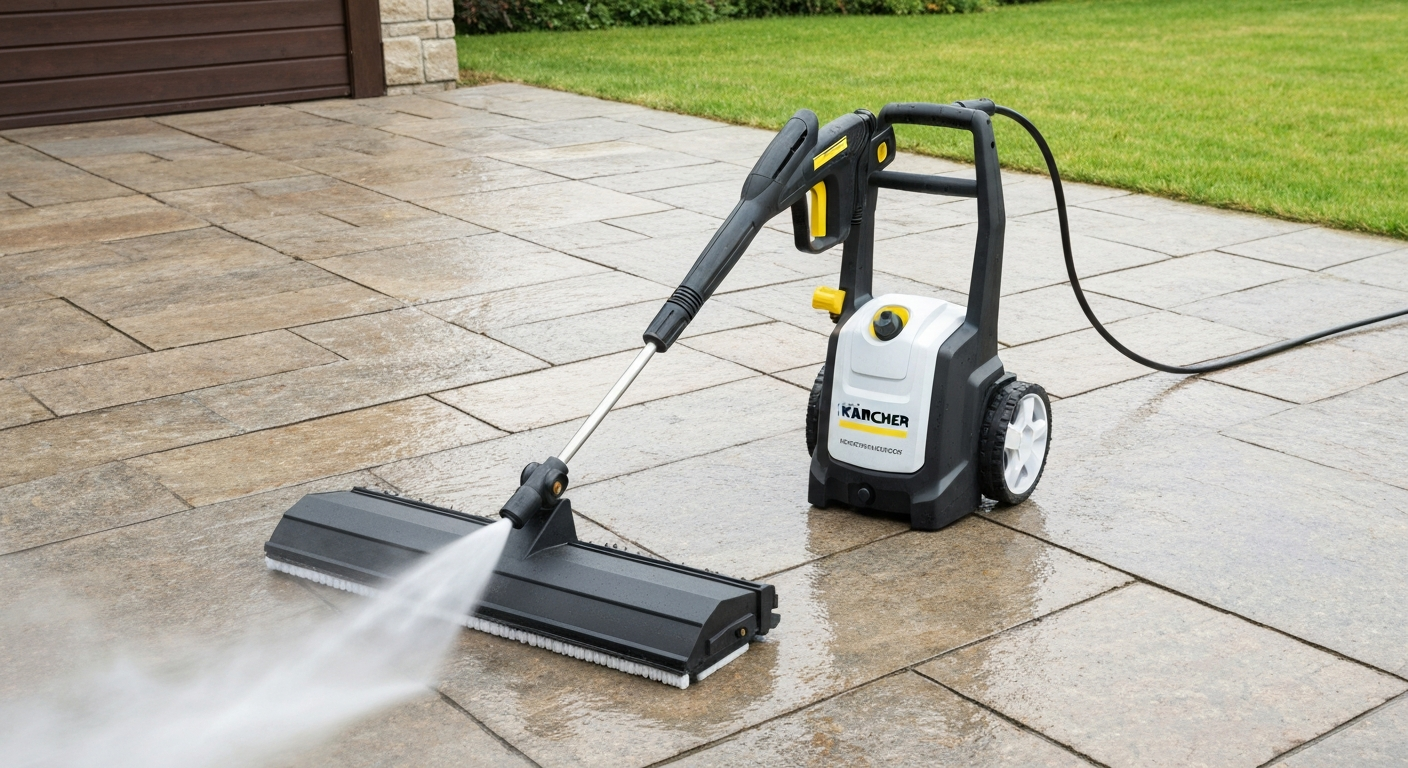
If your Kärcher patio cleaner head has stopped spinning, the most common causes are insufficient water pressure or flow from your machine, blocked rotor nozzles, a clogged or seized swivel bearing, or a connection/compatibility mismatch between your lance and the cleaner head. In most cases you can diagnose and fix the problem at home in under 30 minutes without specialist tools.
Why is my karcher patio cleaner not spinning?, K2-K4 fixes

Rhea Lang
16 Jul 2026
What 'not spinning' actually means, and who this guide is for
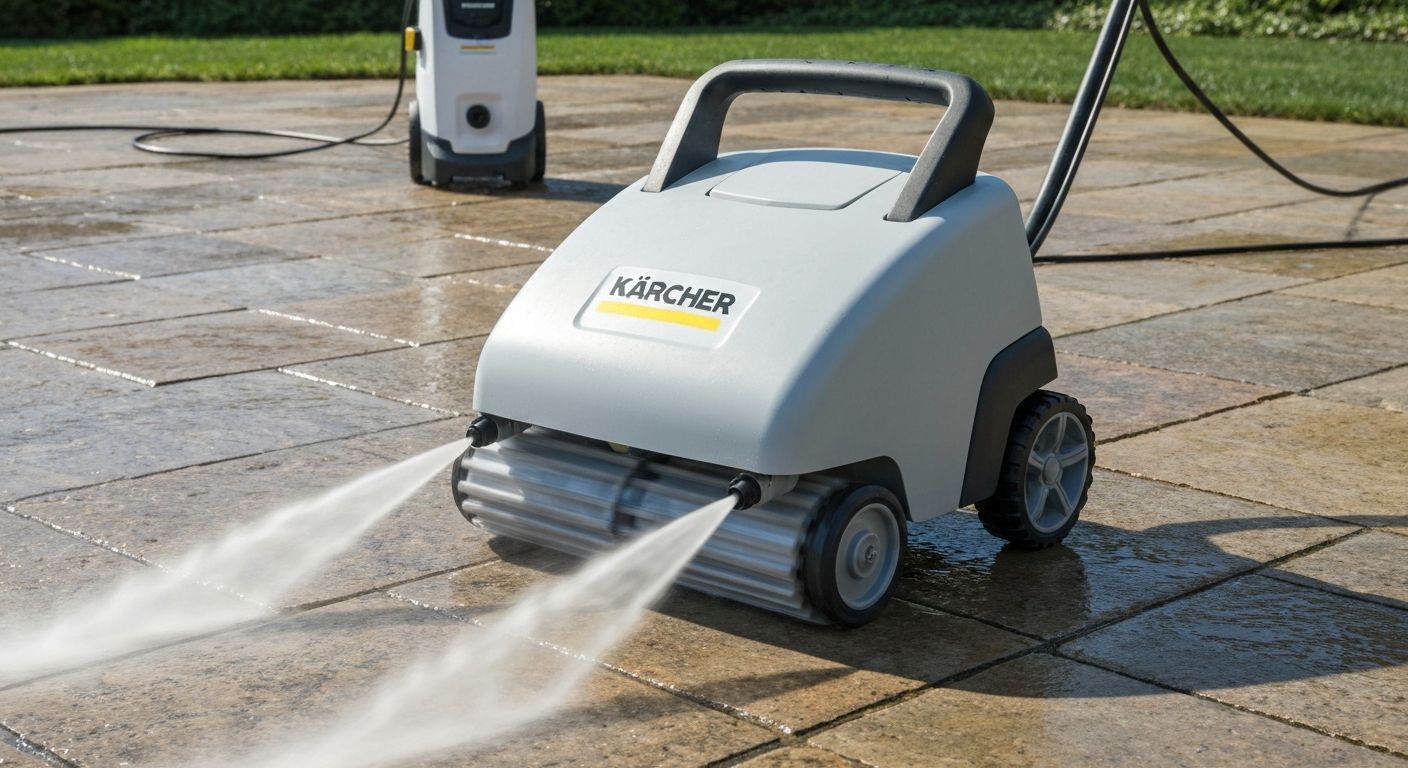
A Kärcher patio cleaner (the T-Racer and T-series surface cleaner heads like the T5, T7, and T350) works by routing pressurised water through a rotating rotor arm. The water jets from the rotor nozzles at an angle, and the reaction force makes the whole arm spin inside the hood, cleaning a wide circle at once. When the rotor stops spinning, you lose that sweeping action and the cleaner basically just dribbles water onto one spot. You might see it slow right down, stutter, or simply sit completely still despite the pressure washer running.
This guide is written for homeowners using Kärcher K2, K3, or K4 electric pressure washers with any T-series or T-Racer patio cleaner attachment. For step-by-step setup and tips specific to the Kärcher K4, see our guide on how to use a patio cleaner with a Kärcher K4. For a step-by-step walkthrough specific to the K3 model, see our guide on how to use patio cleaner with Kärcher K3. If you have a K5 or higher, most of the diagnosis steps here still apply, but some of the pressure and flow figures will differ. I will walk you through safety checks, functional tests, pressure and flow diagnosis, nozzle and swivel inspection, and what to do if cleaning fluid has gummed up the works. For a focused walk-through on setup and best use with a K2, see our guide on how to use Kärcher K2 patio cleaner.
Safety checks before you touch anything
Before you disassemble or inspect anything, you need to depressurise the system properly. Residual pressure in the hose can inject water at extremely high velocity if a connection is loosened suddenly, and that is genuinely dangerous. Follow this sequence every time.
- Switch the pressure washer off at the machine and unplug it from the mains supply.
- Point the gun safely at the ground or a wall and squeeze the trigger to release any residual pressure in the hose and lance.
- Hold the trigger open for a full 3-5 seconds until the water flow stops completely.
- Only then disconnect the patio cleaner head from the lance or gun.
- Put on safety glasses before inspecting or blowing out any nozzles — even without the machine running, a dislodged nozzle insert can move unexpectedly.
- If you are working near an electrical supply socket, make sure the area around the machine is dry before reconnecting power.
I know it feels like overkill when you are just trying to clear a blocked jet, but I learned the hard way that skipping the depressurise step is how you end up with a bruised hand or a soaked shirt. Take the 30 seconds.
Quick tests to confirm the head genuinely isn't spinning
Before you start digging into causes, run through these four quick checks. They take about five minutes and they will tell you whether the problem is in the patio cleaner itself or upstream in the machine or hose.
Visual check while running
Lift the patio cleaner slightly off the ground while the machine is running and the trigger is open. You should be able to see or hear the rotor spinning inside the hood. If it is completely silent and static, that confirms no rotation. If it is spinning very slowly or intermittently, that points toward a flow or partial blockage issue rather than a full mechanical seizure.
Manual spin test (machine off)
After depressurising and disconnecting, remove the hood if your model allows it (usually a quarter-turn or press-and-twist on T-series heads). Manually spin the rotor arm with your finger. It should rotate freely with almost no resistance. If it feels stiff, gritty, or won't turn at all, you have a mechanical problem: seized bearings, scale buildup, or a broken snap ring that has let the rotor drop and rub the housing.
Listen for uneven or grinding noise
With the machine running and the patio cleaner attached, a healthy unit produces a consistent high-pitched hiss as the rotor spins. A grinding or scraping sound usually means the rotor is catching the inside of the housing, often because a bearing has worn down or a snap ring has failed, allowing the rotor shaft to drop slightly off-centre. Intermittent stuttering with no grinding often points to blocked nozzles or insufficient flow.
Swap to a standard lance
Disconnect the patio cleaner and fit the standard fan or pencil jet lance that came with your Kärcher. Pull the trigger. If you get a strong, consistent stream, your pressure washer is working fine and the problem is in the patio cleaner itself. If the stream is weak, fluctuating, or full of air bubbles, the machine or water supply is the issue and that is where you need to focus first.
Testing water pressure and flow from your machine
This is probably the most overlooked cause of a patio cleaner that won't spin. The T-series surface cleaners need roughly 470-550 litres per hour (about 7.8-9.2 L/min) to drive the rotor properly. Kärcher's K2, K3, and K4 machines have nominal flow rates in the region of 312-378 L/hr (about 5.2-6.3 L/min). That gap matters. Your machine might fit the patio cleaner and technically be listed as compatible, but if it is running at the lower end of its output, or if there is any restriction in the supply line, the rotor may barely spin or not spin at all. 'Compatible' often just means the connector fits, not that the performance will be ideal.
Check your machine's rated output
Find the data plate on the side of your Kärcher machine and note the maximum flow rate in L/hr and the working pressure in bar. Then check the minimum requirements listed on your patio cleaner's product page or packaging. If your machine's rated flow is below the patio cleaner's stated requirement, that is your answer right there. The solution may simply be using a higher-rated machine, though the steps below will first confirm whether your machine is actually delivering its rated output.
Bucket test for flow rate
Fit your standard lance (not the patio cleaner), point it into a bucket, and pull the trigger for exactly 30 seconds. Double the volume collected to get litres per minute, then multiply by 60 for litres per hour. Compare that figure to your machine's rated output. If you are significantly below the rated figure, the problem may be a restricted water supply, a partially blocked inlet filter, or a partially open tap.
Using an inline pressure gauge
For a more precise check, inline high-pressure test gauges (rated to at least 5,000 PSI or 345 bar) connect between the hose outlet and the gun. Commercial gauge kits such as the 5,000 PSI pressure gauge kit (commercial troubleshooting tool) are sold to connect inline between the hose and gun for this purpose. Squeeze the trigger with the gauge fitted and read the working pressure while water is flowing. Compare the reading to your machine's rated working pressure. A significant shortfall, say 20 bar or more below the rating, confirms the machine is underperforming and points you toward the supply-side diagnosis below.
Diagnosing and fixing low water pressure or a weak supply
Low incoming water pressure is one of the most common reasons a patio cleaner loses spin, especially if it worked fine before and has now slowed. Work through these checks in order.
- Check the tap is fully open. It sounds obvious, but a tap turned only halfway can cut your supply flow significantly.
- Inspect the inlet hose for kinks or crushing, particularly near the tap connection.
- Remove and clean the inlet water filter. On Kärcher K-series machines this is a small mesh filter in the water inlet connection at the back of the machine. Kärcher specifically flags a blocked inlet filter as a cause of pressure failure in the K2/K3 operator manuals. Rinse it under a tap and refit it.
- Check for air in the line. Kärcher instructs you to squeeze the trigger before connecting any accessory, until water exits without bubbles. If you get sputtering or air mixed with water, let the machine prime properly before testing with the patio cleaner.
- If you are using an extension hose between the tap and the machine, make sure its internal bore is large enough. Undersized garden hoses will restrict flow enough to stop the rotor spinning.
- Test the supply pressure at your tap directly using a simple tap pressure gauge if you suspect mains pressure is low in your area.
If the bucket test showed flow significantly below the machine's rating even with a fully open tap and a clean filter, the pump itself may be worn or have an internal valve issue. At that point the machine needs servicing, not just the patio cleaner.
Blocked nozzles or jets, how to find and clear them
Blocked rotor nozzles are the single most common cause of a patio cleaner that has worked fine before and suddenly stops spinning. Sand, grit, mineral deposits, and debris from the patio surface all get sucked back into the nozzle inserts when you release the trigger. I have unblocked dozens of these over the years and it is almost always the first thing I check.
Inspecting the nozzles
After depressurising and removing the hood, look directly into each nozzle hole on the rotor arm ends. They are small (typically 0.5-1.5 mm diameter) and a partial blockage is often invisible to the naked eye. Hold the rotor arm up to a light source and look through the nozzle from the tip end. A clear nozzle will show a tiny point of light. A blocked one will look dark or show an irregular opening.
Clearing blocked nozzles
- Use the nozzle cleaning needle that should have come with your Kärcher kit. If you have lost it, a straightened paper clip or thin wire works. Push it gently into the nozzle opening and work it back and forth to break up the blockage.
- Blow through the nozzle from the rear (rotor arm end) with your mouth or with a compressed air can to dislodge debris.
- Soak the rotor arm in a bowl of warm water with a small amount of white vinegar for 15-20 minutes if you suspect mineral scale buildup. Scale is common in hard-water areas and it builds up gradually until the nozzle restricts completely.
- After soaking and clearing, rinse the rotor arm under running tap water and blow out the nozzles again before reassembling.
- Refit the rotor, replace the hood, reconnect to the machine, and test. Even a partial blockage in one nozzle will unbalance the rotor and cause erratic or slow spinning.
If the nozzle inserts are worn, physically damaged, or the holes have enlarged through erosion, the nozzle inserts themselves need replacing. Kärcher sells rotor nozzle repair kits for most T-series surface cleaner models. Enlarged nozzle holes reduce the jet velocity and therefore the force driving rotation, so you get a slow, lazy spin even with good pressure.
Clogged or seized swivel and rotating head, inspection and unblocking
The swivel at the top of the patio cleaner is where the connection between the static lance and the spinning rotor happens. It contains bearings, O-rings, a rotor shaft, snap rings, and in some models a grease nipple. Any of these can cause the rotor to seize or spin poorly if they fail or become contaminated.
What you are looking for inside the swivel
The Kärcher surface cleaner spare parts diagrams show the typical internals: upper and lower bearings, a bearing spacer or retainer, the rotor shaft or stem, O-rings, snap rings, and a compression spring. The snap rings hold the rotor shaft in the correct axial position. If a snap ring fails, the shaft drops slightly, the rotor arm catches the housing, and you get that grinding noise followed by a complete stop.
Disassembly and cleaning steps
- Depressurise and disconnect the patio cleaner as described earlier.
- Remove the outer hood (usually a quarter-turn twist or press tabs depending on your T-series model).
- Locate the snap ring at the top of the rotor shaft. Use a small flat screwdriver or snap ring pliers to remove it carefully. Note its position — this is the retainer holding the rotor assembly in place.
- Slide the rotor shaft and arm assembly down and out of the swivel housing.
- Inspect the bearings visually and by feel. They should be smooth with no roughness or pitting. A corroded or gritty bearing needs replacing.
- Check all O-rings for cracking, flattening, or swelling. Swollen O-rings are often caused by contact with incompatible cleaning chemicals.
- Clean the swivel housing bore with a soft cloth. Remove any mineral scale with white vinegar on a cotton bud.
- If your model has a grease nipple, apply a small amount of waterproof grease (silicone-based is safest for plastic housings) to the bearing contact surfaces before reassembly.
- Reassemble in reverse order using the spare parts exploded diagram for your model to confirm the correct sequence of spacers and rings.
- Refit the hood, reconnect, and test rotation before putting the cleaner back on the patio.
If the bearings feel rough or visibly corroded, replace them rather than cleaning and refitting. Kärcher spare parts catalogs list bearings, O-ring kits, and rotor shaft assemblies by part number for each surface cleaner model. Use the Kärcher parts finder with your exact surface cleaner model number (printed on the housing) to find the right kit. For official spare‑parts lists, exploded diagrams and service guidance, consult Kärcher Operators Manuals & Parts Finder (service & spare‑parts guidance). If internal plastic components like the drive pins or gear components are broken, Kärcher recommends having those assessed by a trained service partner, as not all internal parts are supplied as consumer-level spares.
Could detergent or cleaning fluid be stopping the rotor?
Yes, and this is more common than most people realise. Kärcher explicitly states that detergent cannot be drawn through the suction system when a high-pressure accessory like a patio cleaner is fitted. The higher back-pressure prevents the venturi effect that pulls detergent in. But the real problem comes when cleaning fluid residue dries inside the swivel housing or nozzle channels and forms a sticky or crystallised blockage.
How fluid types cause problems
Thick patio cleaning concentrates, especially those formulated for algae or moss removal, can contain surfactants and biocides that leave a residue as they dry. If cleaning fluid was applied directly into the patio cleaner attachment rather than pre-applied to the surface, or if the unit was stored without flushing, that residue can congeal in the swivel or nozzle channels and gum up the rotation mechanism. Some strongly alkaline cleaners can also cause O-ring swelling, which adds friction to the rotor shaft and slows or stops rotation.
How to flush and remove residue safely
- Disconnect the patio cleaner and soak the rotor arm assembly and swivel housing in warm water for 20-30 minutes to soften any dried cleaning fluid residue.
- Use a soft brush (an old toothbrush works well) to scrub the nozzle tips and the swivel bore.
- Clear the nozzle holes with the cleaning needle as described above.
- If O-rings appear swollen, replace them — do not try to shrink them back to size. Reuse of swollen O-rings will result in a leak or continuing friction.
- After reassembly, run clean water through the patio cleaner by connecting it to the machine and running it for 30-60 seconds before use. This flushes any remaining loose residue.
- As a routine habit: always run the patio cleaner on clean water for the last 30 seconds of every session to purge cleaning fluid from the swivel and nozzle channels before storage.
Kärcher also recommends rinsing the detergent system after every use to prevent filter and internal clogging. The same principle applies to the patio cleaner attachment. If you are using the patio cleaner alongside Kärcher patio cleaner fluid, always apply the fluid to the surface at low pressure first, then follow with the patio cleaner head on clean water. Never route concentrated cleaning fluid directly through the rotating head.
Model compatibility: K2, K3, K4, and getting the pairing right
Connector compatibility and performance compatibility are two different things, and Kärcher's product listings do not always make that distinction clear. The Kärcher T350, for example, is listed as suitable for K2 through K7. Physically, yes. In terms of rotation performance on a K2 with a 312 L/hr output versus a K5 with a much higher output, the experience will be very different. On a K2, especially if supply conditions are not perfect, you may get marginal or no spinning at all.
| Machine | Typical Flow (L/hr) | Typical Max Pressure (bar) | T-series Patio Cleaner Typical Requirement (L/hr) | Likely Spin Performance |
|---|---|---|---|---|
| Kärcher K2 | ~312 | ~110 | 470-550 | Marginal to poor on higher-spec T models |
| Kärcher K3 | ~330 | ~120 | 470-550 | Marginal; better with T350 than T5/T7 |
| Kärcher K4 | ~360-378 | ~130 | 470-550 | Adequate on most T-series; best with T350 |
| Kärcher K5+ | ≥400+ | ≥145 | 470-550 | Good to strong rotation on all T-series |
If you are on a K2 or K3 and your patio cleaner has never spun well even when new, that is likely a performance mismatch rather than a fault. Kärcher's connection system has also changed over the years. Older machines use a clip-on or bayonet connection while newer accessories use EASY!Lock. Kärcher produces specific adapters to bridge these standards, and a missing or incorrect adapter can mean the patio cleaner is not fully seated, causing a partial seal and reduced pressure at the rotor. For step-by-step instructions on fitting and securing a Kärcher patio cleaner to your lance, see how to attach kärcher patio cleaner. Use Kärcher's online Adaptor Finder tool with your exact machine model and accessory model to confirm you have the right connection setup. Kärcher’s blank" rel="noopener noreferrer">Adaptor Finder / EASY!Lock (Kärcher) page lists multiple connection standards and shows adapters to preserve compatibility between older guns/hoses and new EASY!Lock accessories.
Symptom-to-cause quick reference
| Symptom | Most Likely Cause | First Fix to Try |
|---|---|---|
| Rotor completely still, machine running fine | Blocked nozzles or seized swivel bearing | Clear nozzles, inspect and clean swivel |
| Rotor spins slowly or intermittently | Insufficient flow/pressure or partial nozzle blockage | Bucket test, check inlet filter, clear nozzles |
| Grinding or scraping noise from hood | Rotor rubbing housing (failed snap ring or worn bearing) | Remove hood, inspect snap ring and bearings |
| Worked before, stopped after using cleaning fluid | Dried detergent residue in nozzle or swivel | Soak and flush as described above |
| Never spun well, even from new | Machine flow too low for this patio cleaner model | Check machine vs. patio cleaner spec compatibility |
| Sputtering or inconsistent spin | Air in water line or partially blocked inlet filter | Prime machine until no bubbles, clean inlet filter |
| Patio cleaner spins but leaks at connection | Wrong adapter or worn connection O-ring | Check adapter compatibility, replace O-ring |
| Strong stream from standard lance but no spin | Faulty rotor shaft, broken drive pin, or worn nozzle inserts | Inspect rotor internals, replace worn parts |
Routine maintenance to prevent the problem coming back
Most of the faults above are preventable with a basic maintenance habit after each session. It takes about two minutes and it is genuinely worth it, especially if you are using the patio cleaner on a surface with a lot of sand or grit.
- Run clean water through the patio cleaner for the last 30-60 seconds of every use to flush residue from the nozzles and swivel.
- After disconnecting, manually spin the rotor with your finger. It should be free and smooth. If it feels gritty, clean it before storing.
- Store the patio cleaner in a dry location. Prolonged damp storage accelerates bearing corrosion and O-ring degradation.
- Check the nozzle holes visually at the start of each season. A quick visual inspection after winter storage will catch scale buildup before it causes a full blockage mid-clean.
- If your model has a grease nipple on the swivel, apply a small amount of waterproof grease at the start of each season.
- Check the inlet water filter on the machine before each use session, especially if the machine has been stored.
When to replace parts, and when to call Kärcher
Most of the fixes described in this guide are straightforward DIY jobs. Kärcher supplies replacement rotor nozzle repair kits, O-ring kits, bearings, and rotor shaft assemblies as consumer-level spare parts for T-series surface cleaner models. For more troubleshooting scenarios and step-by-step fixes, see our guide on Kärcher patio cleaner attachment problems. You can find the correct part numbers using the Kärcher parts finder with your exact surface cleaner model number. The exploded parts diagrams in the spare parts PDFs are clear enough that most homeowners can reassemble the swivel assembly correctly following the diagram.
However, if internal plastic components like the drive pins, swivel housing body, or moulded rotor arm have physically broken, Kärcher's own guidance is to take the unit to a trained Kärcher service partner. Not all internal structural components are available as consumer spares, and attempting to repair a cracked housing with adhesive or improvised parts rarely works under pressure washer operating conditions. At that point you need to weigh the cost of a service assessment against the cost of a replacement surface cleaner head, which on the T350 level can be quite reasonable.
If the machine itself is underperforming (confirmed by the bucket test showing well below rated flow), that is a pump or valve issue that also needs professional assessment or machine replacement rather than anything you can fix on the patio cleaner side.
FAQ
Why is my Kärcher patio cleaner not spinning at all or barely spinning?
Common causes: insufficient water flow/pressure from the washer, blocked or clogged rotor nozzles/insert, clogged inlet/inline filter or air in the feed, seized/swollen bearings or O‑rings in the swivel, broken/sheared drive pins or snap rings, rotor rubbing the housing (misaligned), wrong nozzle/adapter or under‑spec accessory for your machine, or detergent/scale blocking moving parts. Start with simple flow and blockage checks before disassembly.
Quick tests to confirm the unit really isn’t spinning (functional checks)
1) Run the washer and pull the trigger on the gun; confirm steady, bubble‑free water at the connection. 2) Do a bucket test: collect water from the gun for 30 seconds to estimate L/min and compare to your patio cleaner’s required flow. 3) With the hood removed (and machine depressurised), trigger the gun and observe the rotor—does it try to turn freely? 4) Fit a pressure gauge at the gun or use a known nozzle to verify working pressure while firing. These isolate flow/pressure vs mechanical faults.
What minimum flow/pressure should I expect to make a patio/surface cleaner rotate?
Different models vary, but many flat surface cleaners (T‑Racer/T‑series) list required flows around 470–550 L/hr (≈7.8–9.2 L/min). Typical K2–K4 residential washers supply about 5.2–6.3 L/min (≈312–378 L/hr), so some patio cleaners will fit but be under‑powered—check the specific cleaner’s stated L/min compatibility. Also verify working pressure (measured with the gun triggered) is near the washer’s rated output.
How do I check for low flow or low pressure from my pressure washer?
Bucket test: collect water from the trigger for a fixed time (e.g., 30 seconds) and calculate L/min. Or use an inline high‑pressure gauge between hose and gun with the trigger pulled to read working pressure. Also check and clean the inlet water filter, ensure the garden supply is fully open, remove kinks, and purge air by running until bubbles stop. Low flow/pressure is often the root cause of no rotation.
Could detergent or cleaning fluid prevent the patio cleaner from spinning?
Yes—detergent or concentrated residue can clog small nozzle inserts or the swivel. Some Kärcher accessories also block detergent suction while fitted (detergent must be applied at low pressure then rinsed). If detergent was used, flush the cleaner, remove and clean nozzle inserts and inlet filters, and run fresh water through the system to remove residue. Avoid letting detergent dry inside the swivel or nozzles.
How do I inspect and clean rotor nozzles, swivel and inlet filters?
Safety first: switch off and depressurise the machine. Remove the hood per the model instructions. Visually inspect nozzle inserts, blow them out with low‑pressure water or compressed air (use care with air), and soak in de‑scaler/plastic‑safe cleaner if scaled. Remove and clean the inlet filter on the washer. Inspect the swivel bore for grit or debris and rinse. Reassemble and test before deeper disassembly.
Next Article
How to Use Patio Cleaner with Kärcher K4: Setup & Tips
How to use patio cleaner with Kärcher K4: step-by-step setup, fluids, surface fixes, troubleshooting & maintenance.